Software and version used: Photoshop CS6
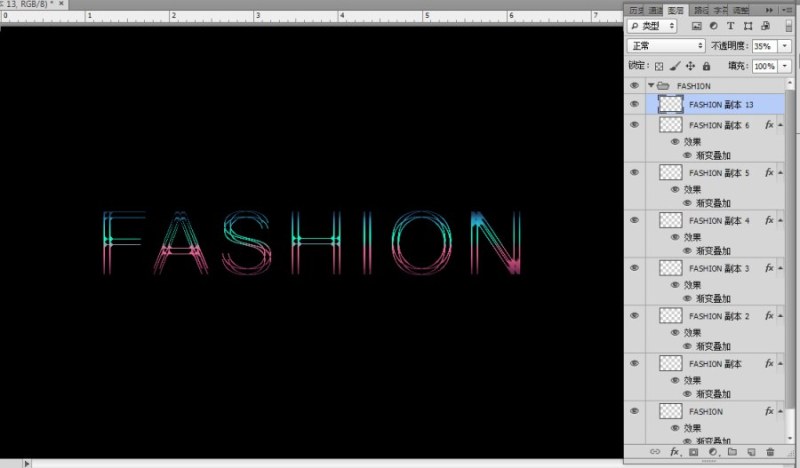
final rendering

1. Create a new document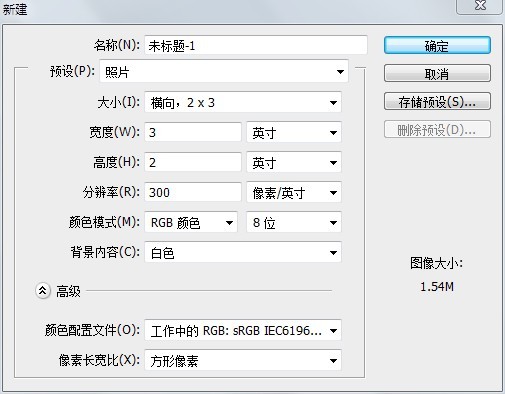
2. Confirm that the foreground color is black, press Alt+Delete to fill the background with black

3. Set text properties on the Character panel

4. Right-click the text layer in the "Layers" panel, and select "Rasterize Text" from the pop-up menu
5. Press and hold Ctrl while clicking the layer "FASHION" in the layer panel to call out the selection area, execute the menu selection-selection-shrinkage (the shrinkage amount is 5), and then hold down shift+ctrl+I at the same time to invert the selection area, Press delete to delete pixels within the selection, and ctrl+D to deselect.

6. Double-click the "FASHION" layer in the "Layer" panel, select "Gradient Overlay" in the "Style" column of the "Layer Style" dialog box (click the word directly, don't click the box), double-click "Gradient Editor "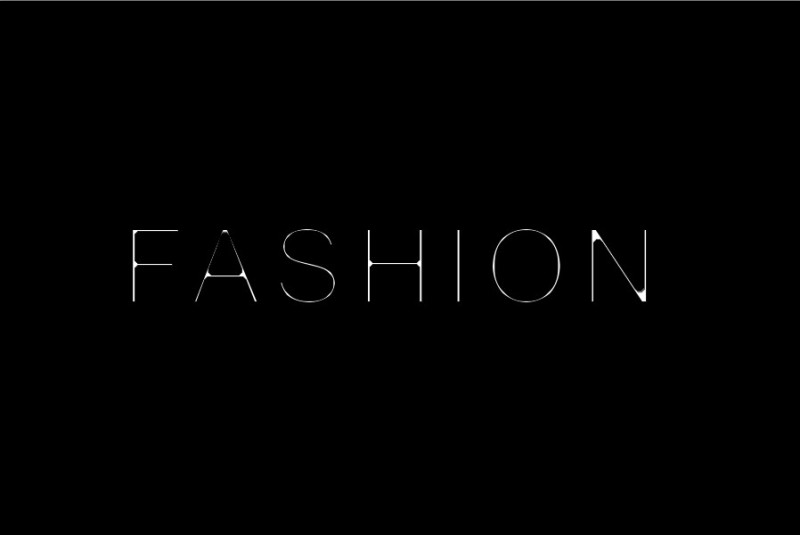 , click "Load (L)..." in the opened dialog box to load the "Gradient" in the attachment "FASHION" folder (after decompression) of this tutorial, select
 , click OK, and then click OK.


7. Execute the menu command: 1. Filter-Sharp-Further Sharpen 2. Filter-Pixel-Fragment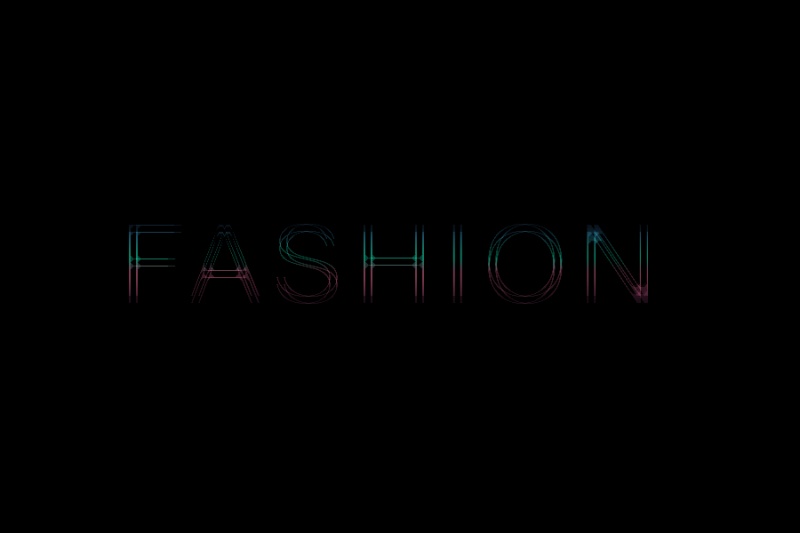
8. Press ctrl+J 6 times to duplicate six identical layers To group the text in a folder, double-click the folder and name it "FASHION".

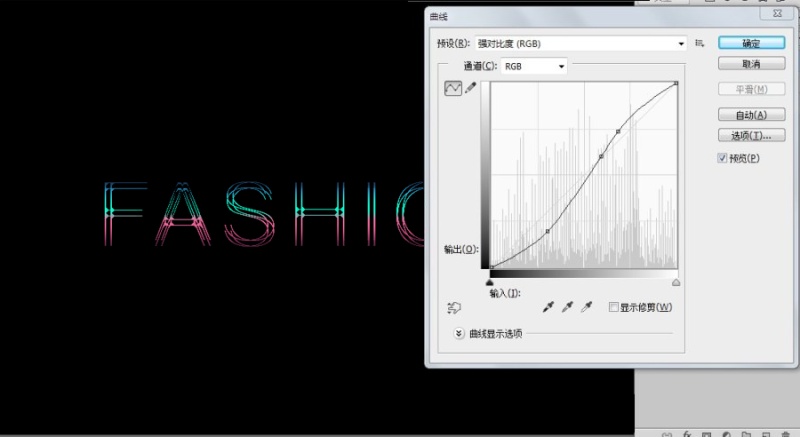
9. On the "Layers" panel, click the triangle in front of the "FASHION" layer name to expand its group, hold down the "shift" key and click the first and last layers of the group, and then press ctrl+E to merge all Select the layer, generate the "FASHION copy 13" layer, press ctrl+M to bring up the curve dialog box, set it to strong contrast (RGB), click "OK", and then set the layer opacity to 35%.
10. Observe carefully and find that the top two lines of the letter F are vague, then perform the following operations: hold down the "shift" key, click the first and last layers in the "FASHION" folder successively, and press ctrl +J to duplicate the selected layer, press ctrl+E to merge layers, and press shift+ctrl+I to move its layer to the top of the Layers panel. Then select the "Rectangular Marquee Tool" on the Toolbox , click and hold on the drawing window and drag the selection area to completely frame the upper two thin lines of the letter F, click the "Add Layer Mask Button" at the bottom of the "Layer" panel
 To hide the pixels outside the selection, hold down the "ctrl" key while clicking on the black layer mask to the right of it to load the selection, then click the "Create New Fill or Adjustment Layer" button at the bottom of the panel
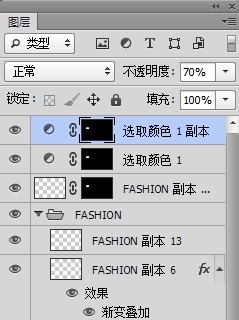
 , select the "Optional Color..." button in the pop-up menu, select "Blue" in the "Color" option of the panel, and adjust its black value to -100%. At this point, the production of this example is completed.
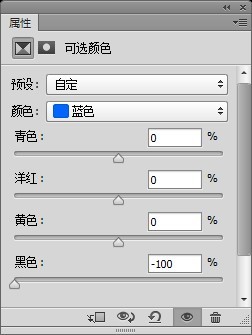
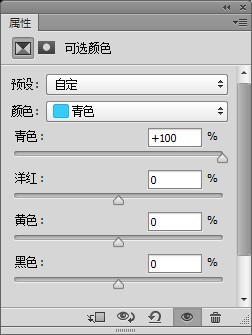
 , select "Optional Color...", and then set the parameters on the panel.

Articles are uploaded by users and are for non-commercial browsing only. Posted by: Lomu, please indicate the source: https://www.daogebangong.com/en/articles/detail/Font%20DesignTutorial%20FASHION%20%20Brilliant%20yet%20simple.html
 支付宝扫一扫
评论列表(196条)
测试