On the PPT page between you and the great god, there is only one image cropping distance.

When we are doing PPT, we often find a background image, copy it on the page, and then write directly on it.
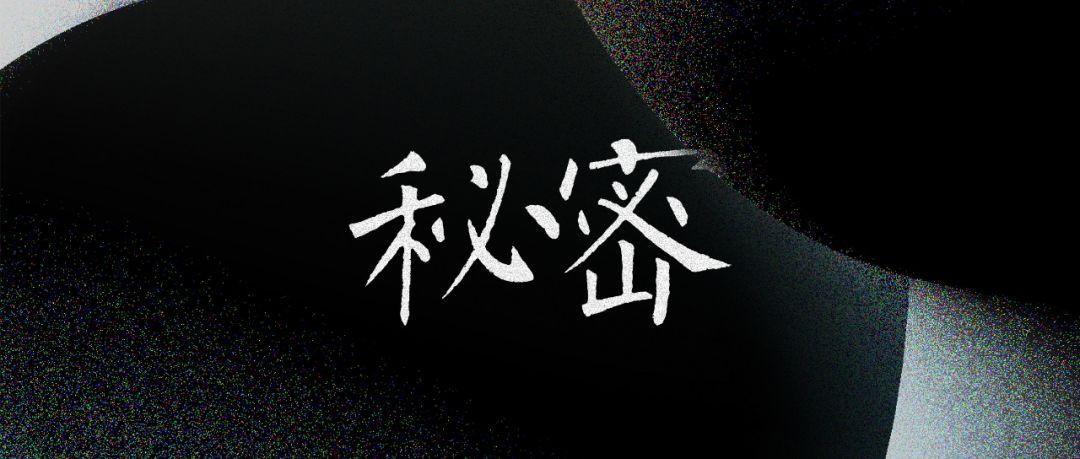
The page might look like this:


However, when the master makes PPT, he must process the background image.
Just like the above case, the clutter of the background image affects the display of the text, and the text also interferes with the theme of the picture.
This is because when the photographer is taking pictures, in order to take into account the balance and beauty of the picture, they will not reserve space for us to place text.
At this time, we need to create a space for placing text by cutting.
So, today I will share with you a picture cropping tip that I can often use.
1. Move the image to the right
Take the page just now as an example, in order to keep The visual balance on the page makes the graphics and texts form a left-right typesetting.

We can use cropping to adjust the characters in the picture to the right side of the page, thereby creating a large area of blank space on the left side of the page to highlight the text.

After cropping the picture, isn't it much better!
2. Move the picture down
When the theme of the background image is below, we can make the page up and down typography.
We can move the horizon of the picture down by cropping:

Finally, let's take a look at the effect. Compared with just now, is it much better?

3. Place the main body of the picture at 1/3 of the page
Share a page cropping tip that I often use:
When the main body is on the lower side of the page, we cut the horizontal line of the page to 1/3 of the page.
For example, an image like this:

By cropping, move the horizontal line of the page to 1/3 of the page.
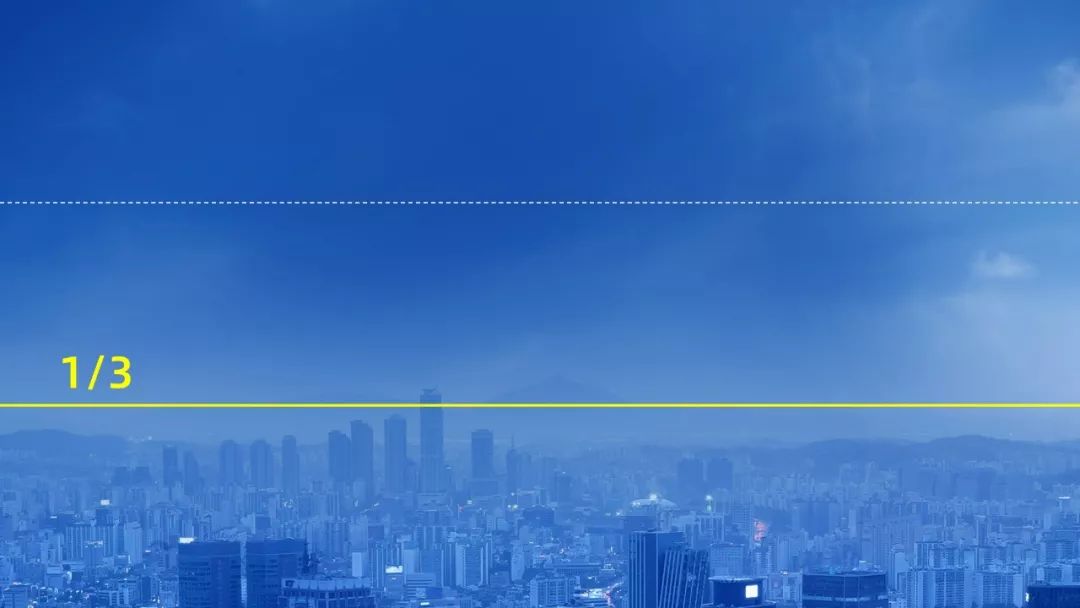
The advantage of this is that while ensuring that the main body of the picture can be seen clearly, it makes the page have a stronger sense of transparency.
It doesn't matter if you don't understand, let's take a look at a set of comparison pictures of the covers, and you will understand.

Horizontal line is 1/2 of the way down the page.

Horizontal line 1/4 of the way down the page.

The horizontal line is 1/3 of the way down the page.
Which cover looks more comfortable? I believe you must have the answer.
In order to give you a better understanding, I also found some related cases for your reference:


For these pages, the horizontal line position of the background image is placed at 1/3 of the page. Looks very comfortable, right?
How about it, have you learned it?
Finally, follow and retweet, reply to the keyword [Welfare 07] by private message, and you can receive the excellent PPT cases in my collection as inspiration reference!
Articles are uploaded by users and are for non-commercial browsing only. Posted by: Lomu, please indicate the source: https://www.daogebangong.com/en/articles/detail/Do%20you%20really%20know%20how%20to%20use%20the%20PPT%20background%20image%20that%20you%20have%20worked%20so%20hard%20to%20find.html
 支付宝扫一扫
评论列表(196条)
测试