Detailed explanation of the steps of hand-painting bamboo in PPT, after reading it, you will also become a painter. For more downloads, please click ppt home.
ppt template article recommendation:
How to set the rotation animation of pie chart in PPT
How to design digital countdown animation in PPT
Insert rectangle, rounded rectangle, and oval shapes. It's that simple.
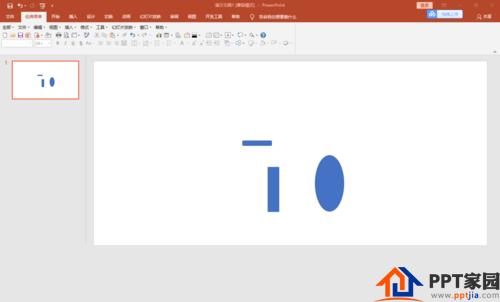
Set the shape to No Outline and Fill it with Green. Use the "Edit Vertex" function to adjust the two sides of the rectangle into arcs. Adjust the rounded rectangle to a suitable shape and drag and drop it on the top and bottom of the rectangle.
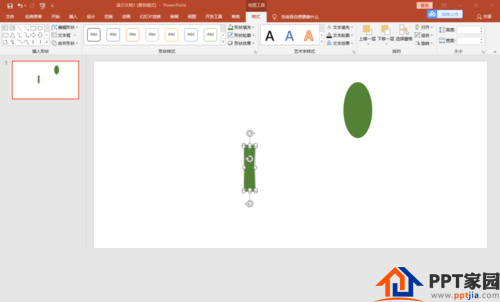
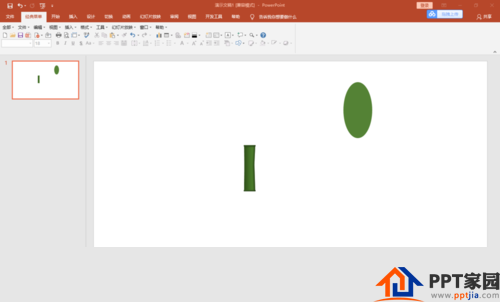
Fill the slubs (rectangle and rounded rectangle) with gradient color.
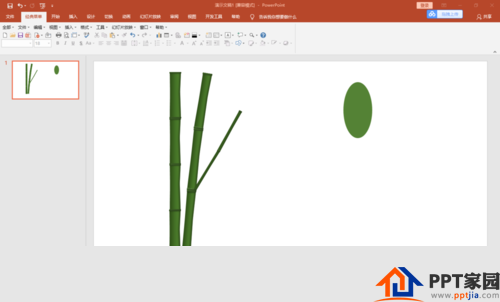
Copy several bamboo joints, adjust the length and width, and splice them into the shape of bamboo.
Using the "Edit Vertex" tool, adjust the ellipse into the shape of a bamboo leaf.
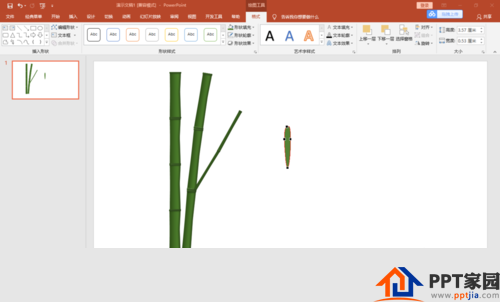
Fill the gradient color for the bamboo leaves and duplicate them a few times. Adjust the size and angle, and splice into a real bamboo leaf shape.
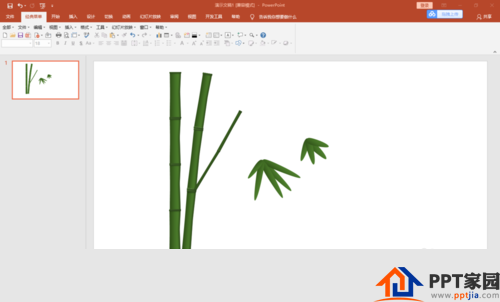
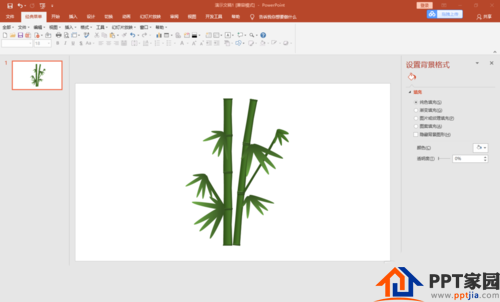
Bamboo is spliced together with bamboo leaves.
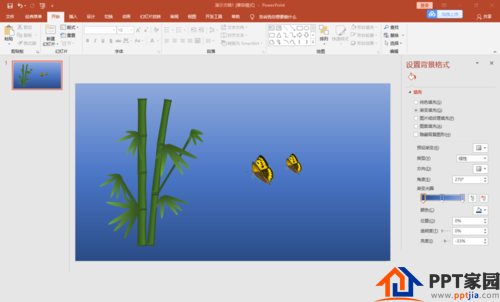
Set a dark background and add butterflies to set it off.
Articles are uploaded by users and are for non-commercial browsing only. Posted by: Lomu, please indicate the source: https://www.daogebangong.com/en/articles/detail/Detailed%20explanation%20of%20PPT%20drawing%20bamboo%20tutorial.html
 支付宝扫一扫
评论列表(196条)
测试