I want to design a gradient ring effect in ppt, how to make this effect?
ppt template article recommendation:
How to Design Candlelight Flashing Animation Effect in PPT
How to design fragments flying out of PPT
How to design graphic alignment effect in PPT
How to design two-color font effect in PPT
Create a new PPT, hold down the Shift key, insert and drag a circle. As shown below:
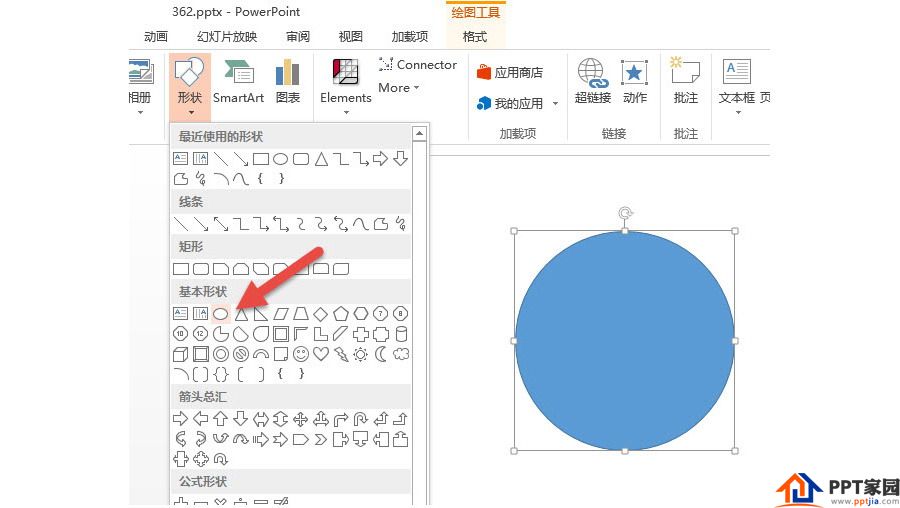
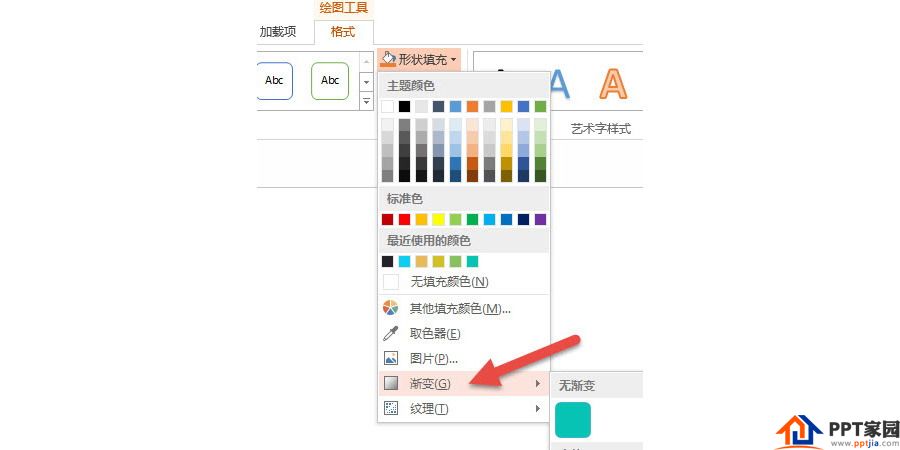
Select the circle, click "Format - Shape Fill - Gradient" to set the gradient color of the circle.
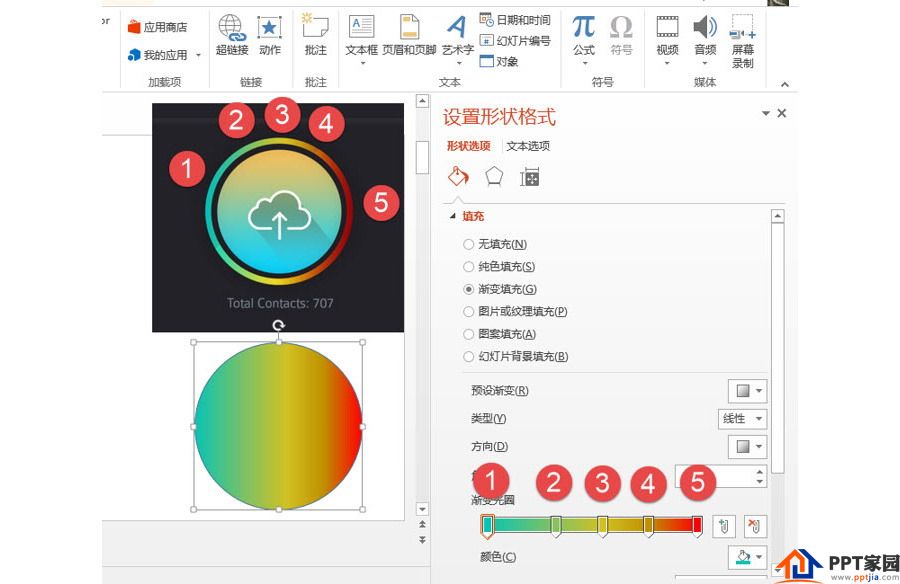
Pay attention to the color correspondence of the gradient color. (The numbers in the figure below correspond to) After setting, the circular gradient in the figure below will appear. Note that the direction of the gradient is from left to right. In fact, if you have a good grasp of your own color, you can set your own color gradient, such as the color gradient of the same color system is very good. You can even rotate the circle to fine-tune the direction of the color gradient.
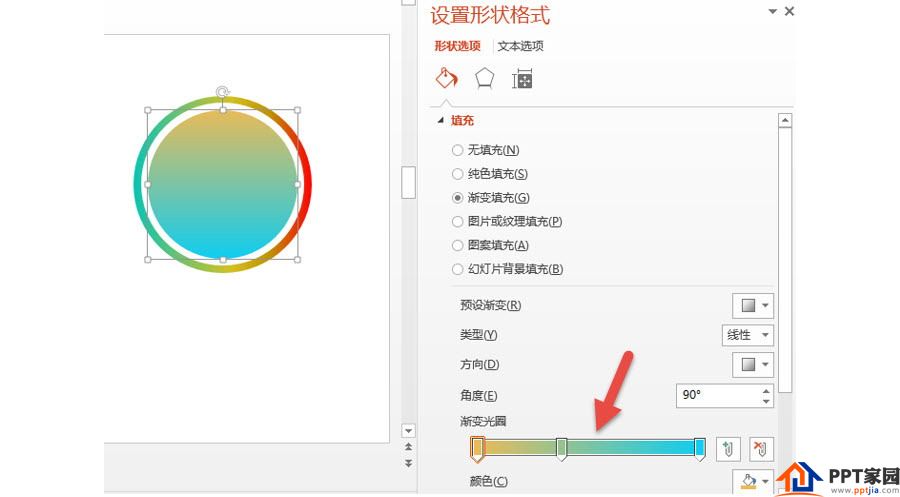
The next step is the "blurring method", draw a white circle to cover the gradient circle, use the shift+Ctrl+enter key combination to scale the white circle concentrically, and adjust it to the position shown in the figure below, visually Think of it as a circle.

Followed by this idea, draw another ring to cover the white circle, and then set the gradient color that is almost the same as the sample picture.
If you set a black-gray background, the effect is as shown in the figure below, and the basic and sample pictures are "disgusting real ones".

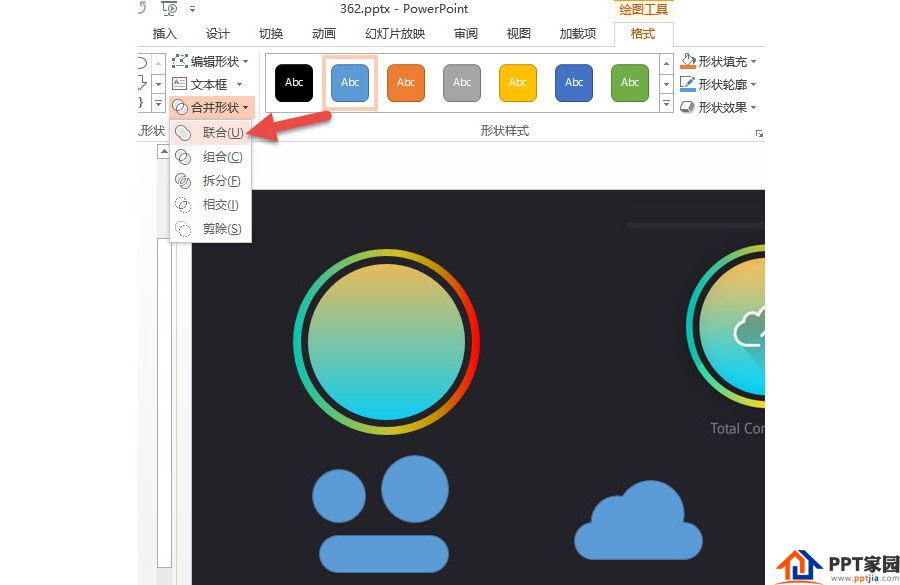
Next let's get the cloud logo done. If you look closely, you will find that the cloud logo is such a combination: two circles and a rounded rectangle, drag the yellow adjustment button of the rounded rectangle to the extreme. (arrow in the picture below)

Then use the graphic combination function of PPT (at the arrow in the figure below) to merge them into a graphic.
Set the fill of the "cloud" shape to no fill, and set the outline to white and thick. The effect of the left picture in the picture below, but how can we make it have a gap like the picture on the right?

This requires an advanced function of PPT graphics drawing, the function of "cutting closed shapes into lines". It is also the most "difficult" function in this case, and it is also a function that most people don't know. Please continue to look down: select the graph, right-click the mouse, and click the "Edit Vertex" function. (arrow in the picture below)
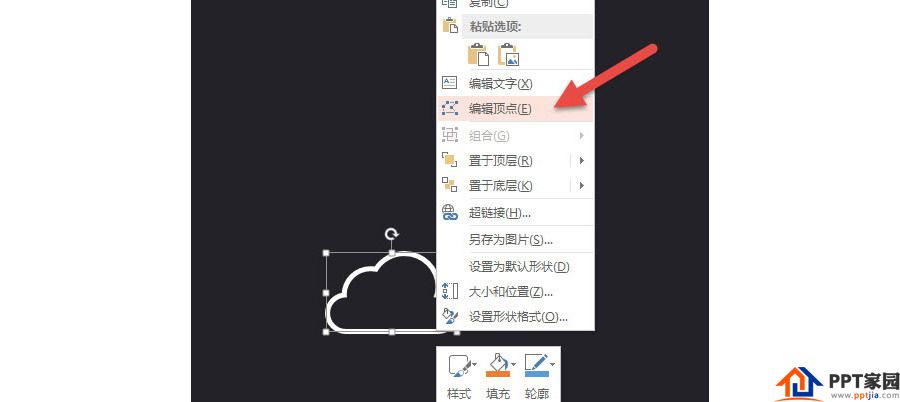
At this time, there will be small black dots on the graph, but it is found that there are no small black dots in the position where the opening is required in this example. (At the arrow in the figure below) The PPT needs to be disconnected where there is a small black dot, so a small black dot needs to be added.

So point the mouse at the position that needs to be disconnected in the future, then click the right mouse button and click the "Add Vertex" function. (arrow below)

Select the newly added small black dot, continue to right mouse button, and click the "Open Path" button in the figure below. (arrow in the picture below)

At this time, the closed graph will be broken at the new small black dot, as shown on the left side of the figure below, and then drag the small black dot to adjust it to the right graph. (This process requires more practice to master its characteristics)

Next, draw an arrow and combine it with the cloud graphics. How did that shadow come about?

This shadow is the legendary micro-stereo shadow on the Internet a while ago? It seems a bit flashy, not as powerful as the normal light and shadow shadow, simple and clear.
If you have to make the shadow effect of the sample picture, you can do this specifically: use the previous cloud graphics and a parallelogram to combine. Then set the color to transparent for the gradient.

After combining the graphics, set the gradient color. White to transparent gradient set by Cow Shiny. The effect is as follows:

Articles are uploaded by users and are for non-commercial browsing only. Posted by: Lomu, please indicate the source: https://www.daogebangong.com/en/articles/detail/Design%20a%20gradient%20ring%20with%20ppt.html
 支付宝扫一扫
评论列表(196条)
测试