 Thanks (PS Alliance Sener) for sharing!
final effect

Before the tutorial starts, prepare a filling pattern first, save the picture below to the computer, then open it with PS, then select the menu: Edit > Define Pattern, and then name it.
 <Click the picture to see a larger picture>www.16xx8.com
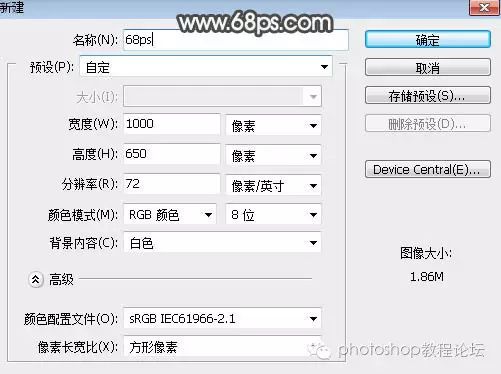
1. Press Ctrl+N to create a new canvas with a size of 1000*650 pixels and a resolution of 72 pixels/inch, as shown in the figure below, and then confirm.
<Figure 1>
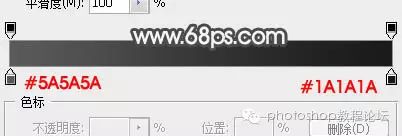
2. Select the gradient tool, set the color as shown in Figure 2, and then draw a radial gradient from the center to the corner.
<Figure 2>
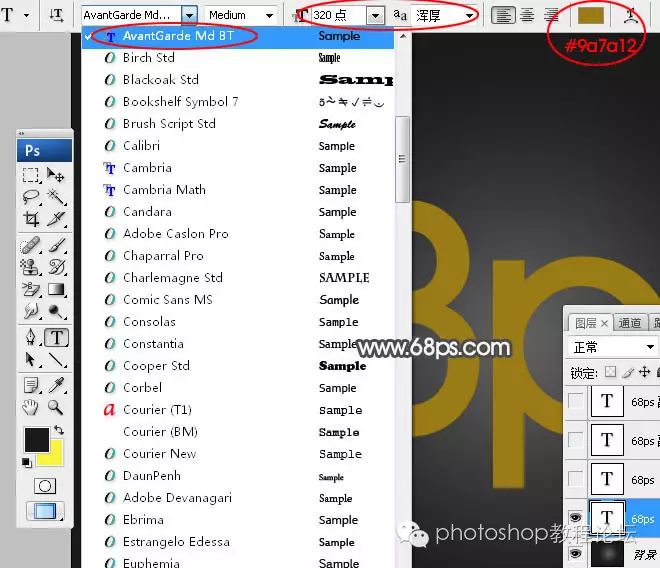
3. Select the text tool, select the font, and then enter the text, the font is slightly larger, as shown in the figure below.
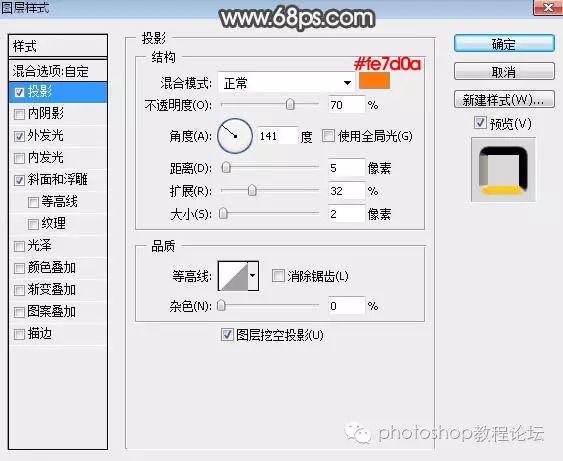
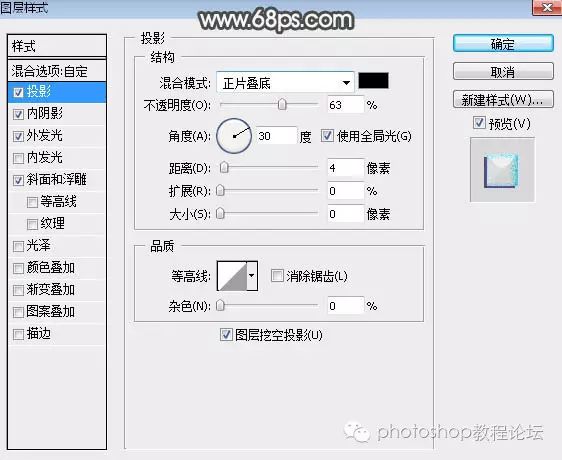
<Figure 3>4. Double-click the layer panel, the blue area behind the current text thumbnail, call out the layer style, and then set it.
projection:
<Figure 4>
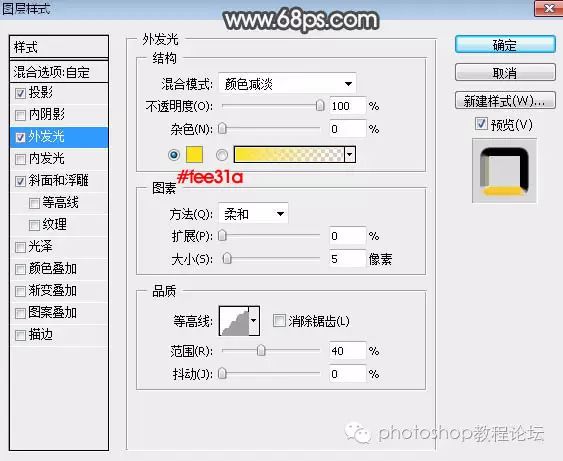
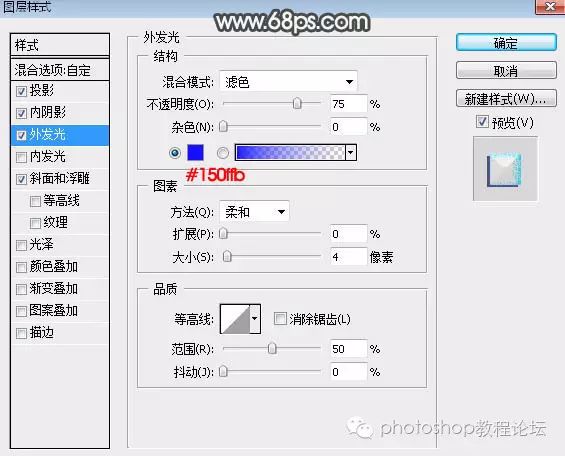
Outer Glow:
<Figure 5>
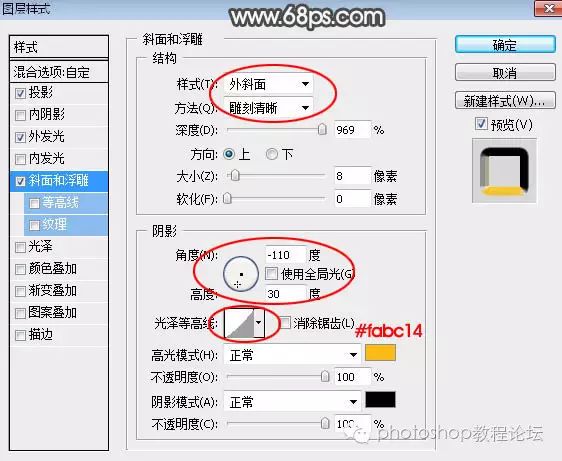
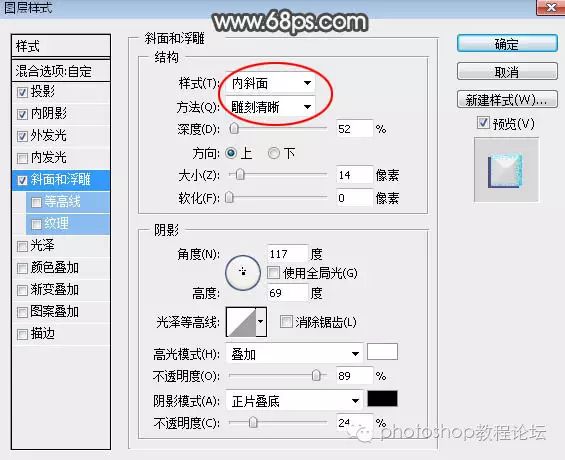
Bevel and Emboss: Style: Outer Bevel; Method: Carve Clearly; Then set the Angle and Gloss Contour, as shown in the figure below.
<Figure 6>
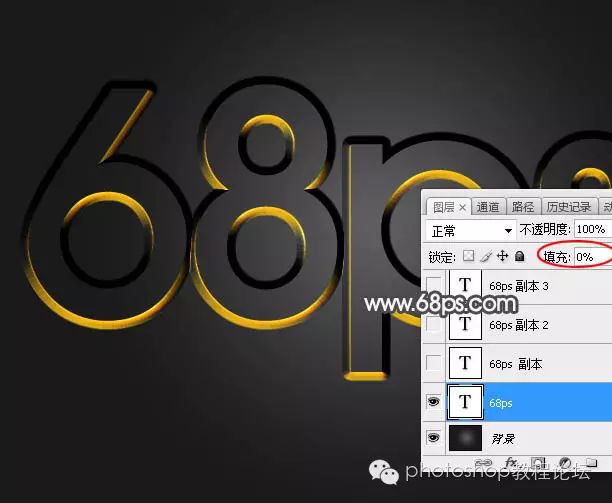
5. After confirming, change the fill to: 0%, the effect is as shown in the figure below.
<Figure 7>
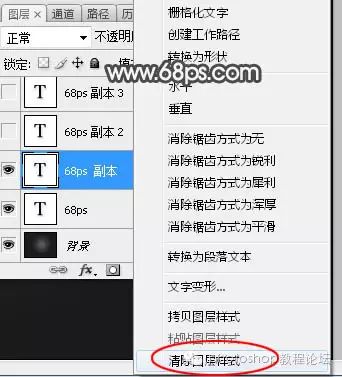
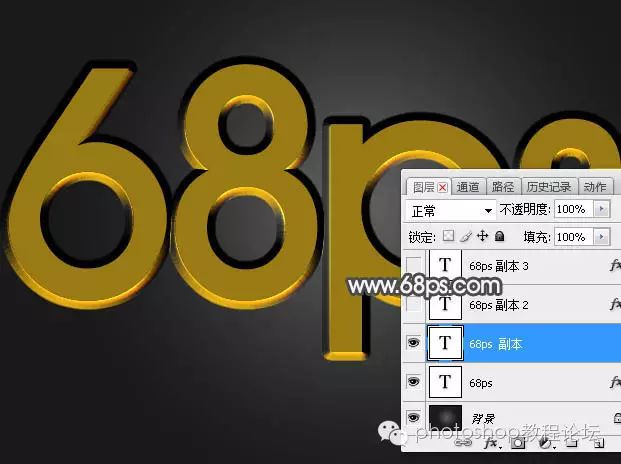
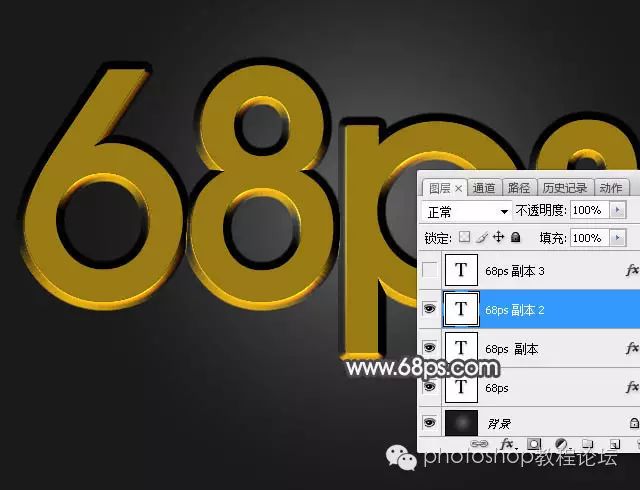
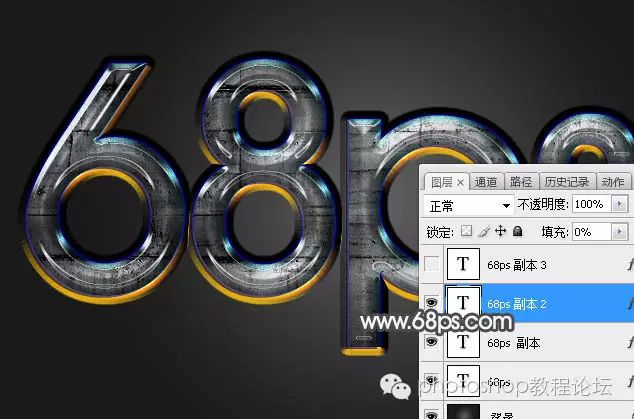
6. Press Ctrl+J to copy the current text layer, then right-click in the blue area behind the thumbnail of the copy layer and select "Clear Layer Style", the effect is shown in Figure 9.
<Figure 8>
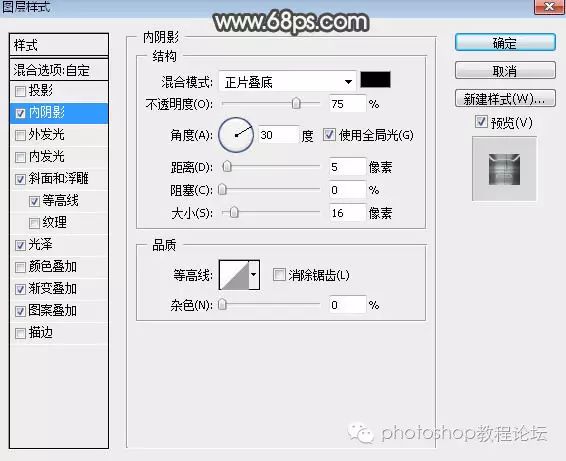
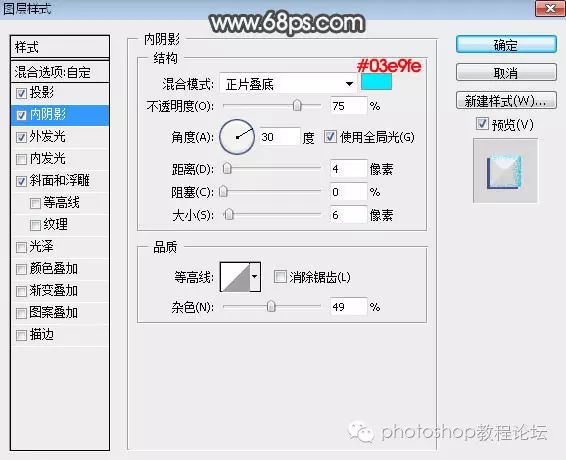
<Figure 9>7. Double-click the layer panel, the blue area behind the thumbnail of the current text layer, and set the layer style.
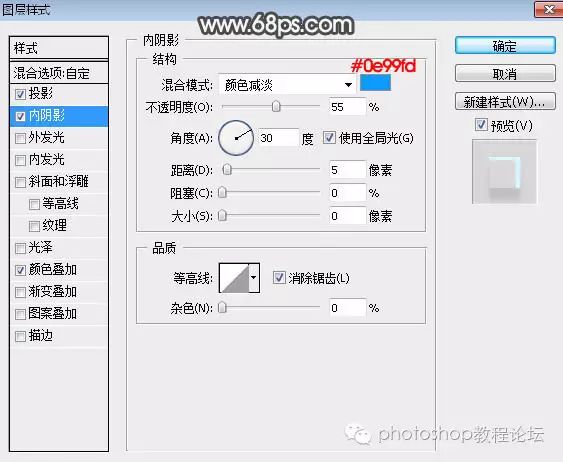
Inner Shadow:
<Figure 10>
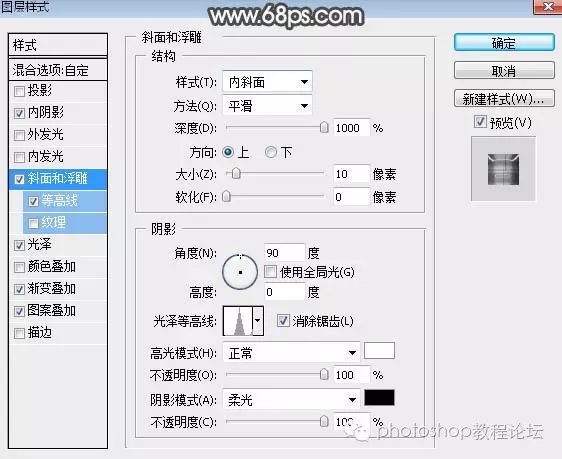
Bevel and Emboss:
<Figure 11>
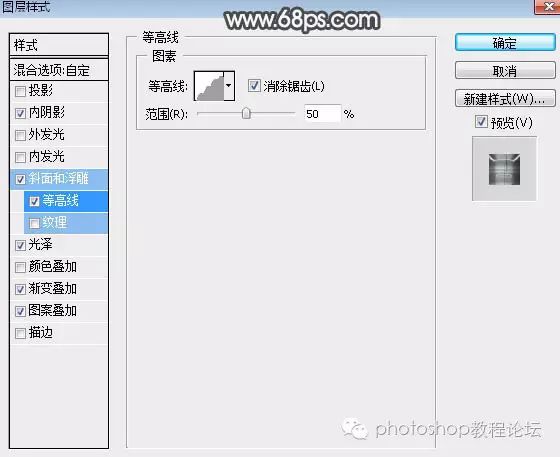
contour line:
<Figure 12>
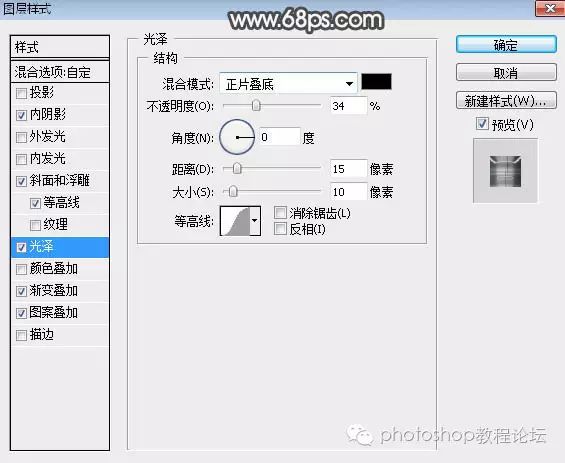
luster:
<Figure 13>
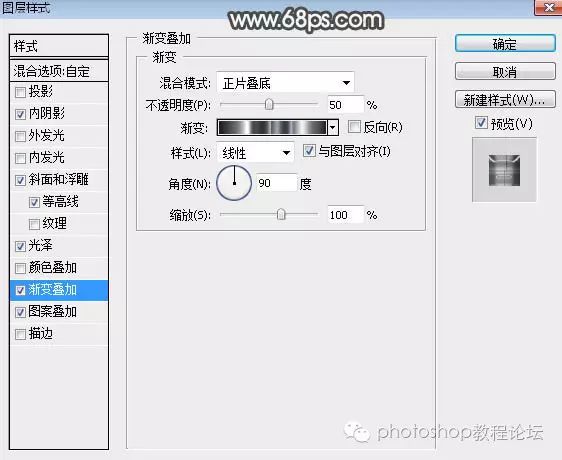
Gradient overlay: http://pic1.16xx8.com/allimg/160930/sc_16xx8.com.rar, unzip it and load it into PS.
<Figure 14>
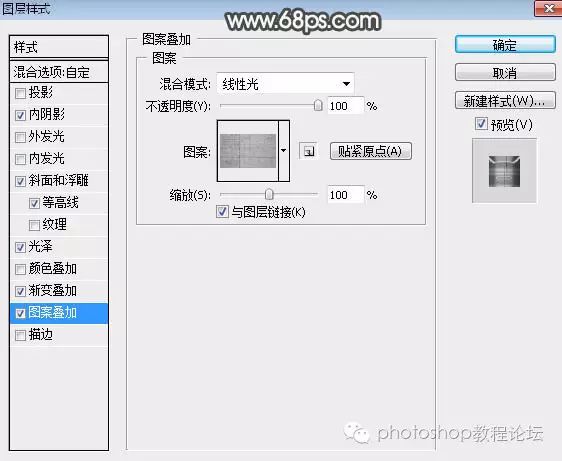
Pattern Overlay: Pattern Select the previously defined pattern, and the blending mode is "Linear Light", as shown in the figure below.
<Figure 15>
8. After confirming, change the fill to: 0%, the effect is as shown in the figure below.
<Figure 16> 9. Press Ctrl>
<Figure 17>
10. Set the layer style for the current text layer.
projection:
<Figure 18>
Inner Shadow:
<Figure 19>
Outer Glow:
<Figure 20>
Bevel and Emboss:
<Figure 21>
11. After confirming, change the fill to: 0%, the effect is as shown in the figure below.
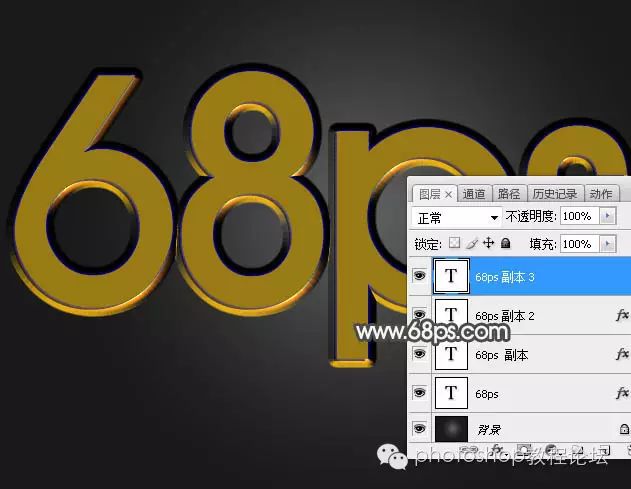
<Figure 22> 12. Press Ctrl>
<Figure 23>
13. Set the layer style for the current text layer.
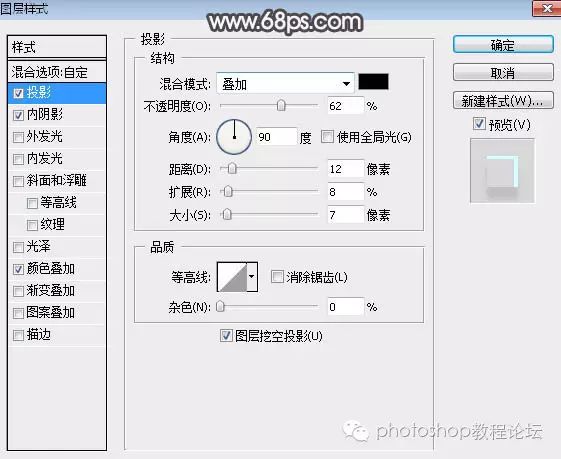
projection:
<Figure 24>
Inner Shadow:
<Figure 25>
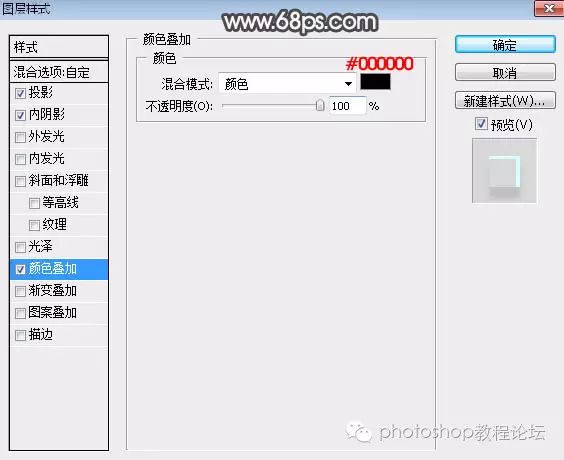
Color Overlay:
<Figure 26>
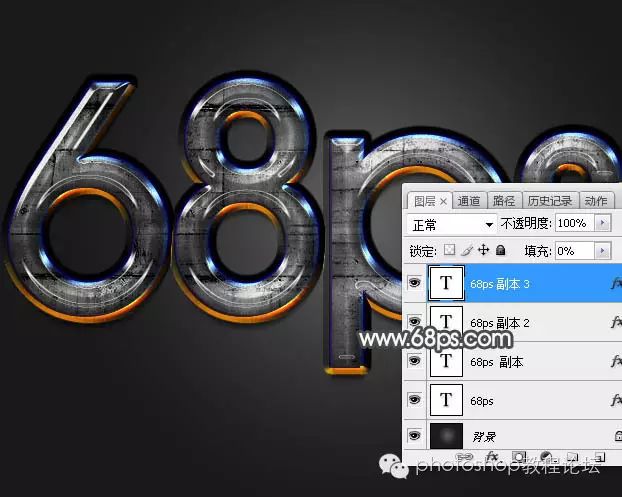
14. After confirming, change the fill to: 0%, the effect is as shown in the figure below.
<Figure 27>
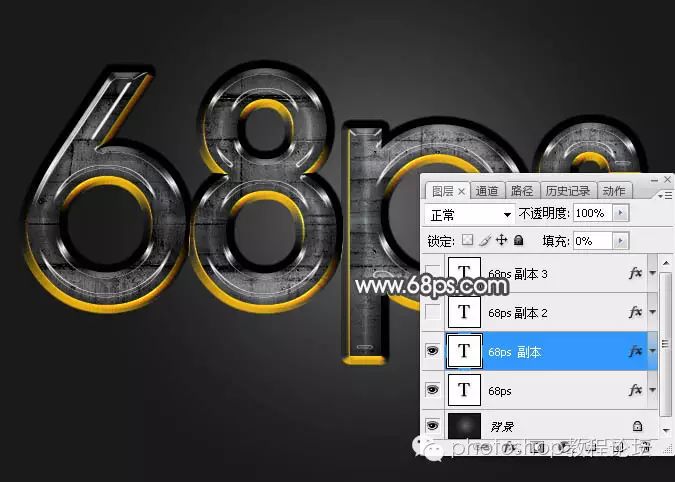
Finally, fine-tune the parameters to complete the final effect.

Please send an email to ps@16xx8.com for original tutorial contributions, including tutorials, material network disks, your QR code and other personal information
Follow us to learn PS, wechat: photoshop tutorial forum
Articles are uploaded by users and are for non-commercial browsing only. Posted by: Lomu, please indicate the source: https://www.daogebangong.com/en/articles/detail/Design%20a%20Gray%20Metal%20Textured%20Font%20Tutorial.html
 支付宝扫一扫
评论列表(196条)
测试