Recently, Mr. Pan saw a group of particularly cool fonts on a foreign design website on a whim, so he followed suit. The method is very simple, but the effect is very cool, let’s get it together~

> Video Tutorial
It is recommended to watch it under wifi, the local tyrants are free, the video duration is about 10mins
Video URL: https://v.qq.com/x/page/q070600omsg.html
> Graphic Tutorial
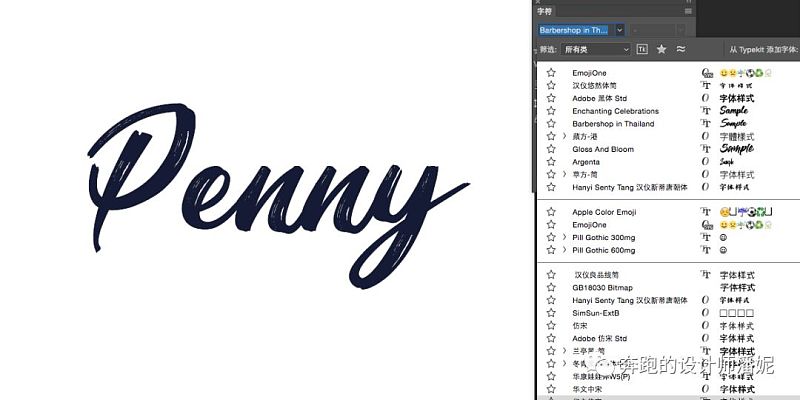
1. Choose a suitable English font,
Here I choose: Barbershop in Thailand.ttf,
If you want other exquisite fonts, please go to the article I wrote before: [Handwritten English Fonts],
Or just reply [handwritten English font] directly in the background
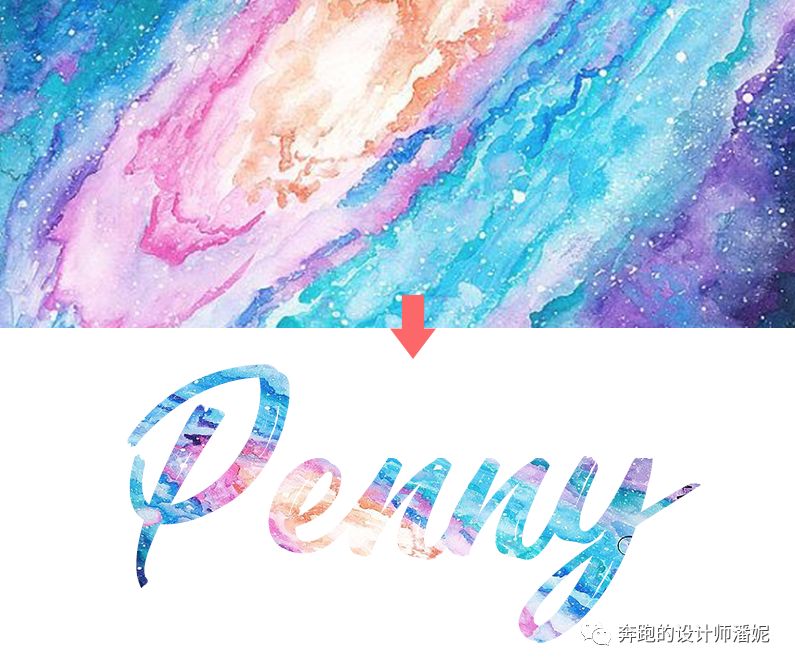
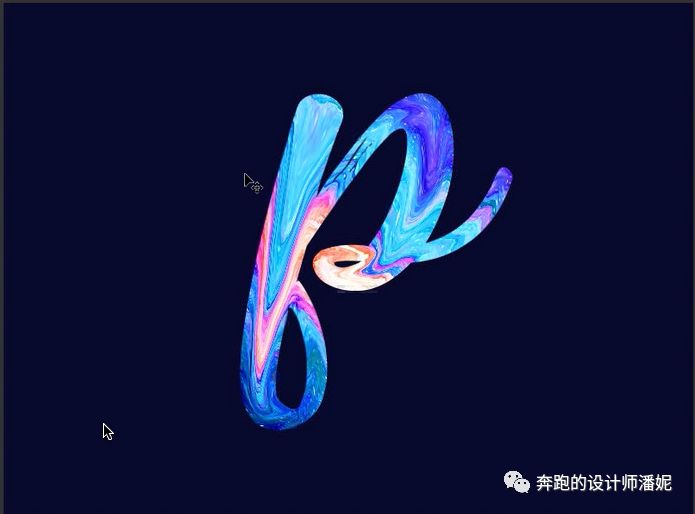
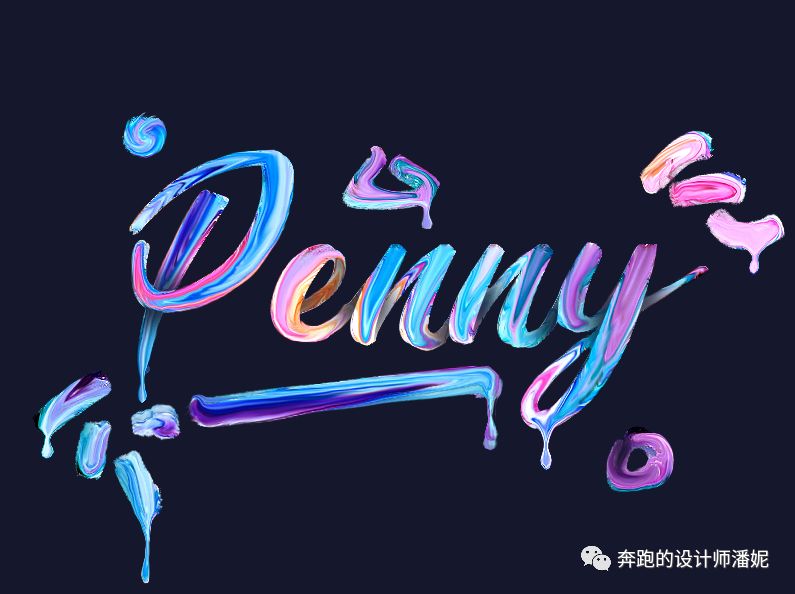
2. Choose a cool picture and cut it into the text:
If you need other picture materials, please reply [paint font] in the background to get the download link
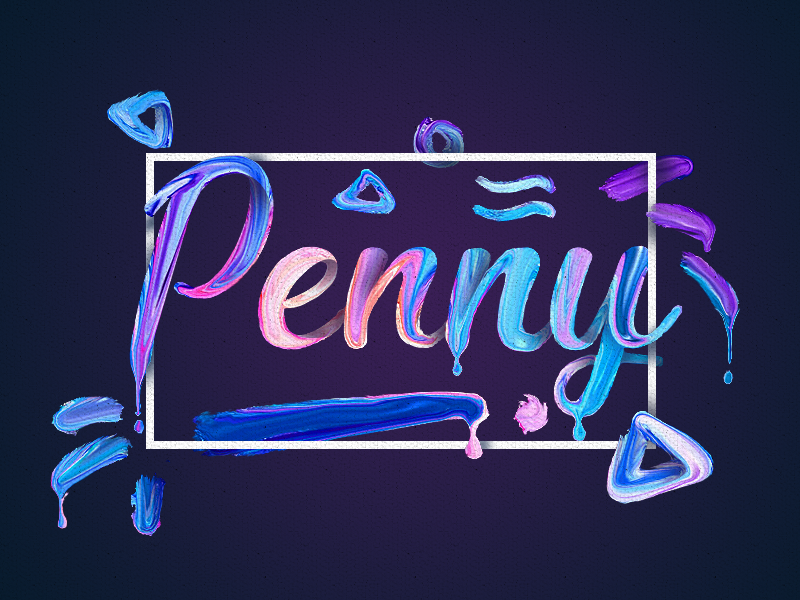
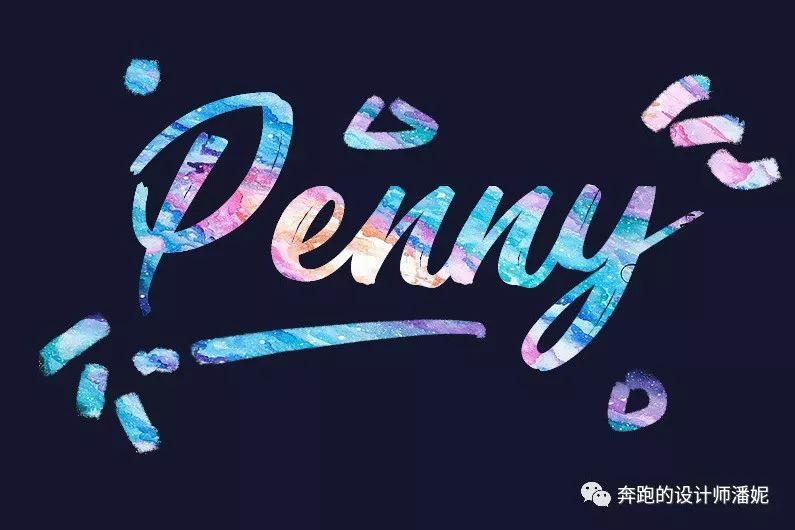
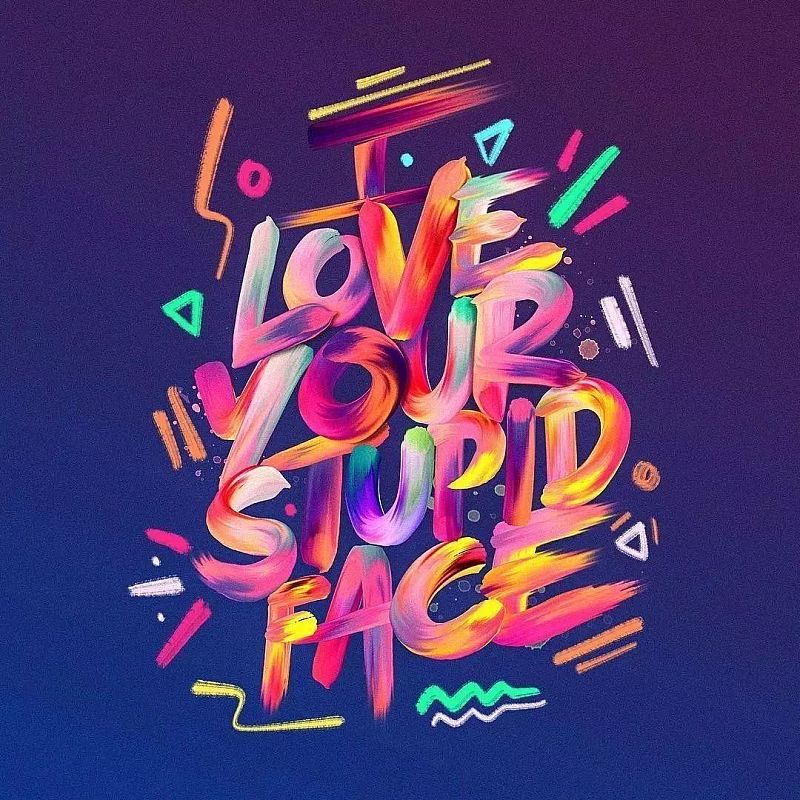
3. Adjust the background to a dark tone (try not to be pure black, use the main color of the font - the deep part of blue, the overall look will be more harmonious), and add some decorations around (circle, square, triangle, wavy lines, etc.)
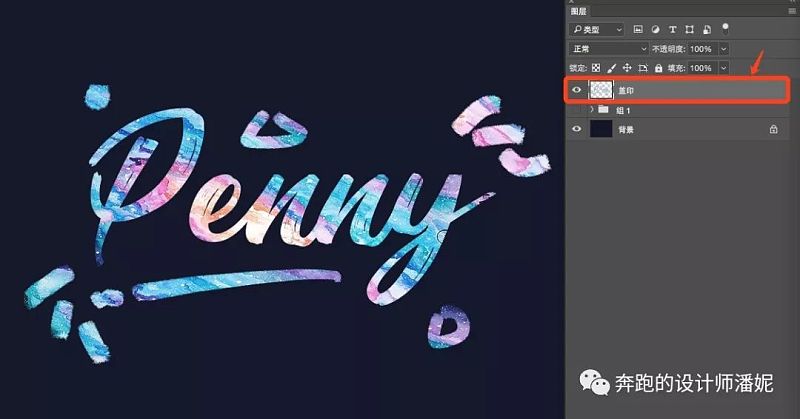
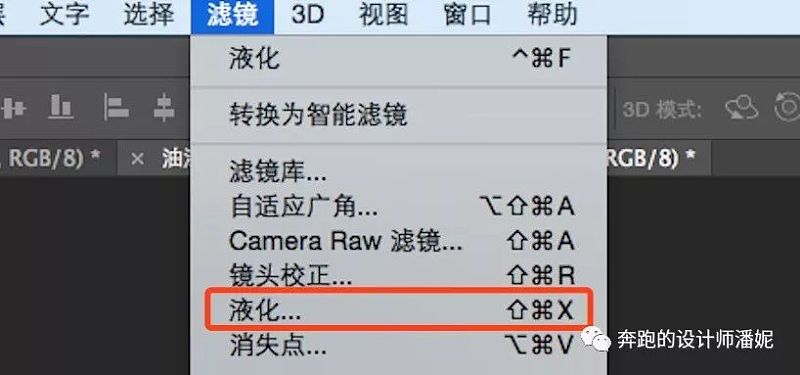
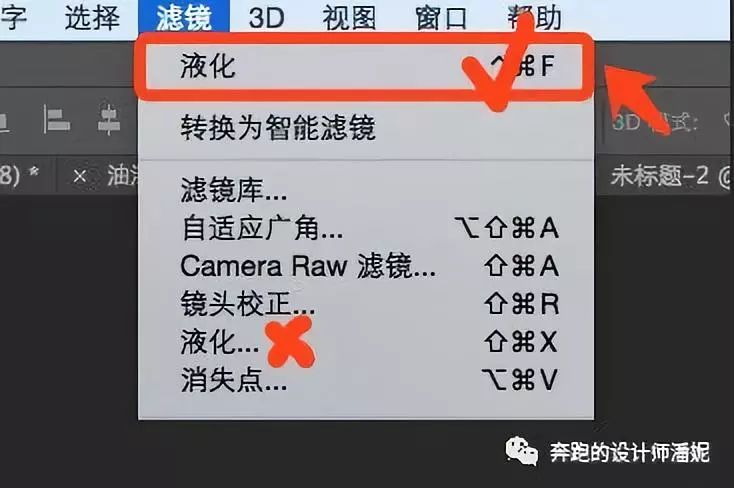
4. In addition to the background layer, stamp other layers and hide other layers. On the stamped layer, select: Filter > Liquify
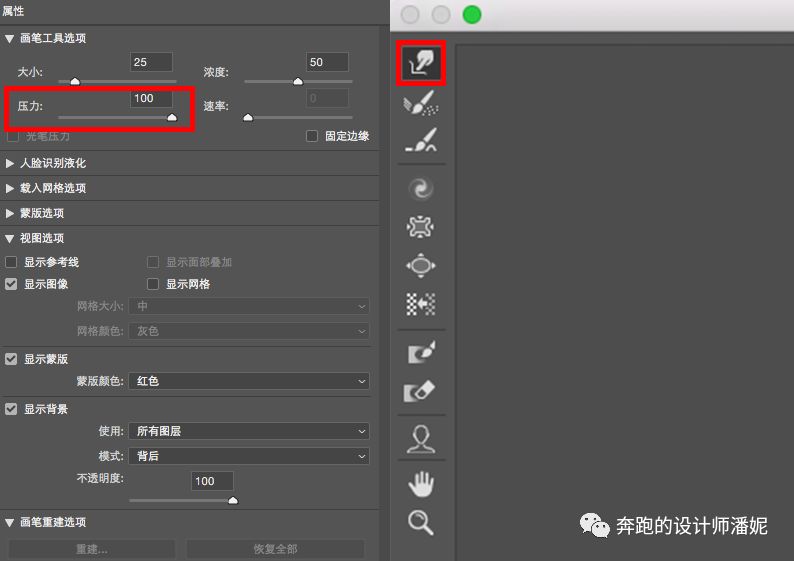
5. In the Liquify window, select the forward deformation tool (the first one by default), and then adjust the stroke to the size corresponding to the thickness of the stroke, and smear it once along the direction of the stroke:
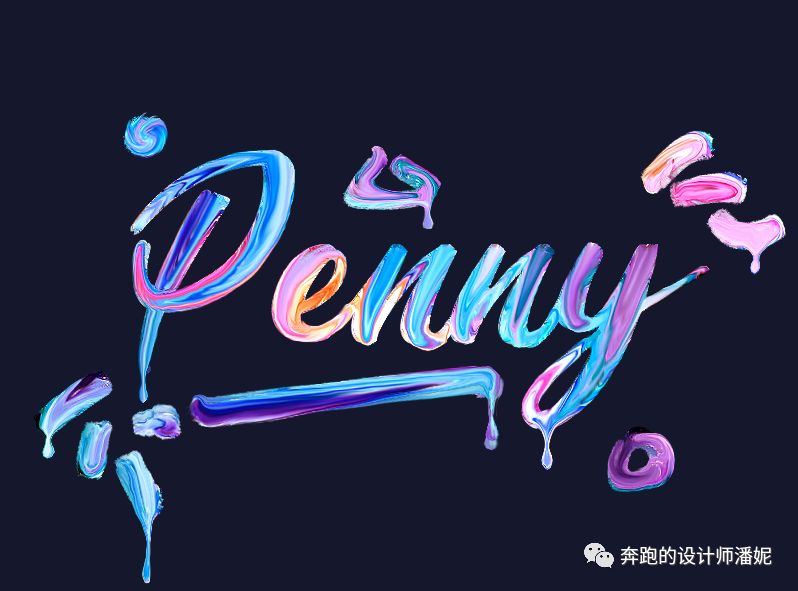
6. After smearing all the strokes (remember, you only need to smear once), click OK in the Liquify window, and click Filter > Liquify Effect (the most recently used filter, not the one below), press three or four times ,
7. And at the end of some strokes, drag down to make the liquid effect more obvious, pay attention to the law of the liquid flowing down: the end is spherical, and the middle should be thinner
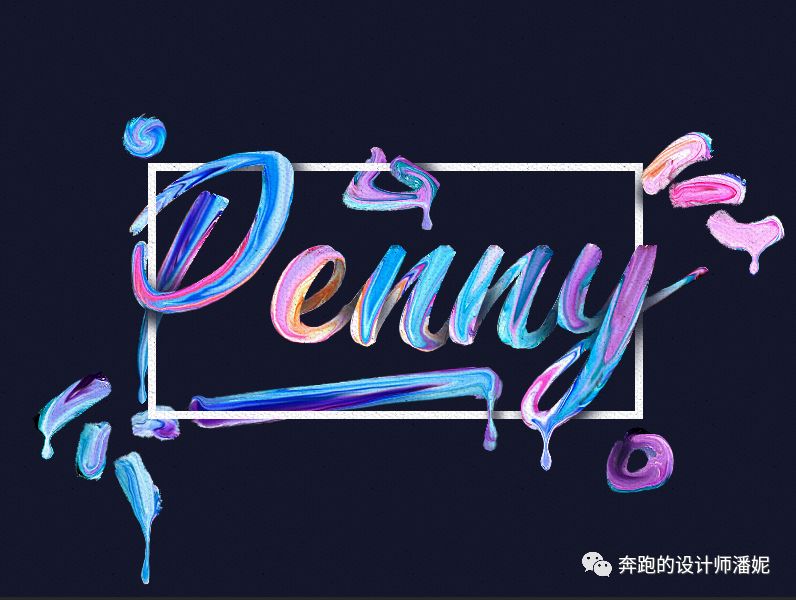
8. Create a new empty layer and cut it to the letter layer. Where the strokes touch, use the lasso selection to add a selection area, and use the brush tool to draw the projection:
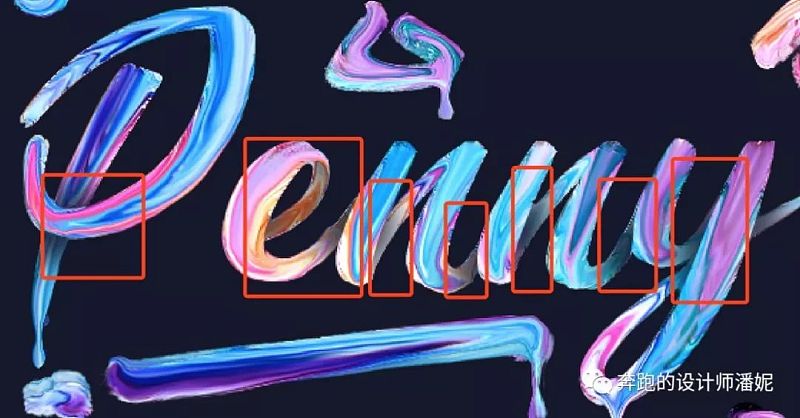
9. Draw a rectangular border and combine it with the mask tool to create a front and rear occlusion effect. Note that a projection should also be added:
Sauce sauce~ It’s done~ Isn’t it very simple~~~ Hurry up and get it~
For the source files and materials in this tutorial, please click on the right side of the page:
If you need the pictures and materials inside, please pay attention to the WeChat public account: Panny, the designer of the run
Reply to [paint font] to get the download link,
If you need font materials, please click on the previous article: [Handwritten English Fonts]
Or directly reply [handwritten English font] in the WeChat public account: pennyxstudio background

> Appreciation of other works
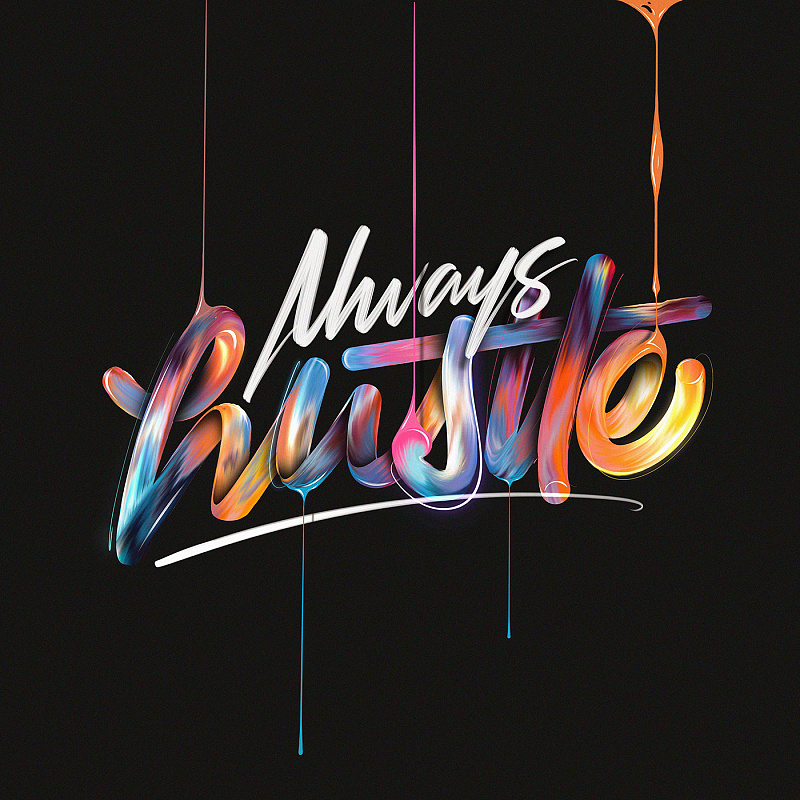

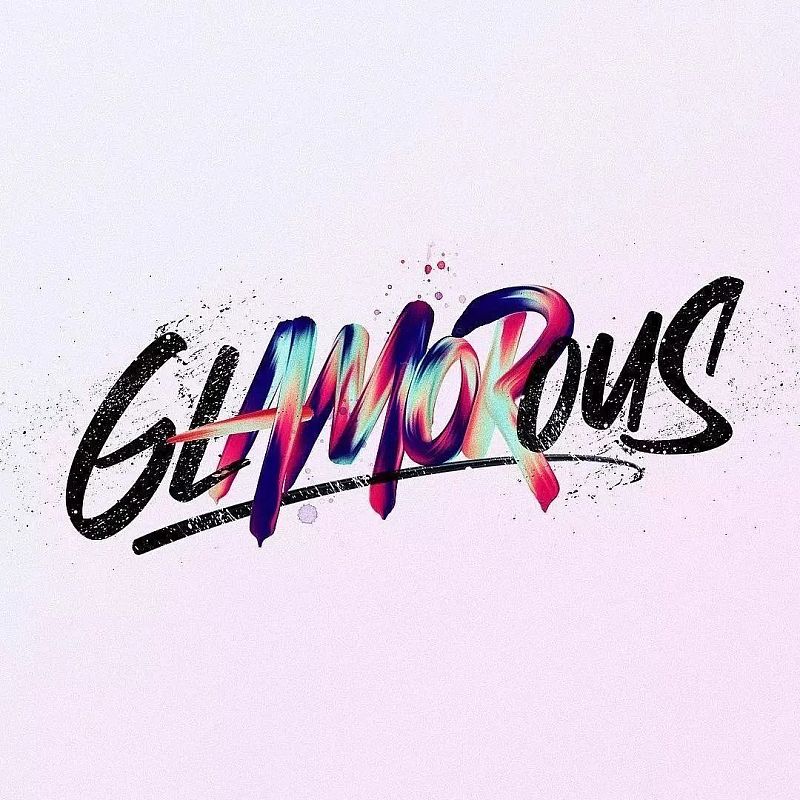

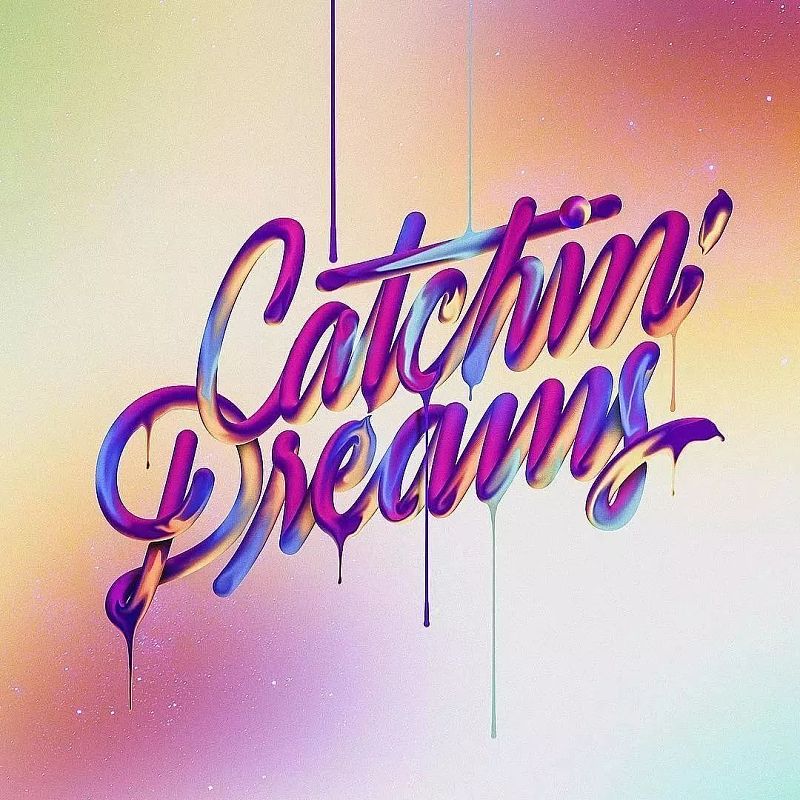
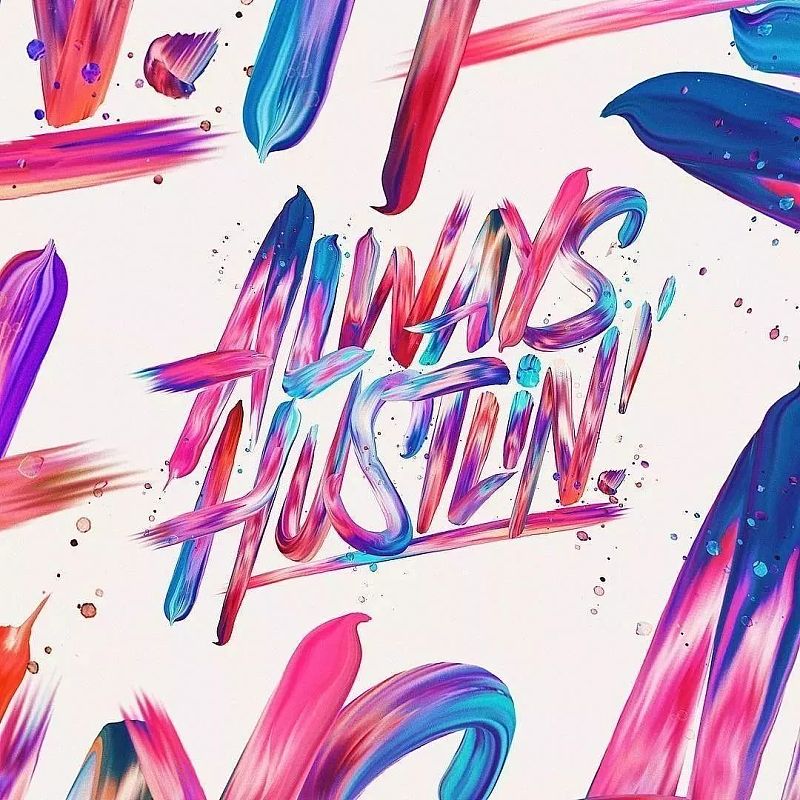
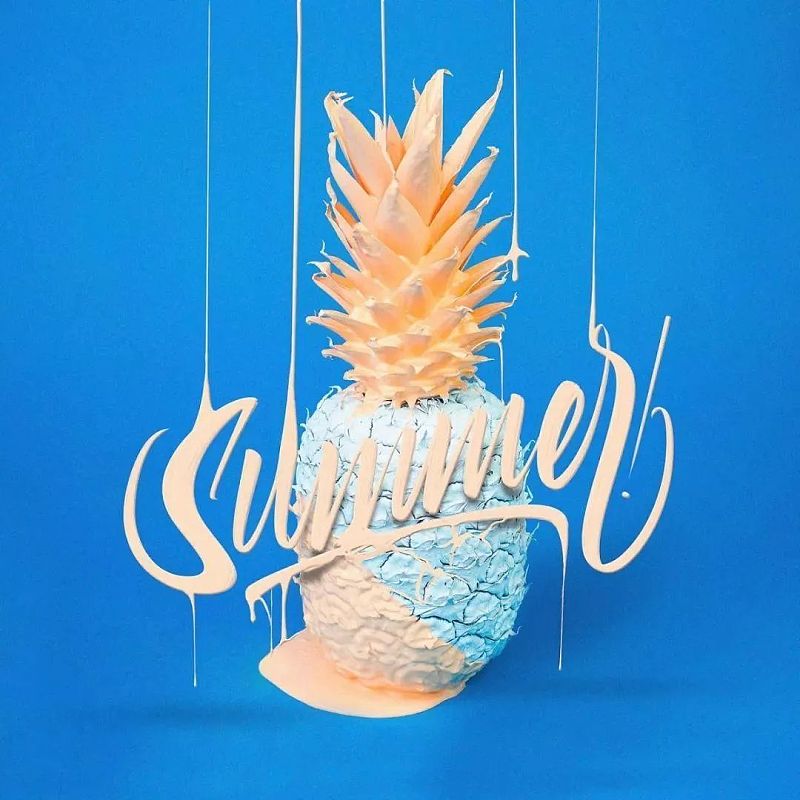
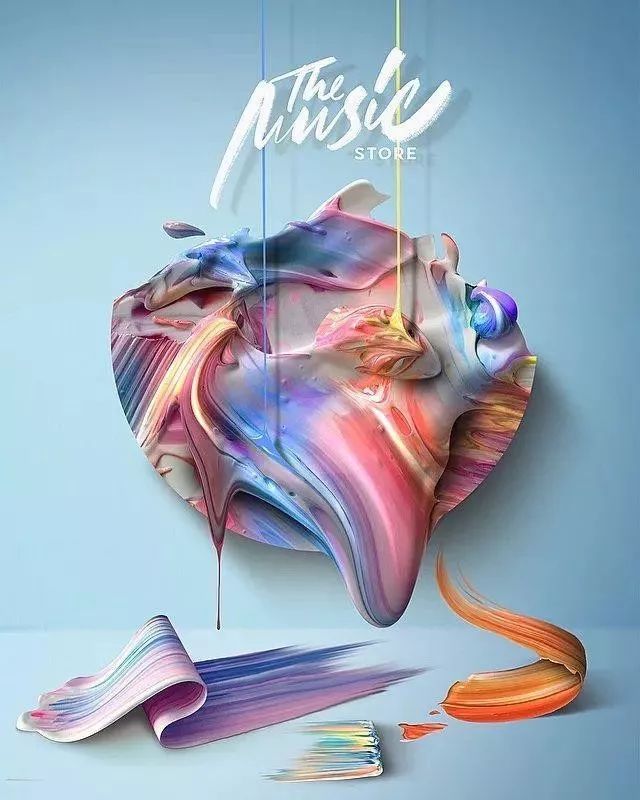

In addition to being used for font effects, this method is also very effective in the production of many abstract graphics.
Everyone may wish to try~
For the source files and materials in this tutorial, please click on the right side of the page:
See you next time~
Articles are uploaded by users and are for non-commercial browsing only. Posted by: Lomu, please indicate the source: https://www.daogebangong.com/en/articles/detail/Cool%20Paint%20Street%20Dance%20Font%20Tutorial%20Dry%20goods%20sharing%20with%20materials%20included.html
 支付宝扫一扫
评论列表(196条)
测试