Example to introduce the tutorial of using CorelDRAW X8 to make chalk characters. It is very easy to implement chalk characters in PS. Do you know how to do it in CDR? In many pictorial publicity, people will Choose chalk characters to express different feelings. In this article, the editor will share with you how to use CDR to make chalk characters, hoping to help you.

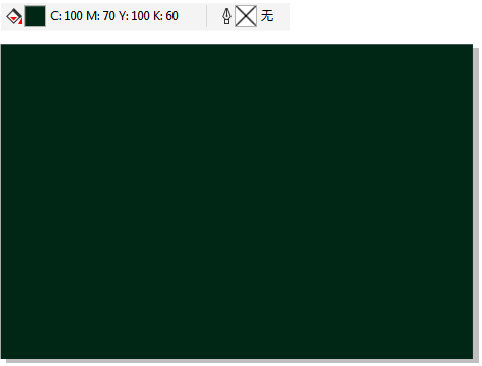
Step 1. First, open CorelDRAW, execute the "File > New" command, or press the shortcut key Ctrl+N to create a new blank document of appropriate size. Fill it with a dark color, you can use the color of the blackboard.
Step 2. Enter text, try to choose a thicker font, use the "color dropper tool" to sample the text color to match the color of the blackboard, and stroke it with white.

Step 3: Draw a rectangle on the text layer and fill it with white.

Step 4: Select the white rectangle, execute the "Bitmap>Convert to Bitmap" command, and then execute the "Bitmap>Distort>Block" command again, adjust the "Block" parameter, the effect is as shown in the figure Show.

Step 5. To achieve a suitable effect, you need to do more "blocky" operations.

Step 6, continue to execute the "Bitmap > Blur > Motion Blur" command. Set the "Direction" of the motion blur to 60 degrees, and customize other values to get the effect as shown in the figure.


Step seven, use the "Image Adjustment Lab" to adjust the color contrast to make it stronger.

Step 8. Select the adjusted picture, and execute the "Object>PowerClip>Inside the Frame" command to get the effect as shown in the figure.

Step 9. If you feel that the chalk effect is not strong enough, you can copy the picture that has been processed with "motion blur", and perform the operation of placing it inside the frame again to make the white in the font thicker.

Okay, through the above steps, you have learned. The above is just a simple demonstration of the editor. I suggest that you can make some improvements and innovations on this basis.
Text source: CDR Chinese official website
Articles are uploaded by users and are for non-commercial browsing only. Posted by: Lomu, please indicate the source: https://www.daogebangong.com/en/articles/detail/CDR%20making%20chalk%20character%20tutorial.html
 支付宝扫一扫
评论列表(196条)
测试