Let's have a simple look at the problem:
Is it the PPT of the Apple conference? Skilled children's shoes should know that this is very easy to make with Ai's rotation tool combined with blending modes.
Yelang tried it, and it really took only 5 minutes. However, it is also found that there is a knowledge point that is easy to overlook in the mixed mode.
So today we will further consolidate some basic knowledge of software use by sharing this small case.

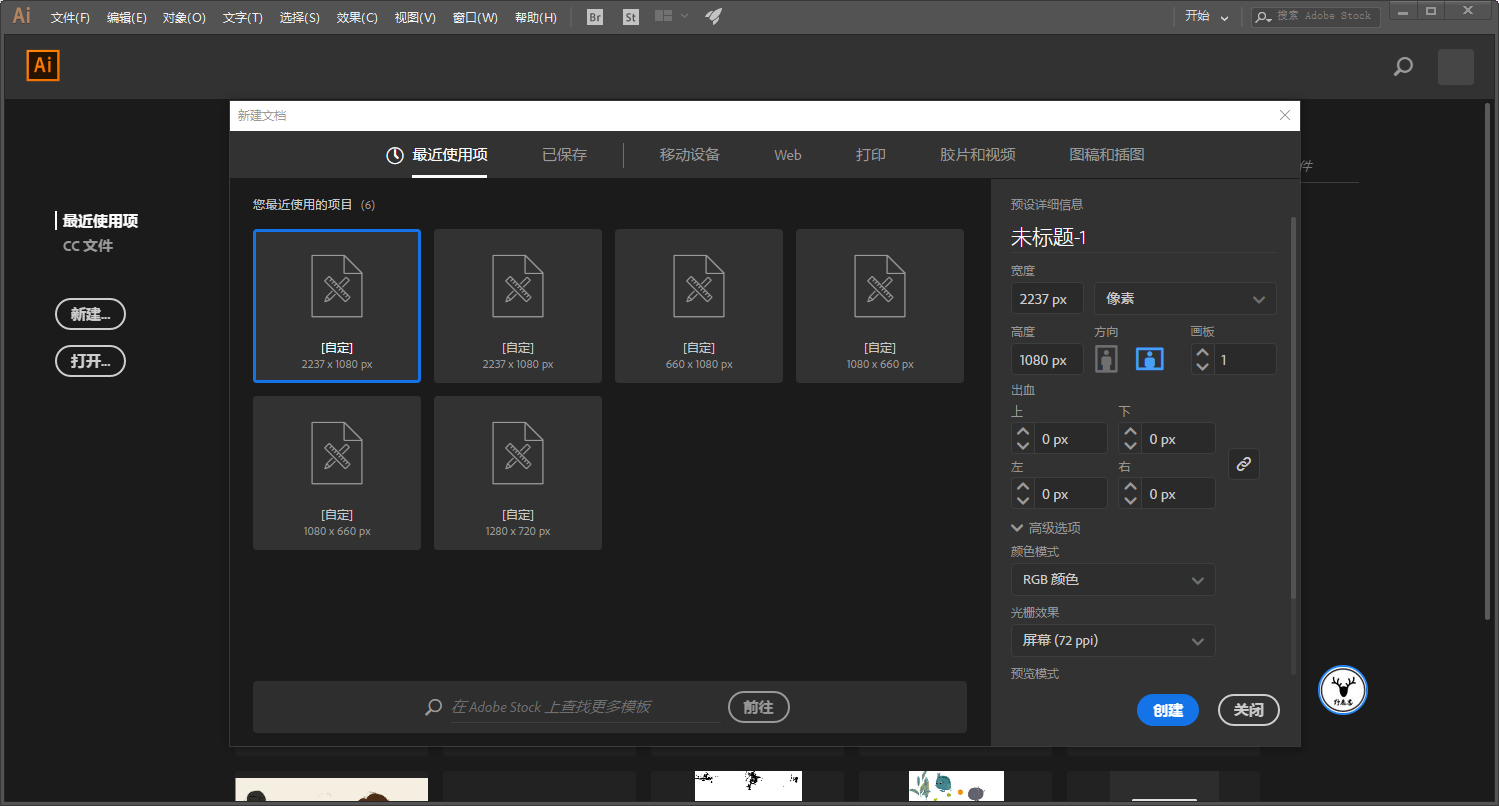
First open Ai, create a new artboard of any size:
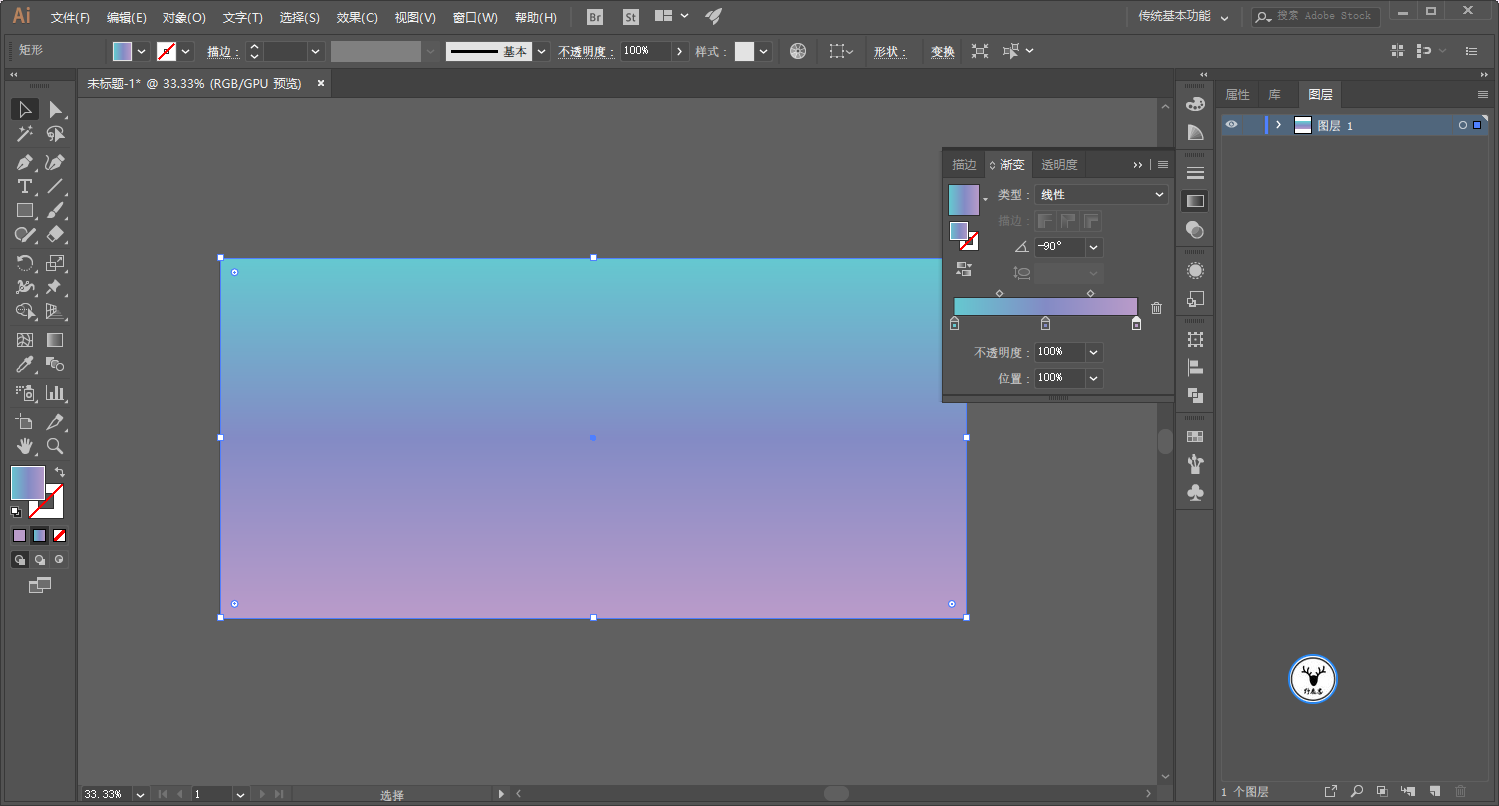
Draw a rectangle with a gradient color and hold Ctrl+2 to act as the background:
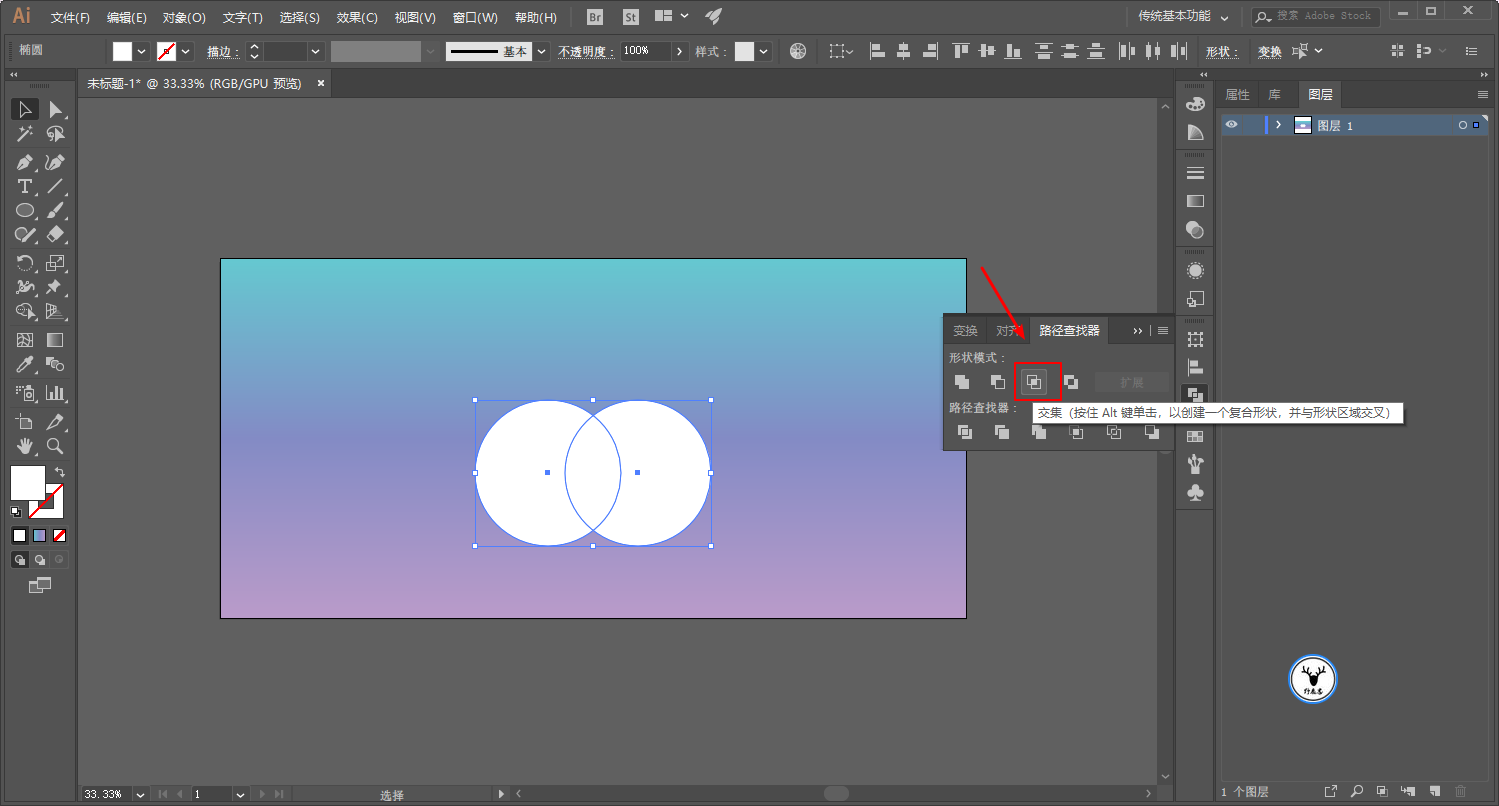
Draw two white circles again, after selecting the circles, use Pathfinder-Intersection to leave the intersecting parts:
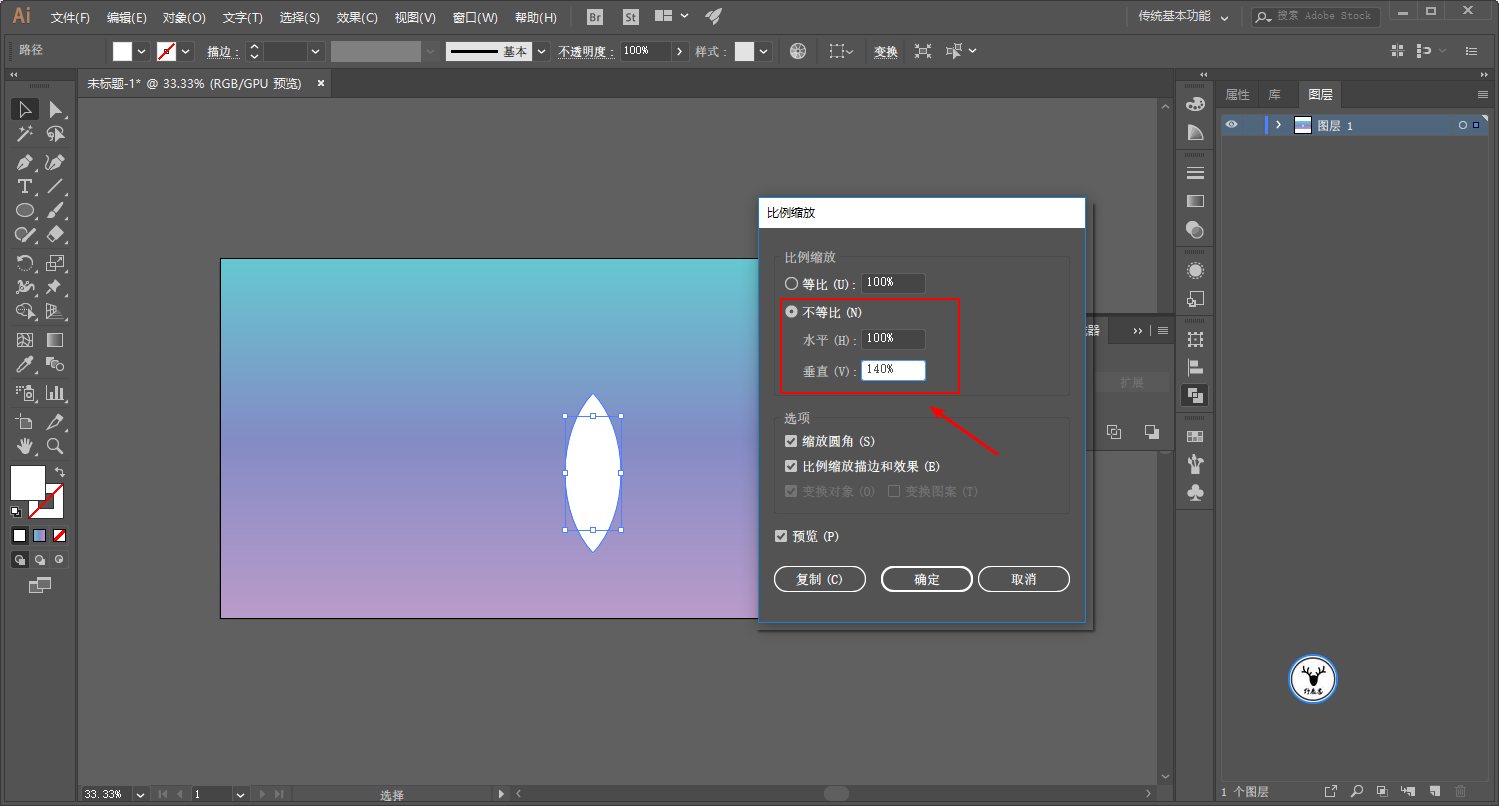
Use the zoom tool to change the shape of the object in the vertical direction:
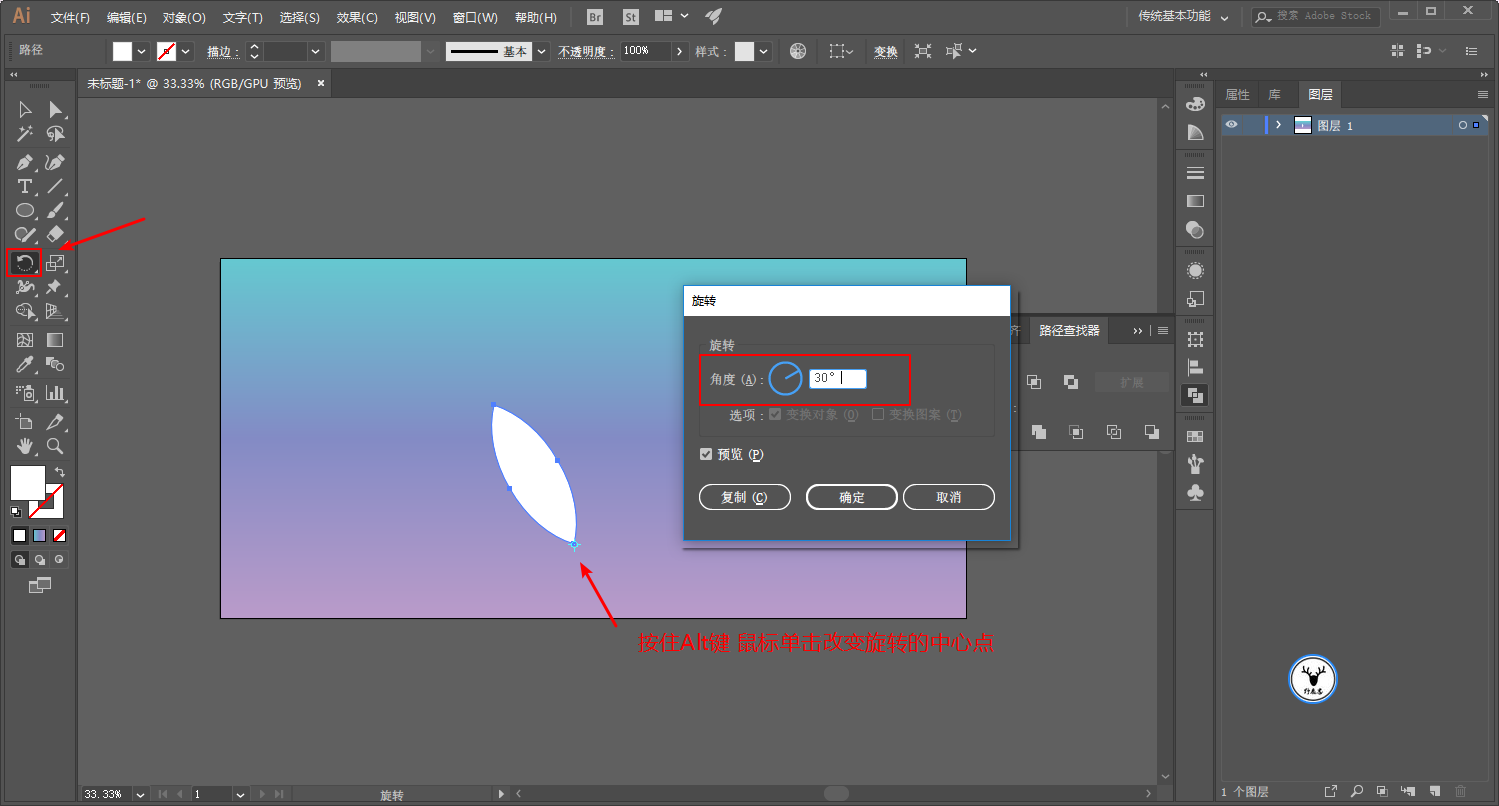
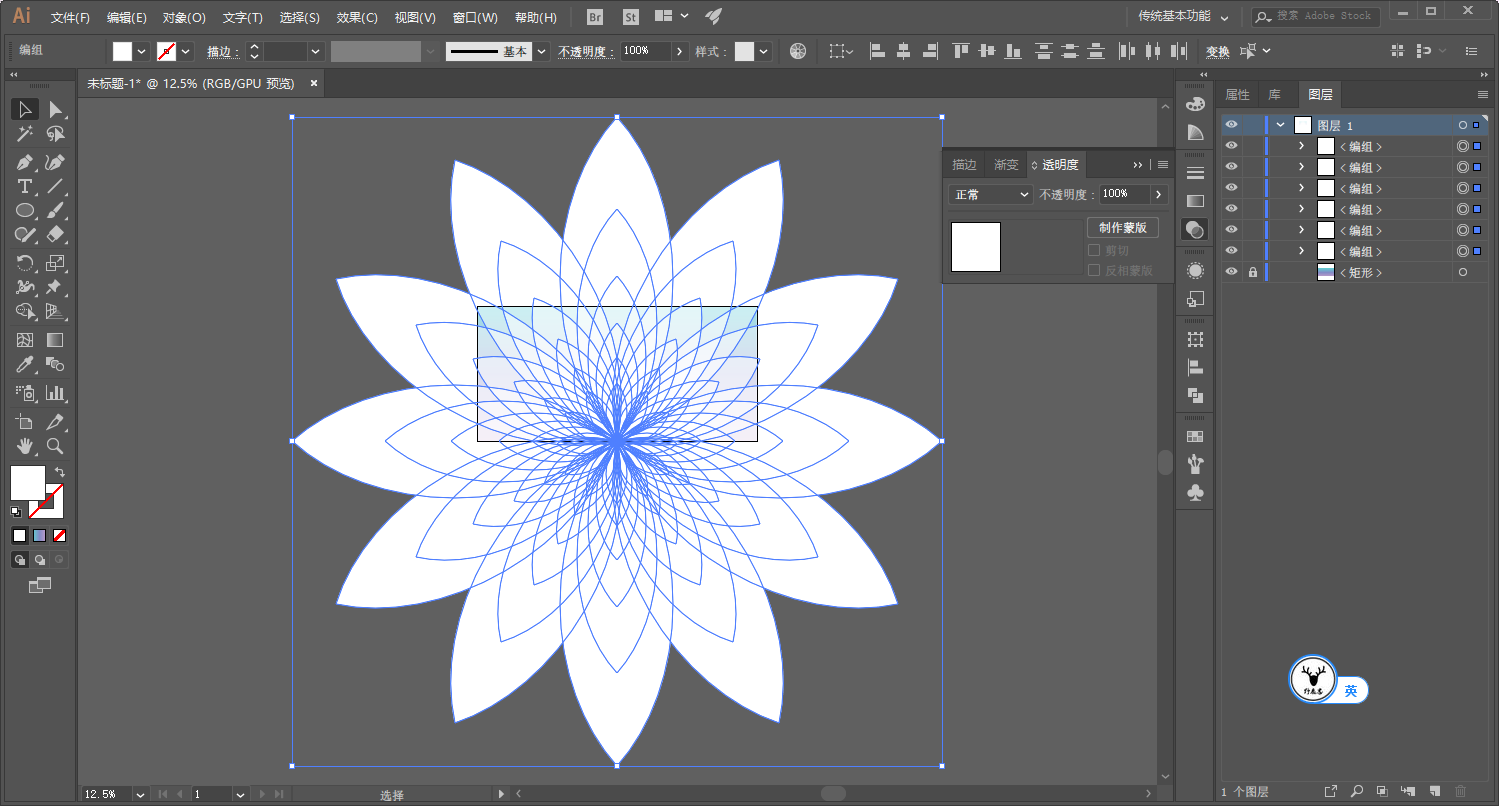
Select the object, click the rotation tool, hold down the Alt key and click the mouse to change the center point of rotation, then enter a suitable angle, and click to copy:
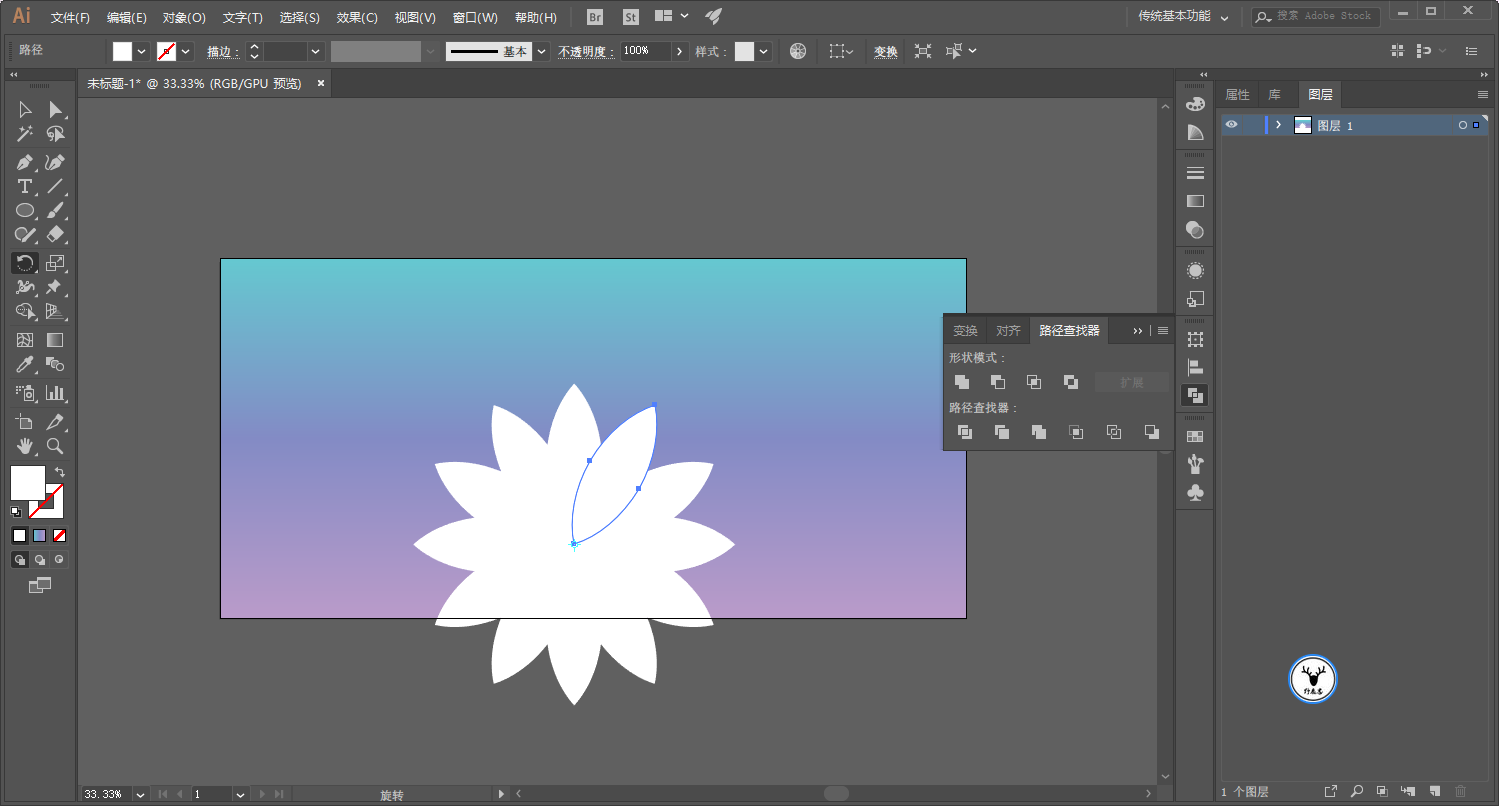
Ctrl+D repeats the transformation. Needless to say, this step looks like this:
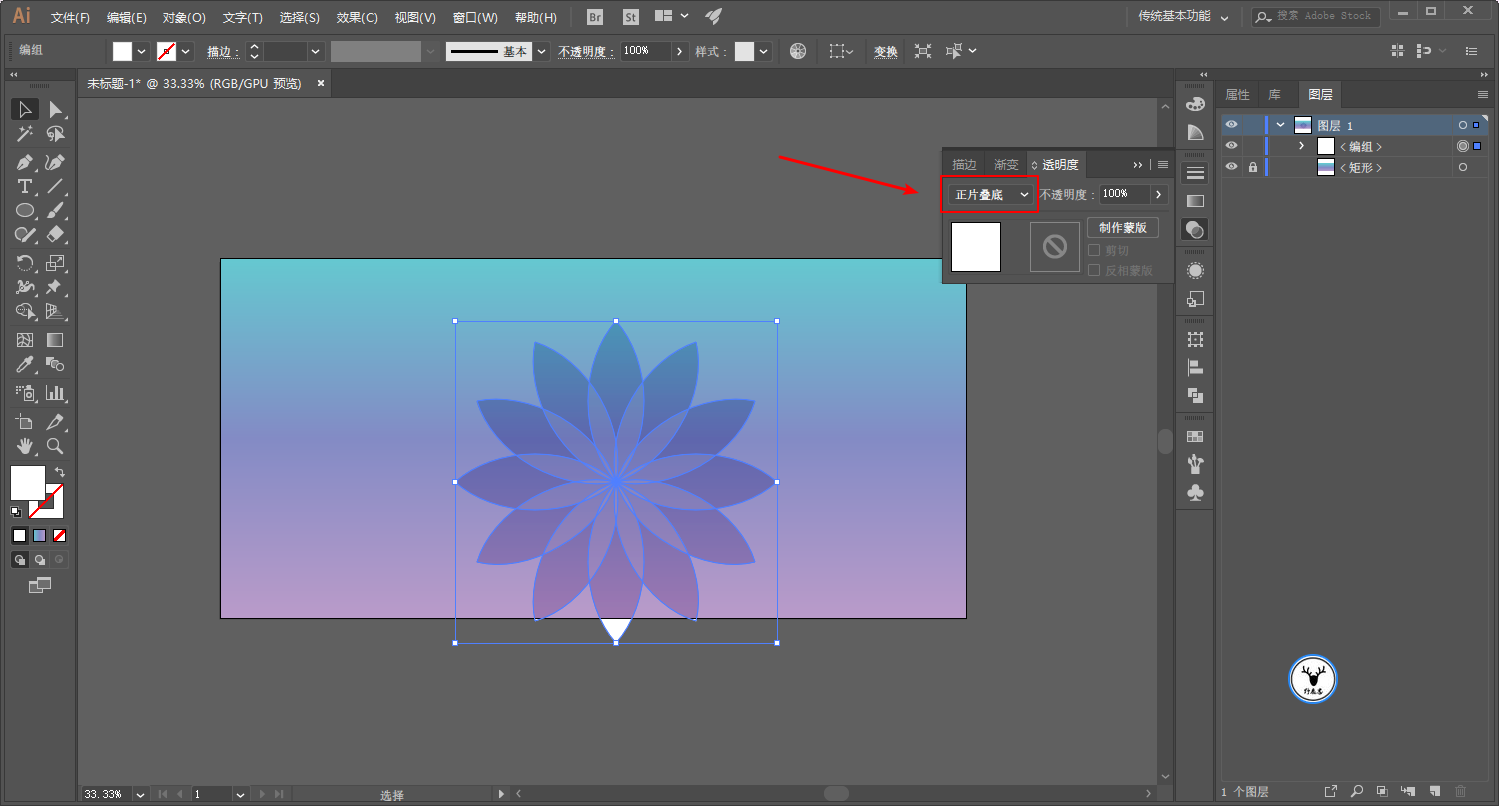
Here comes the important point. For the convenience of explaining to everyone, I copied the object here, and grouped the copied object Ctrl+G:
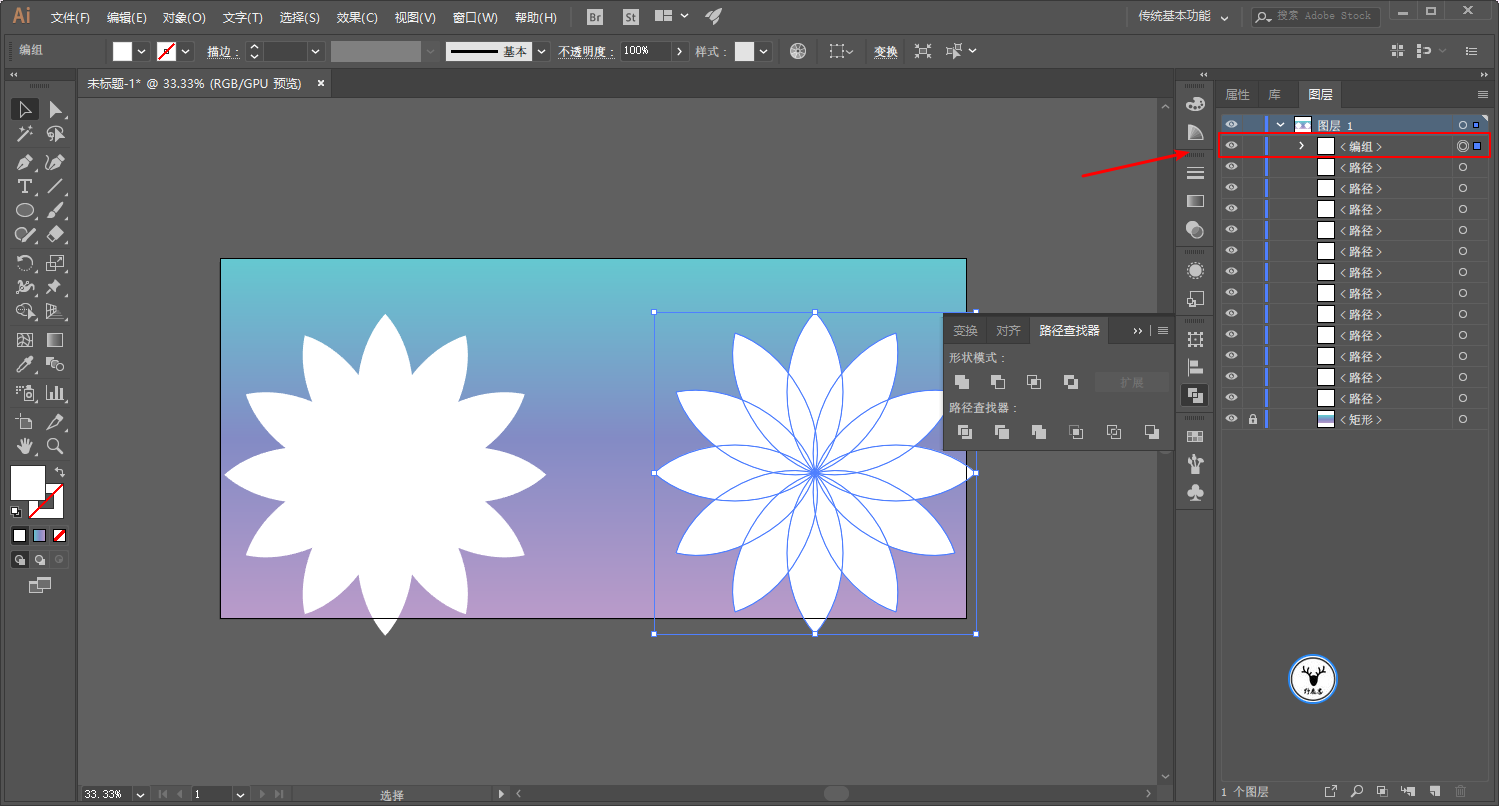
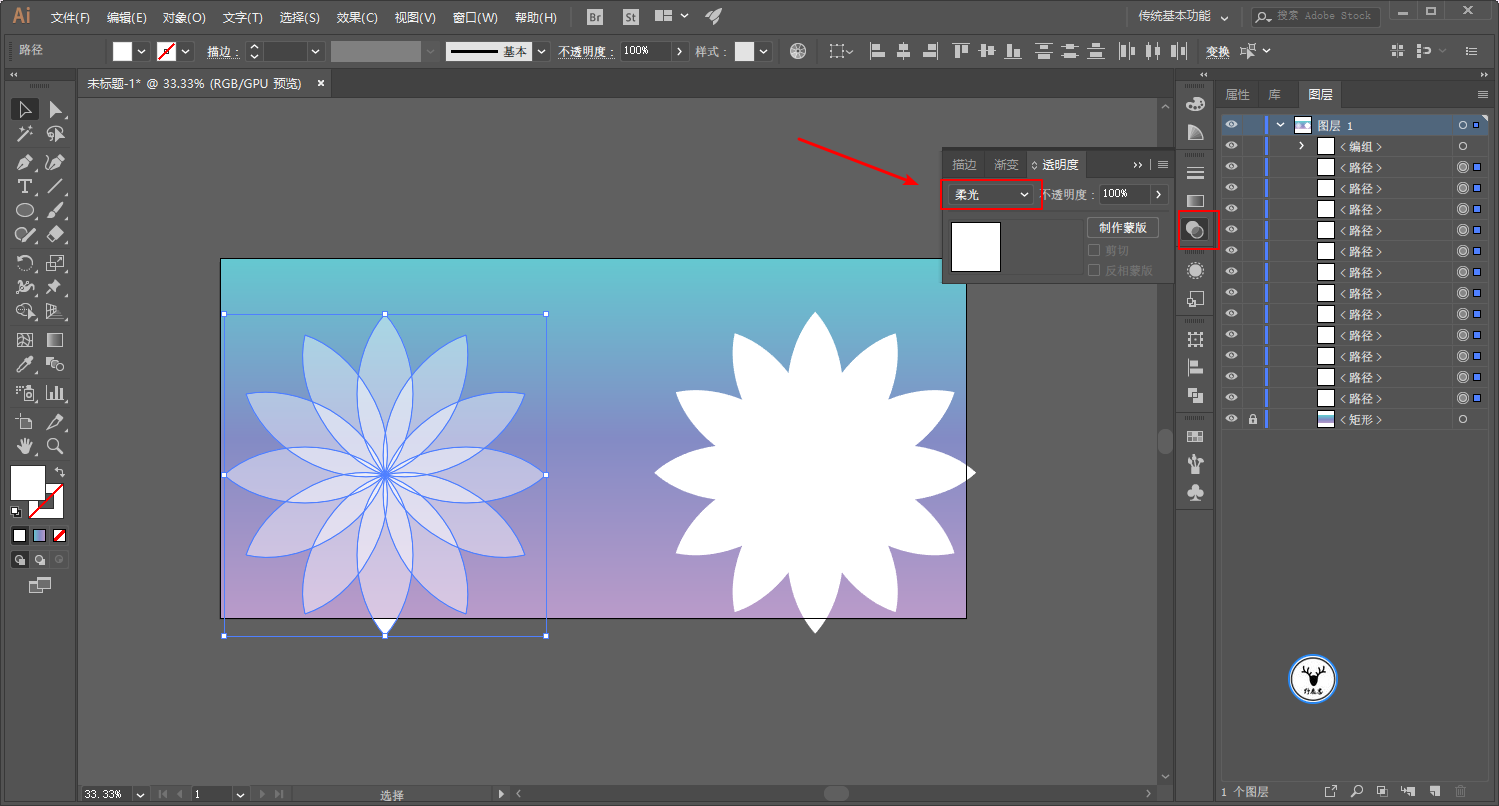
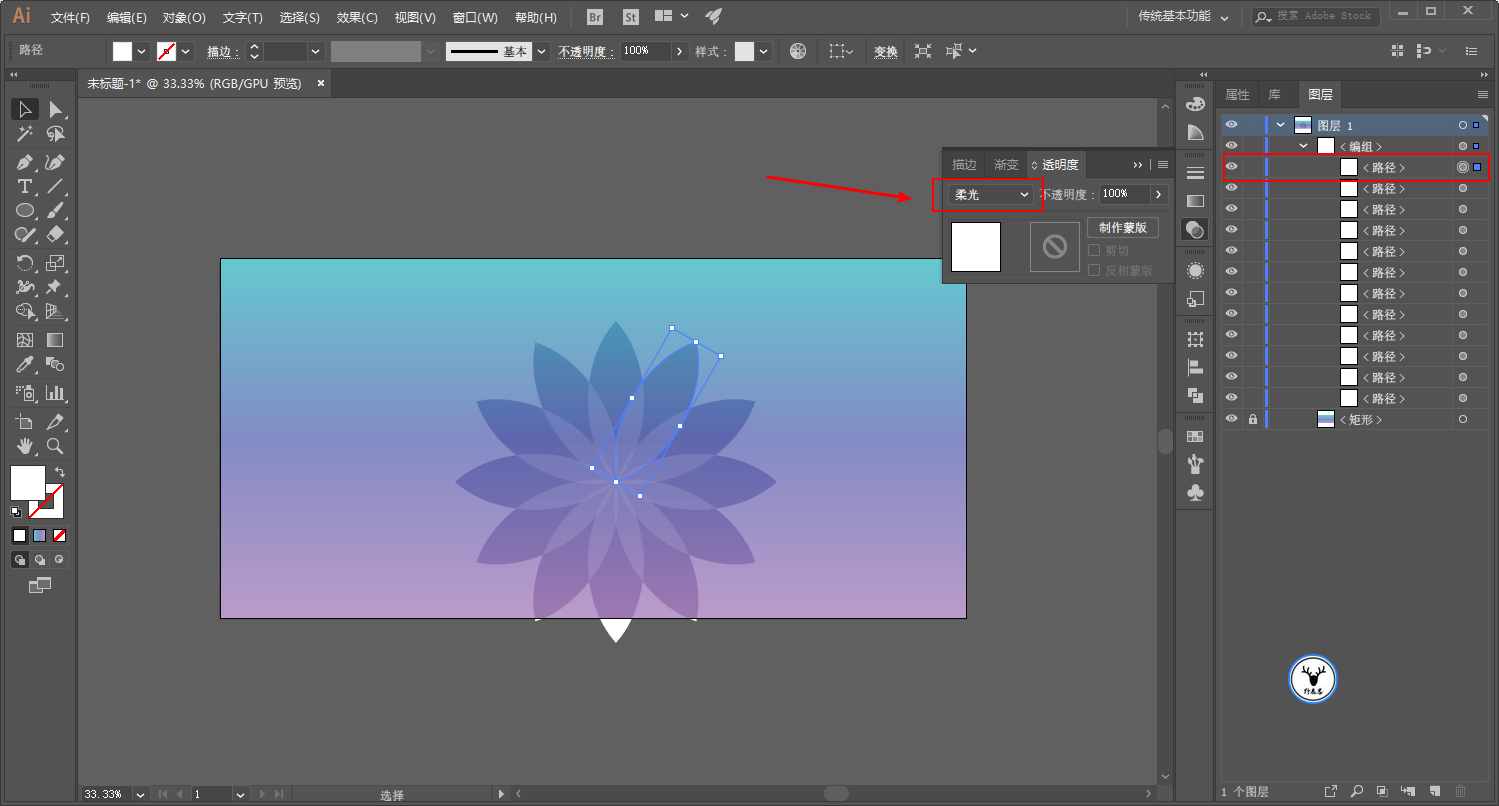
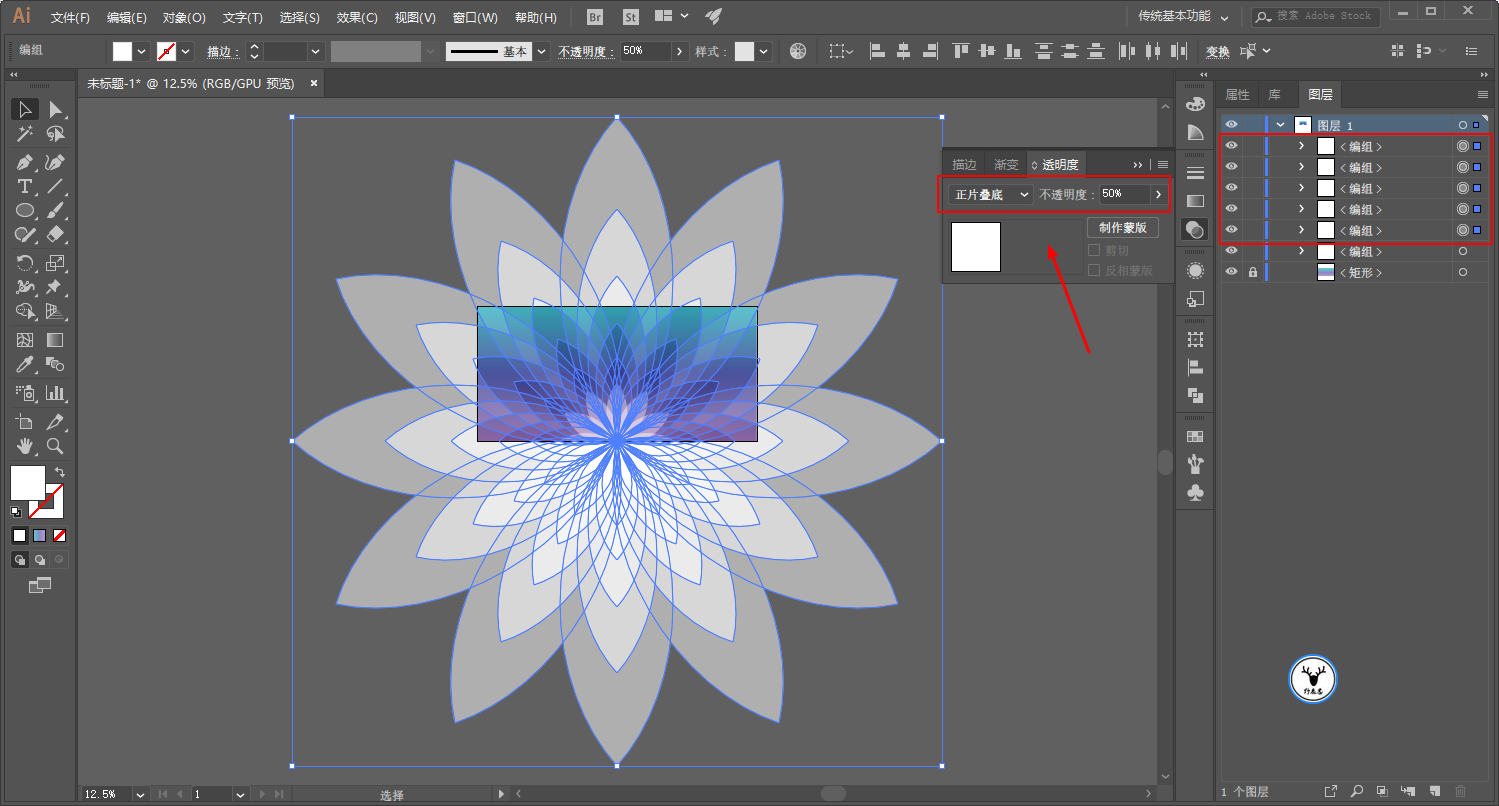
At this time, I select the ungrouped objects on the left, and change the blending mode to soft light:
Then change the blending mode of the objects grouped on the right to Soft Light:
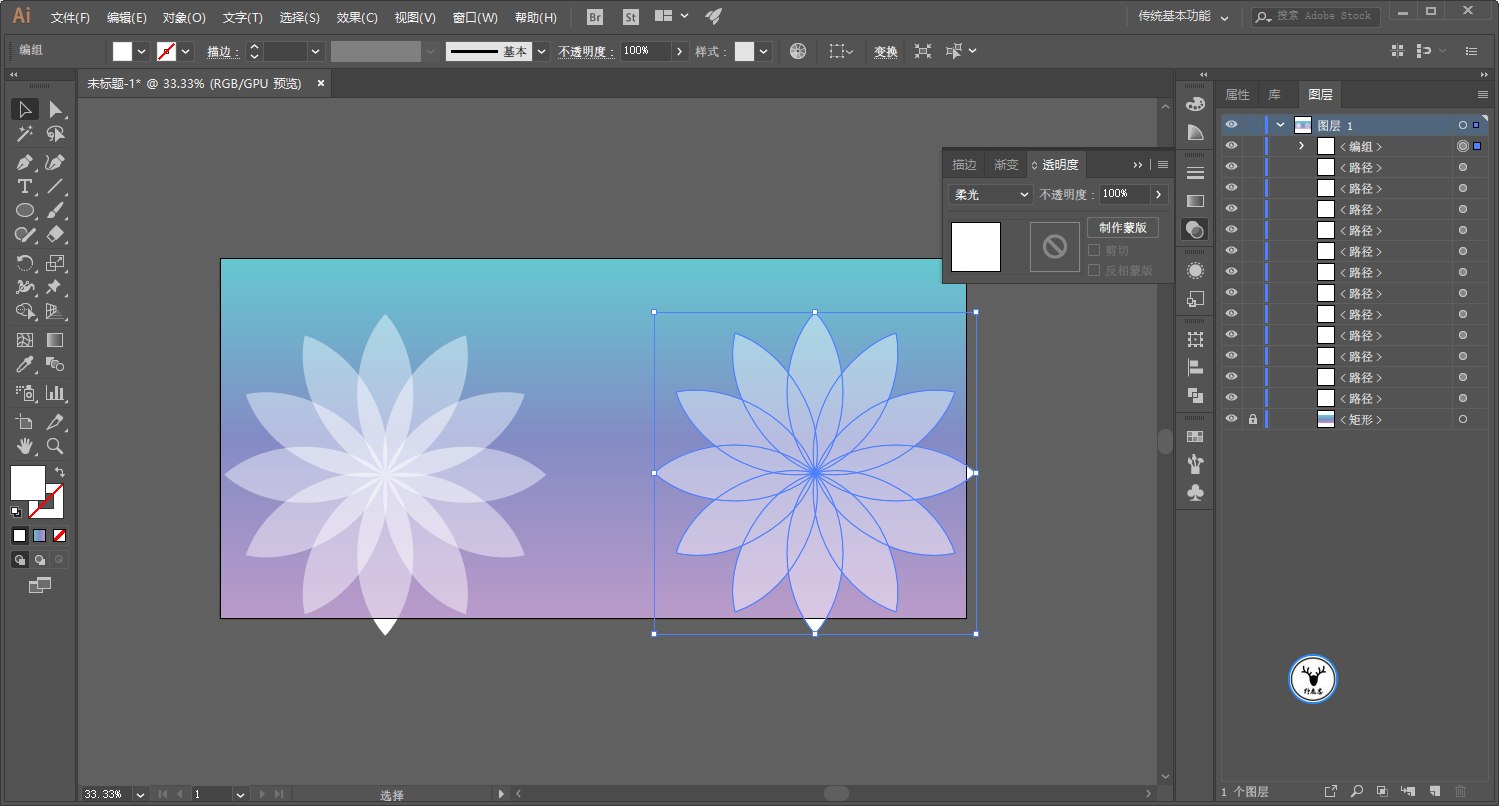
First of all, you can clearly see the difference from the effect. Every small part of the object on the left has a superimposed effect, while the object on the right is a whole without superimposed effect.
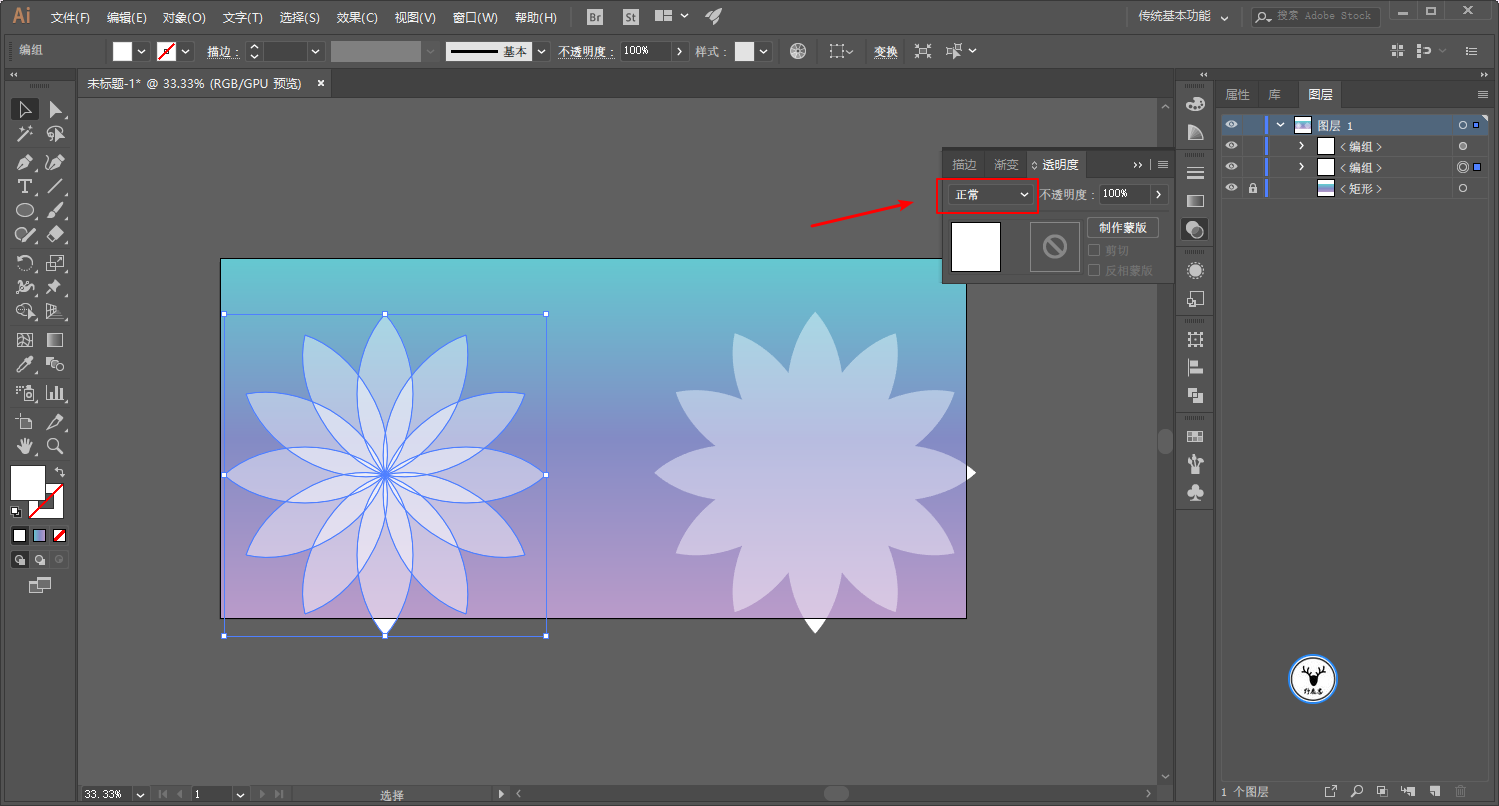
What is the reason for this? At this time, let's group the objects on the left, and you can see that the blending mode of the group is normal:
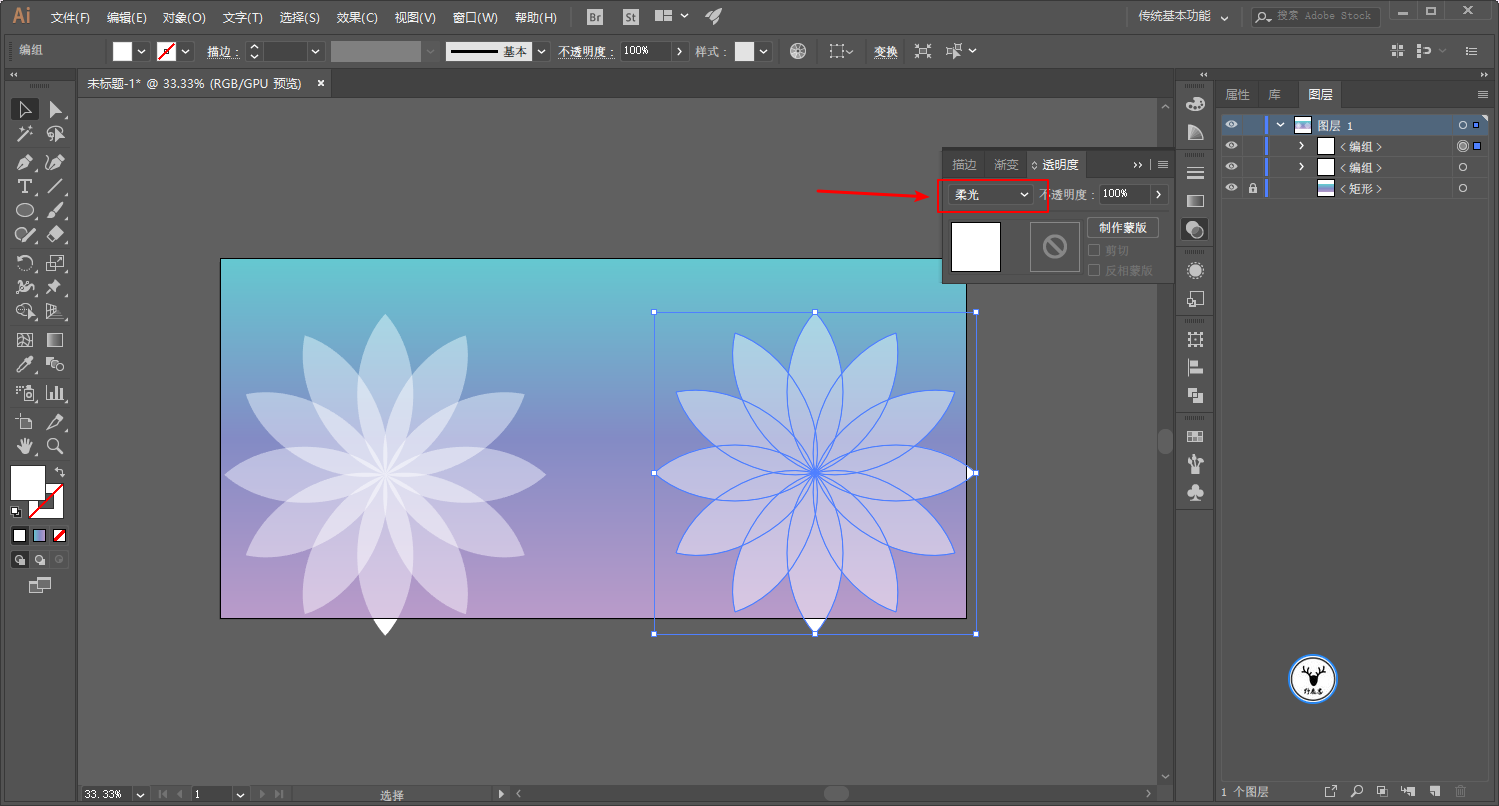
But when we expand the group, we will find that the blending mode of each object is soft light:

Looking at the object on the right again, the blending mode of the group is Soft Light:
However, the blending mode of each object after expansion is normal:

From this we can see a conclusion: The blending mode of the group and the blending mode of the layer exist independently, and changing the blending mode of the group will not change the blending mode of the layers in the group, which is the same as Ps.
To illustrate this further, let's change the blending mode of the group to Multiply:
You can see that the object blending mode under the group is still soft light:
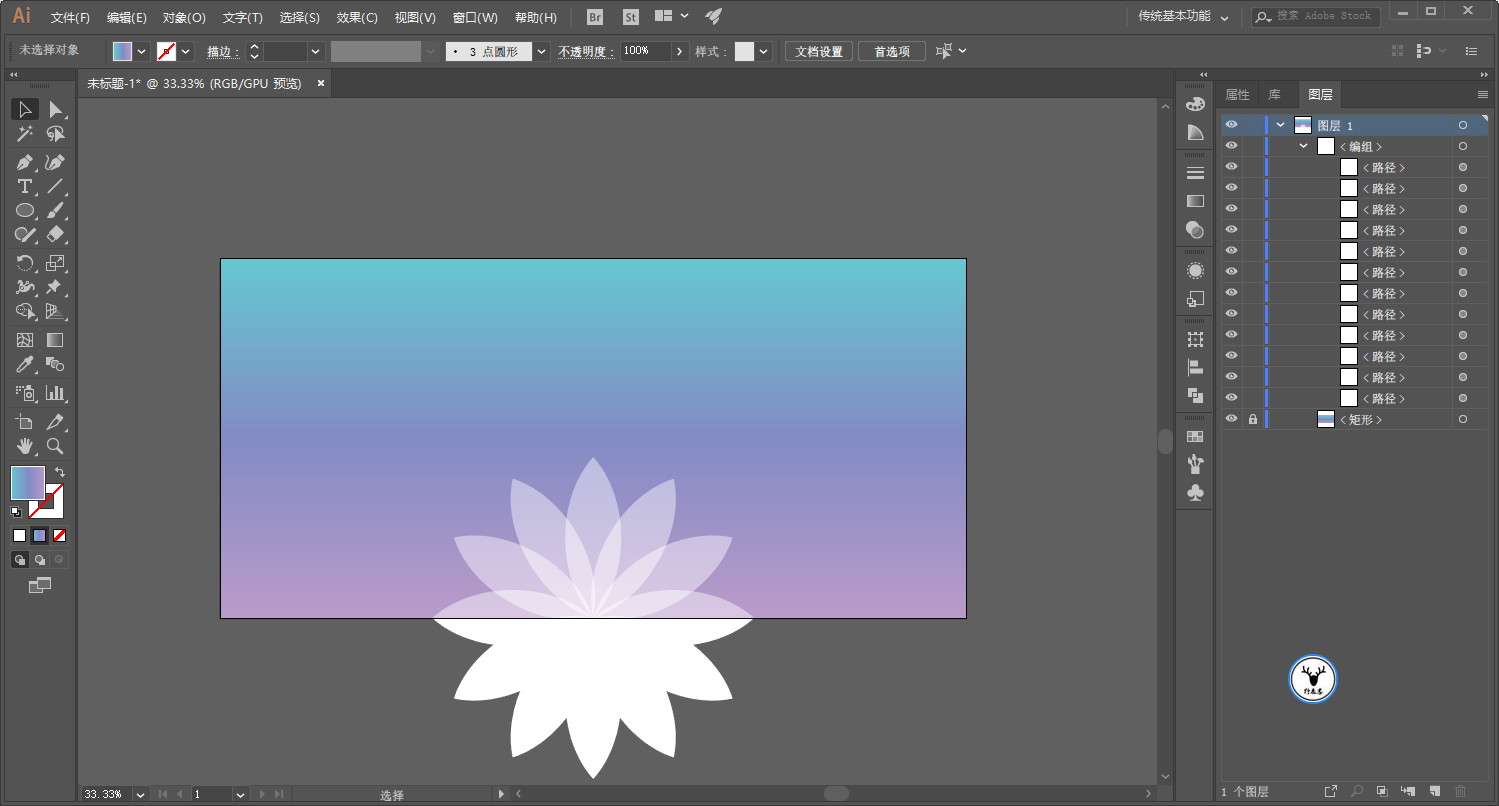
Ok, let's make this note clear, let's continue today's content and put the graphics in the right place:
The selected object is scaled proportionally, the ratio is easy for everyone to figure out, and then click Copy:
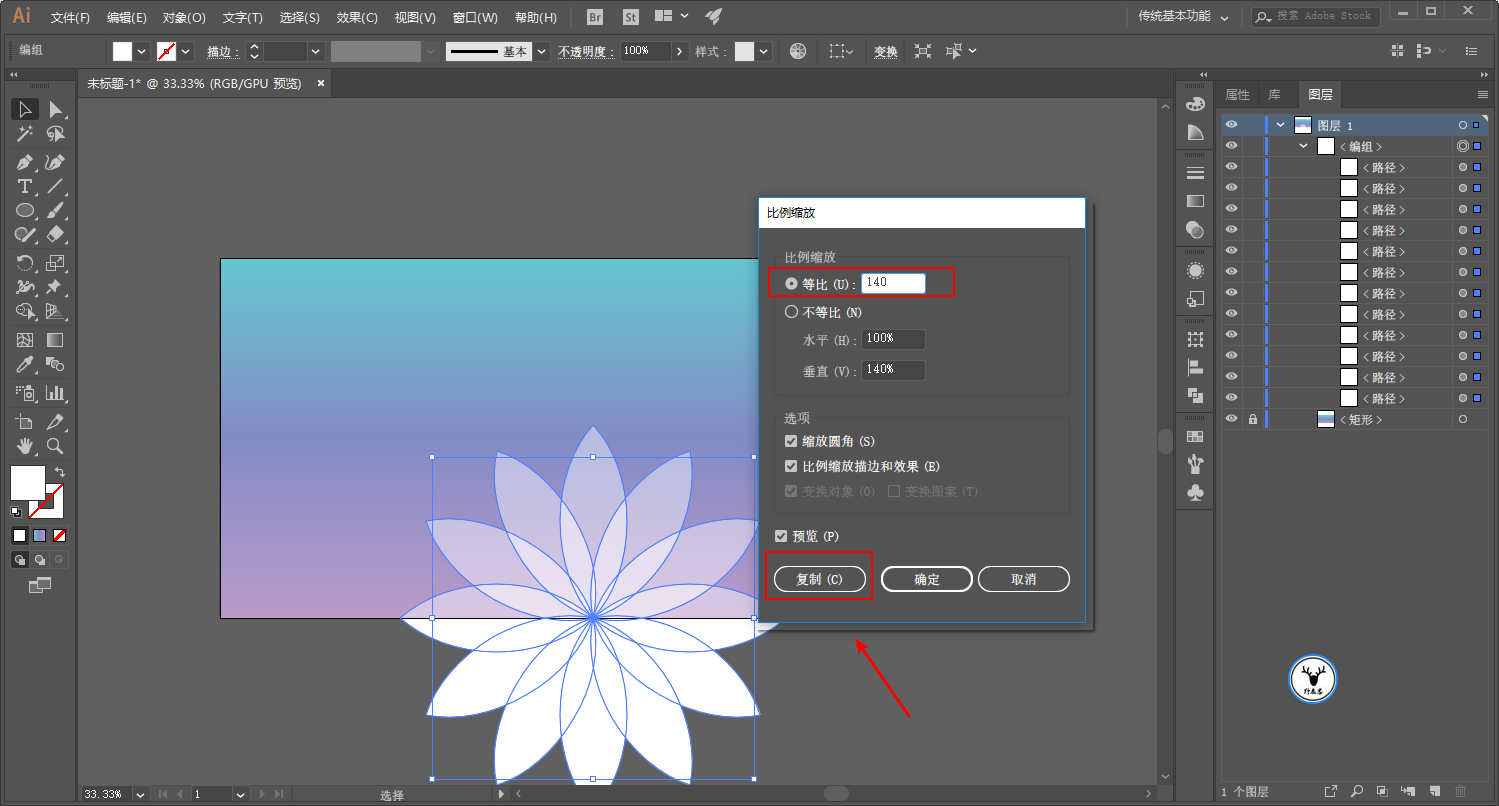
Ctrl+D to repeat the transformation, this step goes without saying:
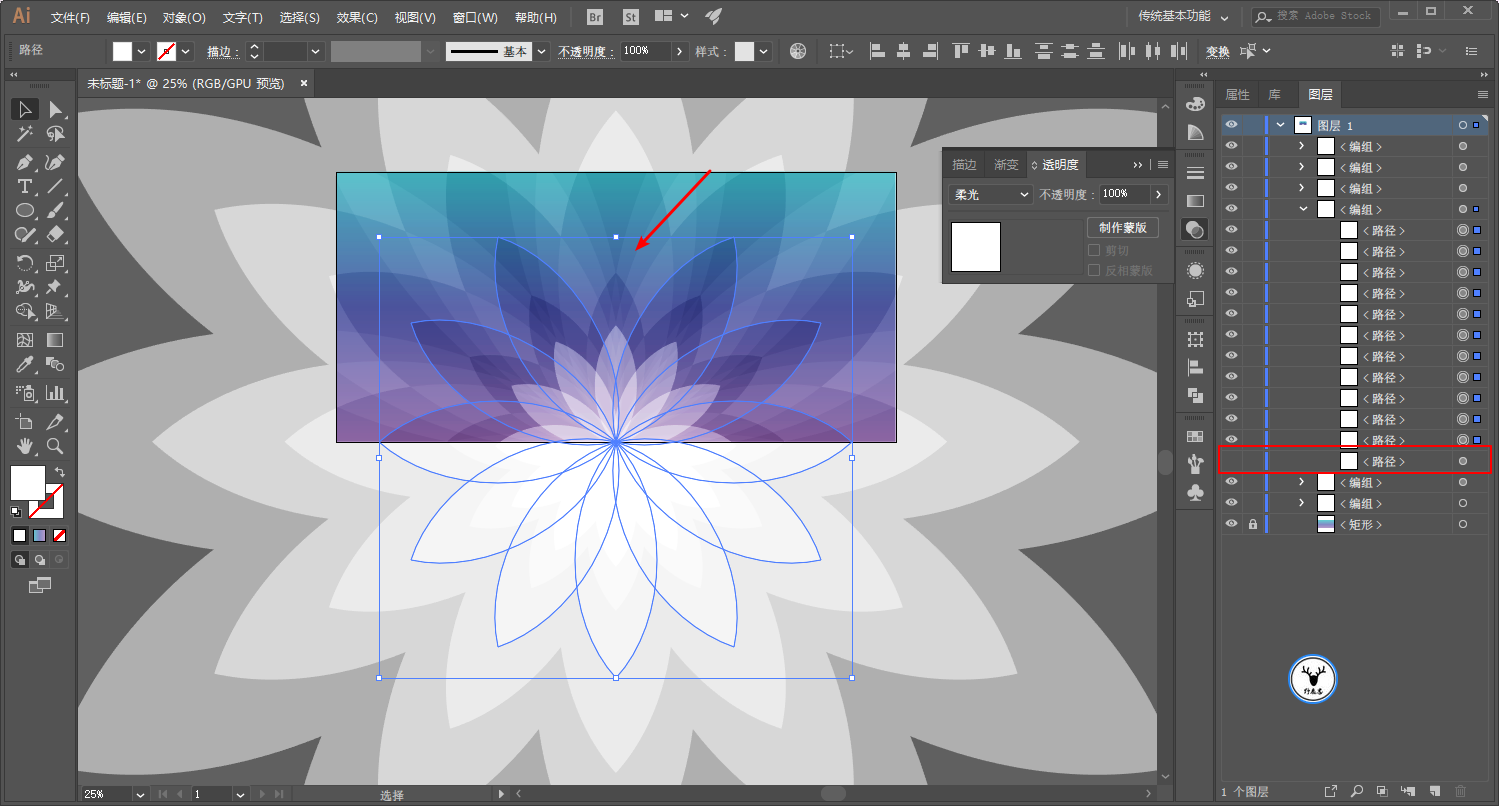
Press and hold Shift to select the group in the Layers panel, change the blending mode of the selected group to Multiply, and lower the opacity:
You can also select an object individually through the layer panel and hide it to make the picture look less dull:
Draw a rectangle with the same size as the artboard, select all objects, and execute Ctrl+7 to create a clipping mask to get rid of the redundant parts:
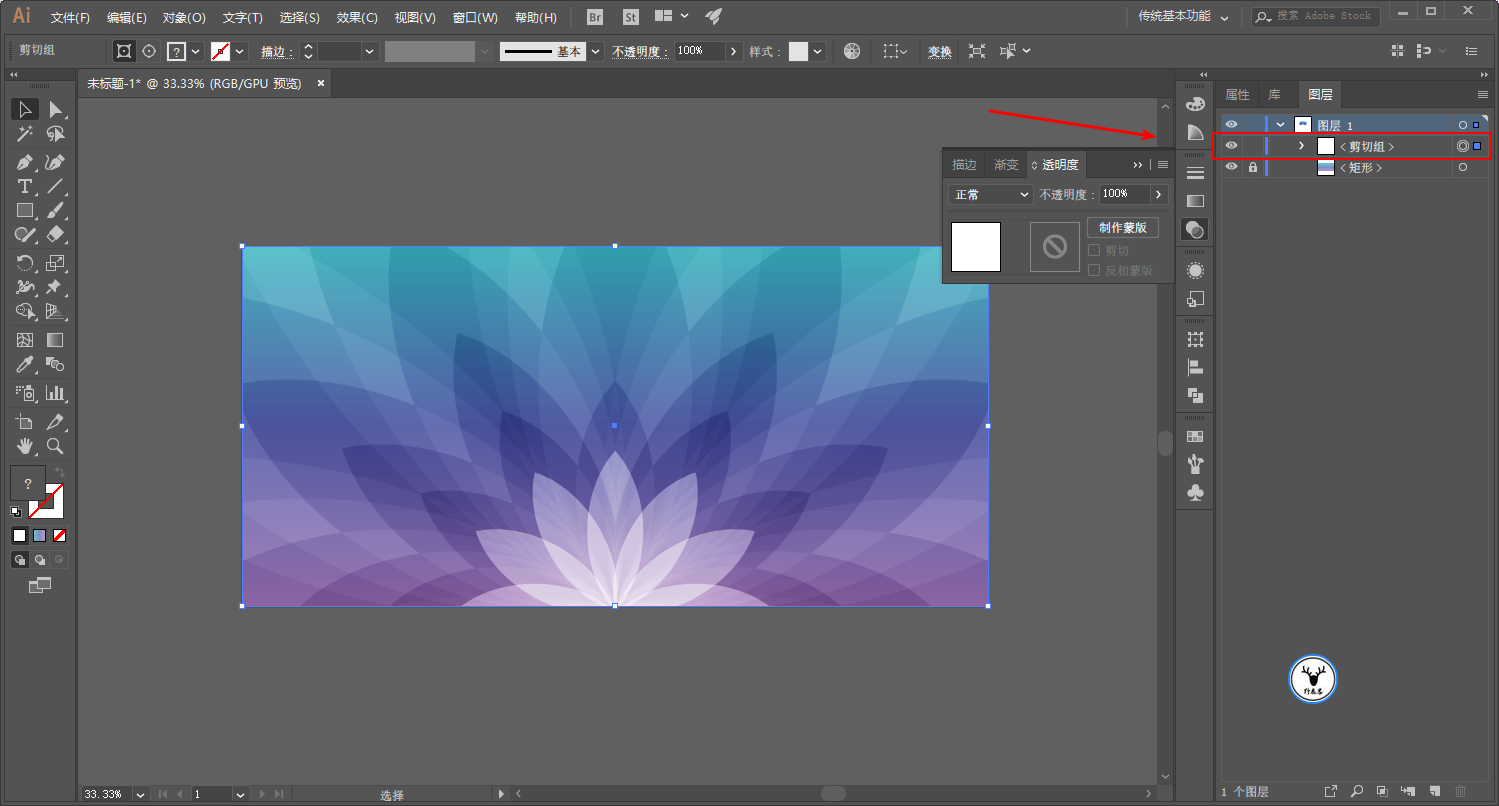
Finally, add some text, Logo or something to export the picture to see:

Because the actual production content is very simple, I tried to make a short video version for children's shoes in need to watch:
If everyone thinks the effect is good, I will consider making some of the previous content into a video version in the future, and new content in the future will also be considered.
Well, that's all for today's sharing, if you want to practice, please reply Tick me to get the source file!
This article was published by "Wild Deer"
Please contact the author "Red Deer Yelang" before reprinting
private transfer must be investigated

Keep Curiosity Keep Learning
Public account ID: yeluzhi666
WeChat ID: maluyelang666
Articles are uploaded by users and are for non-commercial browsing only. Posted by: Lomu, please indicate the source: https://www.daogebangong.com/en/articles/detail/Ai%20Wild%20TutorialHow%20to%20make%20the%20PPT%20pattern%20of%20the%20Apple%20conference.html
 支付宝扫一扫
评论列表(196条)
测试