In the process of CAD design and drawing, the designer uses different font sizes, tilt angles, rotation angles, or other special effects to express the same text object, so the text displayed The appearance effect is also different. Designers of attribute CAD software know that the factors that determine the appearance of text can be set and controlled through the [Text Style] tool provided by the software. Taking ZWCAD as an example, there are mainly the following ways to execute the [Text Style] command:
1. Click [Format] - [Text Style] in sequence.
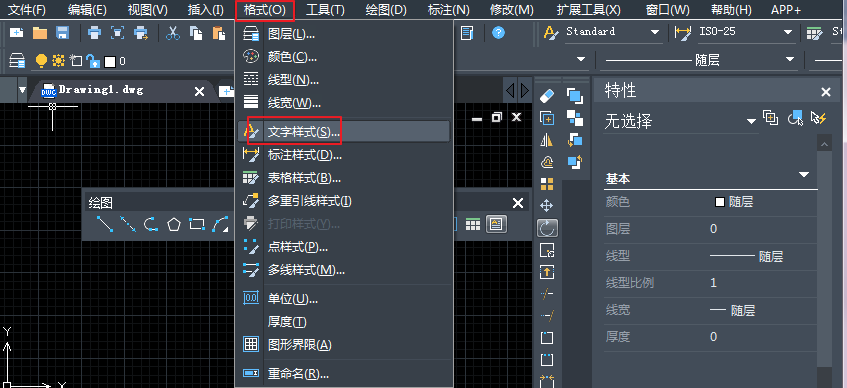
Figure 1
2. Enter STYLE or ST in the command line and press enter, which is also a shortcut commonly used by many designers.
A series of operations such as text style setting, modification, and effect preview are also performed in the [Text Style] dialog box. Designers can use any of the above methods to invoke the command to open this dialog box. The following are the specific operation steps of text style setting:
Step 1: Start ZWCAD software and create a new blank file.
Step 2: Enter STYLE on the command line, activate the [Text Style] command, and the software will pop up the [Text Style] dialog box, as shown in the figure below.

Figure 2
Step 3: Click the New button at the top of the dialog box, and in the [New Text Style] dialog box that pops up, name the new style. Then click the [OK] button to create a text style named "Style 1".
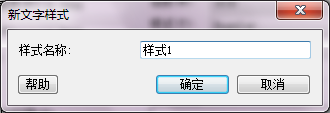
Figure 3
Step 4: Expand the [Font Name] drop-down list in the [Font] option group, and select the desired font. Then deselect the [Use Large Font] check box in the option group, and as a result, all CAD-compiled fonts and registered TRUESTYLE fonts are displayed in this list box. Of course, the designer can also choose a certain font as the font of the current style.
Step 5: Set the height of the text in the [Height] text box. Special attention should be paid, if the designer sets the text height, the command line will not prompt to enter the text height when creating text later. The editor recommends not to set the height of the font here.
Step 6: Set the text effect. To explain, select the [Invert] check box to set the text upside down; select the [Reverse] check box to set the text to reverse; select the [Vertical] check box to control the text to be vertically arranged; [Tilt] Angle] The text box can be used to control the inclination angle of the text, which is easy to understand.
Sets the width scale. Set the aspect ratio of the font in the [Width Factor] text box.
Preview how your text will look. In the preview box, you can visually preview the effect of the text.
Click the delete button to delete the selected redundant text styles.
Click the Apply button to set the last text style as the current style.
Click the Set as Current button to set the currently selected style as the current text style.
The above are the methods and steps for quickly creating and setting text styles in ZWCAD, which will be helpful for designers to improve drawing efficiency after mastering them proficiently. If you have other better methods, welcome to leave a message and share with the editor.
Articles are uploaded by users and are for non-commercial browsing only. Posted by: Lomu, please indicate the source: https://www.daogebangong.com/en/articles/detail/Advanced%20CAD%20Drawing%20Tutorial%20How%20to%20Quickly%20Create%20and%20Set%20Text%20Styles.html
 支付宝扫一扫
评论列表(196条)
测试