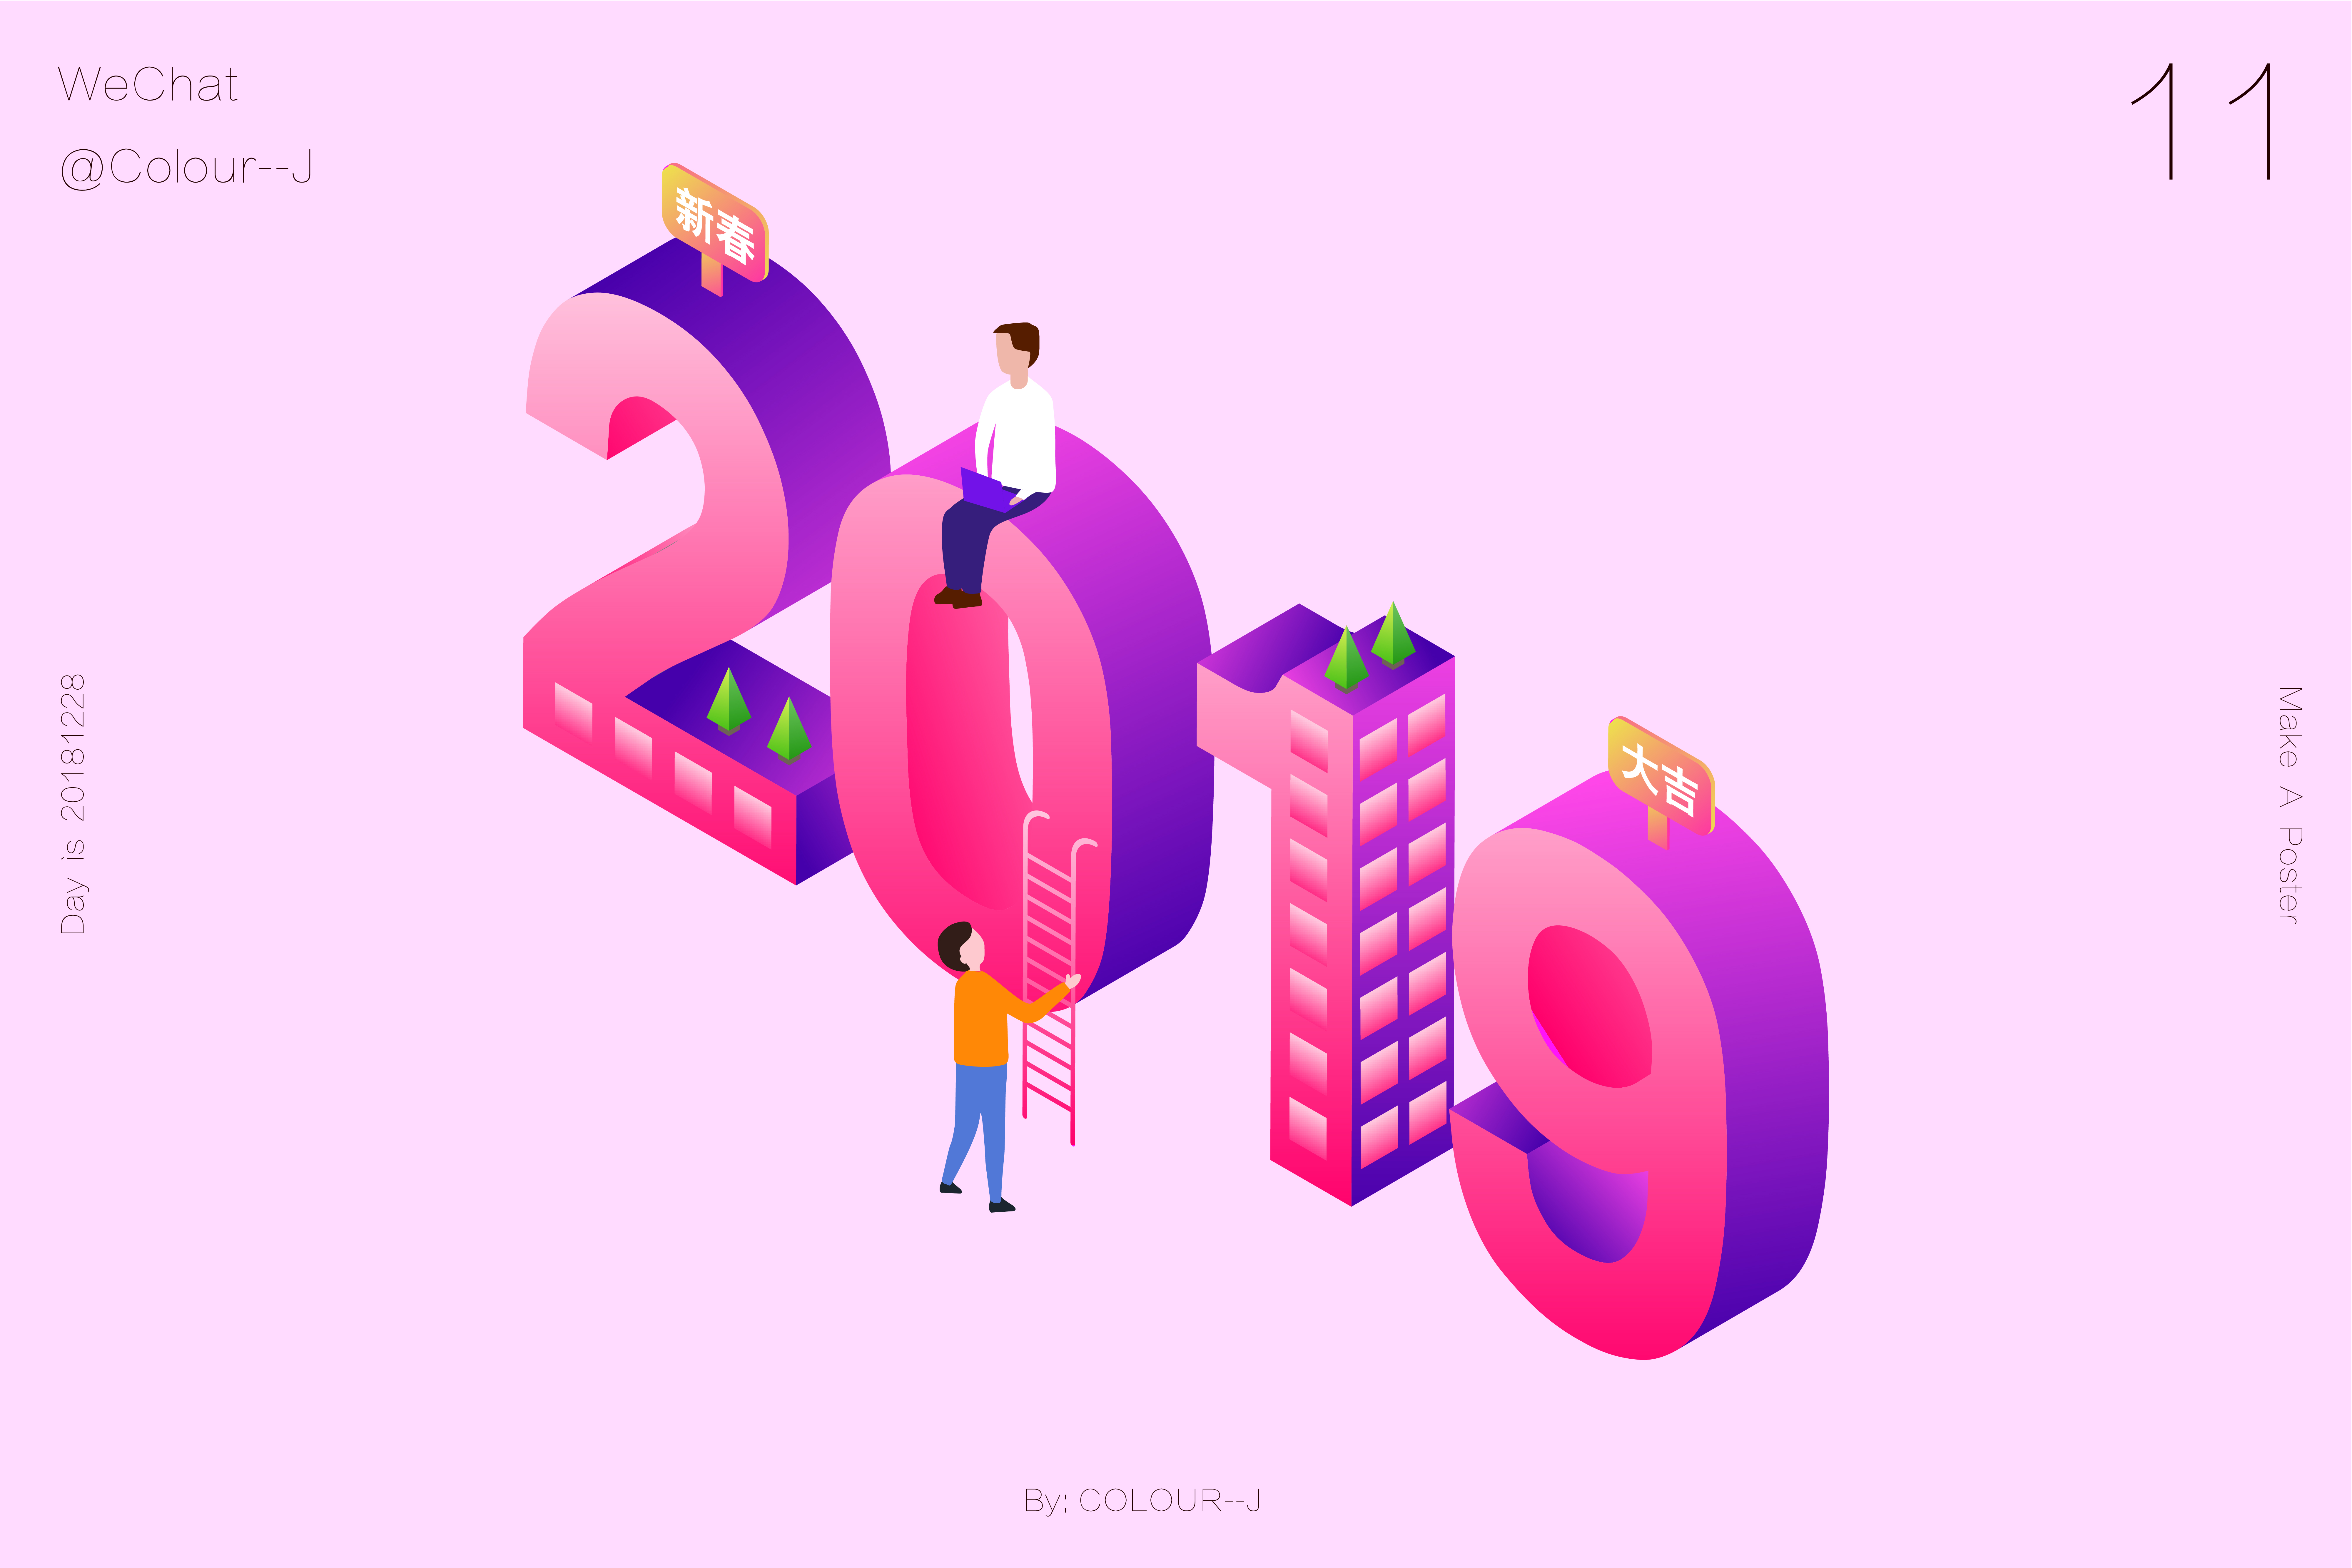
AI Tutorial 2019 Font Series (2)
Graphic tutorial
Written in front:
This tutorial is the second tutorial of the 2019 font series tutorial, which is a text with 3D effect
It mainly teaches everyone to be familiar with the 3D function in AI, 3D protrusion, bevel and rotation.
The 3D function in AI is a more commonly used function. Three-dimensional characters and super popular 2.5D effects can all be made with 3D functions.
section of writing
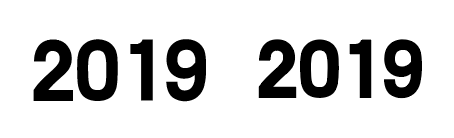
▶ Enter the text "2019", Hanyi Dahei Jane.
Create outlines.
▶ Effects menu-3D-Extrude and Bevel
You can adjust the protruding direction. After selecting one direction, the others must choose the same direction to maintain unity.
Isometric - left, the protrusion thickness can be adjusted appropriately according to the font size.

▶ Object menu - Extend Appearance.
Right click - ungroup.

▶ Demonstration: Double-click to enter the isolation mode of 2
Find the panel, open the group, and the rest of the components are separate groups.

▶ After selecting a single group, perform Pathfinder-Union.

▶ After the individual components are merged, the components belonging to the same area should also be merged, which is convenient for coloring later.

▶ Other characters are merged in the same way.
Use the gradient tool to color the individual components of the text.

pine tree part
▶ Rectangle tool, hold Shift to draw a rectangle, pay attention to the width and height of the rectangle.

▶ 3D-Protrusion and bevel, equiangular left, the thickness of the protrusion is selected to be the same size as the width and height, so that a cube will be formed.

▶ Object menu - Extend Appearance.
Ungroup.

▶ Delete the upper face.
Delete the left and right anchor points.
Select the anchor points in the middle together and drag them upwards to form a cone.

▶ Duplicate the cube and place it under the cone to form a pine tree.

▶ Use the Gradient Tool for the pine tree and fill it with color.

Billboard section.
▶ Rectangle tool to draw a rectangle, pull the rounded corner effect.
Draw a rectangle below.

▶ Add 3D-extrusion and bevel to both rectangles, equiangular to the left, and the thickness of the protrusion can be customized.

▶ Object menu - Extend Appearance.
Like the text part, merge the components that need to be merged.
to color.

▶ Enter the text "New Year" and "Good Luck", Han Yi Dahei Jane.

▶ The text performs 3D-rotation, isometric to the left.

▶ Put it on the billboard to match the position.
Daji’s billboard can just copy the previous one

part of the stairs.
▶ Rectangle tool to draw a rectangle
Select the anchor point at the bottom right, and delete will delete the path of the anchor point to form a right-angle effect.

▶ Adjust right angles to rounded corners
Drag the bottom to lengthen

▶ Give a thicker stroke.
Object menu - Extended.
Hold down the Alt key to duplicate the layer.

▶ Draw a horizontal line with the pen tool, copy the layer and drag it down.
After selecting the two horizontal lines, select the blend tool to blend the two straight lines.
Mixed options, specify the number of steps to choose the appropriate number of steps.
Align the vertical bars.

▶ Go to the Object menu - Expand for the staircase effect, and select Group together.
Execute Effects menu 3D - Rotate, Isometric Left.

▶ Expand appearance after rotation is complete.
Carry out gradient coloring. If you paint directly, you will find that there is an extra surface behind.
At this point you need to ungroup and then release the clipping mask.
There is an extra surface above the layer panel, just delete it.

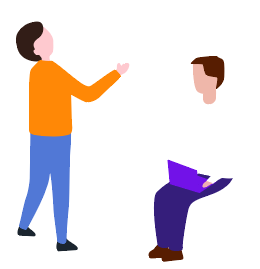
character part.
▶ Draw a sketch.

▶ Use the pen tool to outline the block for drawing and coloring.
Part of a rectangular block.
▶ Rectangle Tool Hold down Shift to draw a square, and make several copies. according to the size of the text.
Executed after square grouping, the effect is 3D-rotation, isometric left.

▶ Color, position to adjust.
▶ Done.
Articles are uploaded by users and are for non-commercial browsing only. Posted by: Lomu, please indicate the source: https://www.daogebangong.com/en/articles/detail/AI%20Tutorial%20Dont%20watch%20the%20regret%20series%20Very%20goodlooking%20and%20easytooperate%2025D%20font%20tutorial%20%20.html
 支付宝扫一扫
评论列表(196条)
测试