A friend in the group has been urging me to do a font tutorial, I am too frustrated
For someone like me who has no design imagination, I ended up losing a little hair
I made a font design, I hope you don't complain,
I've been busy recently, so I won't chat here, just watch the tutorial.

Click here for the original text
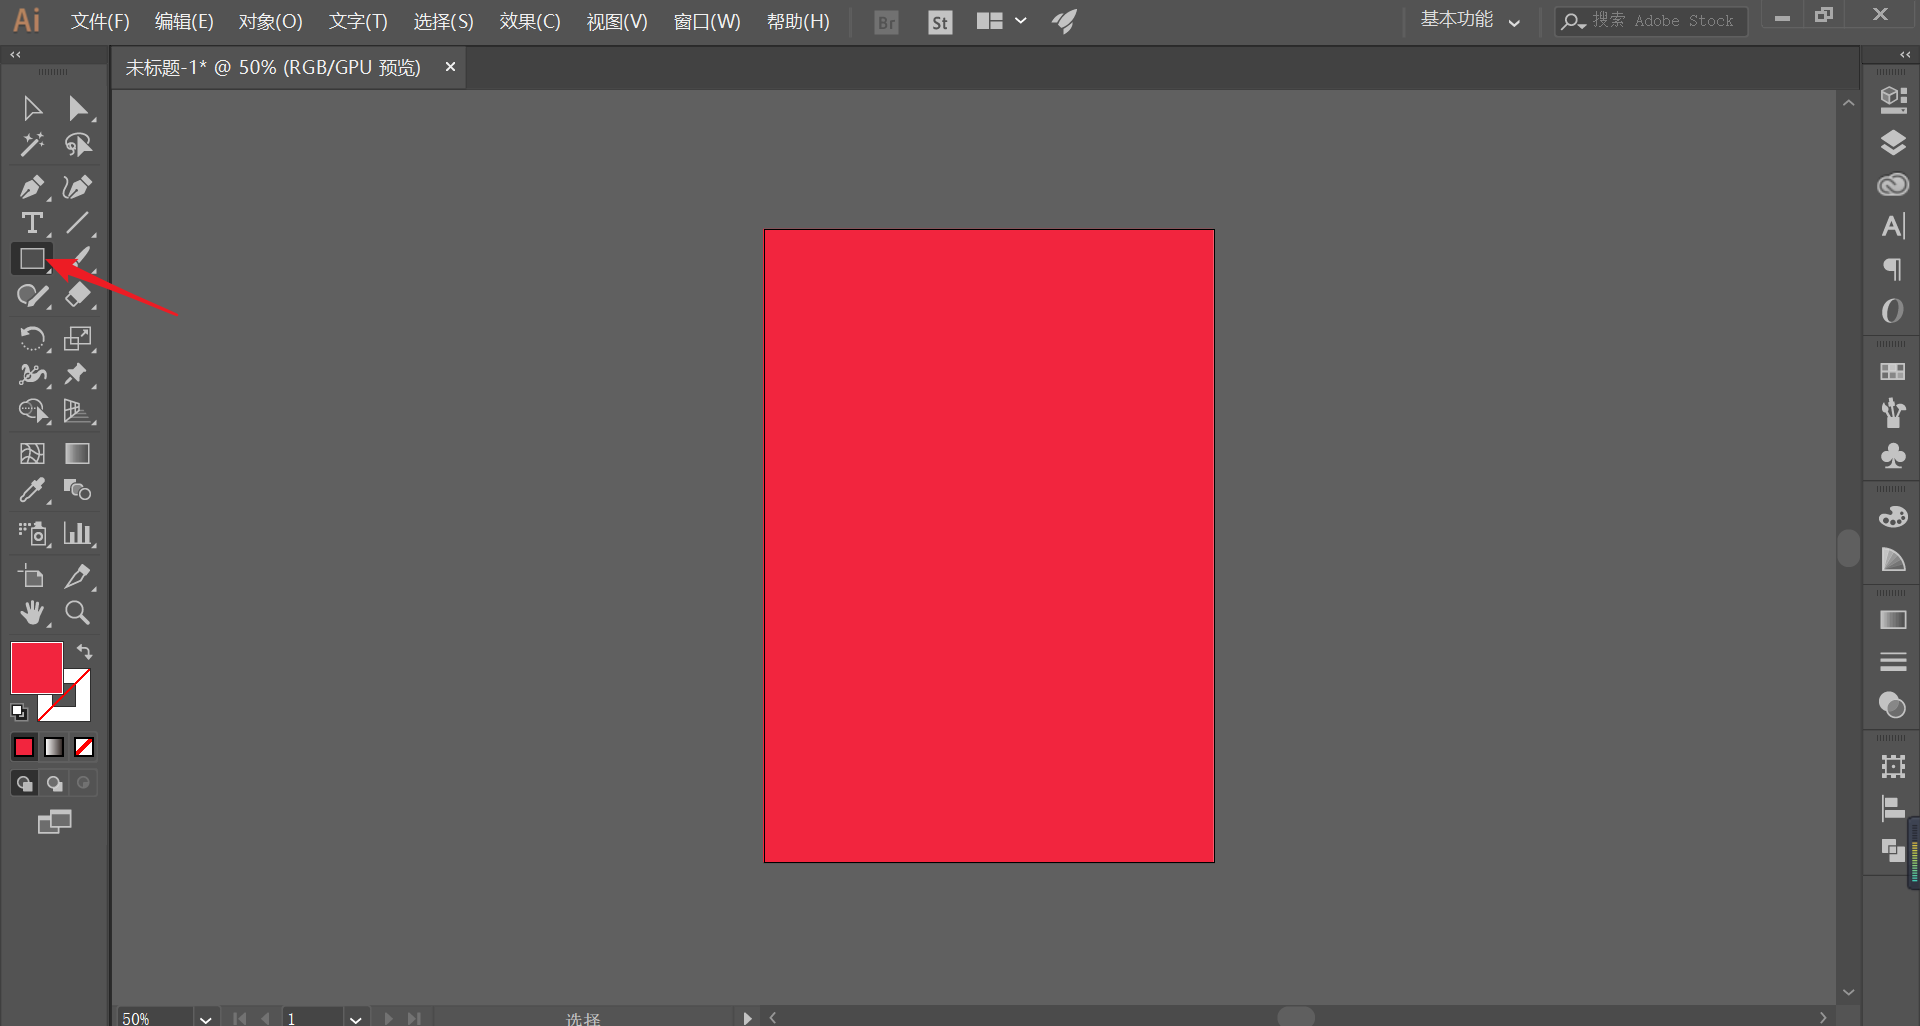
First, open ai, draw a rectangle the same as the artboard, and press Ctrl+2 to lock it as the background color:
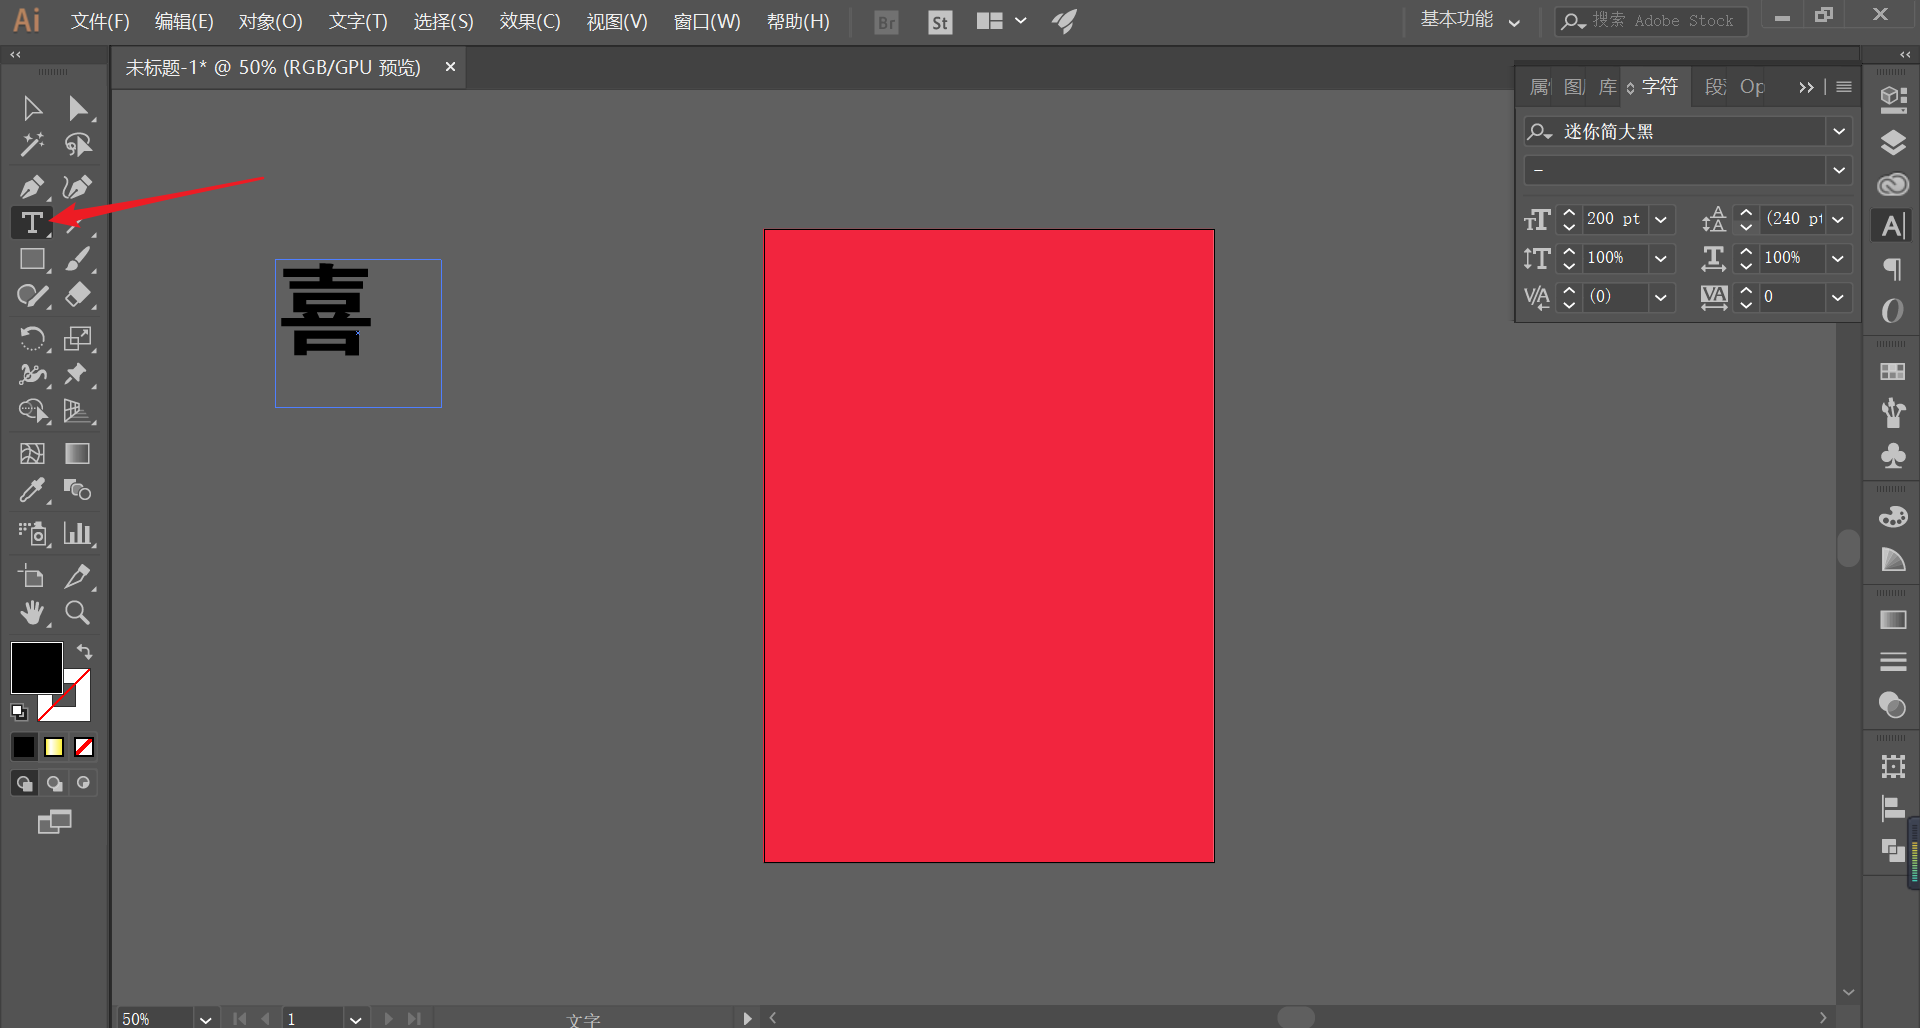
It is recommended to choose a square font, enter the font, and adjust the appropriate size:
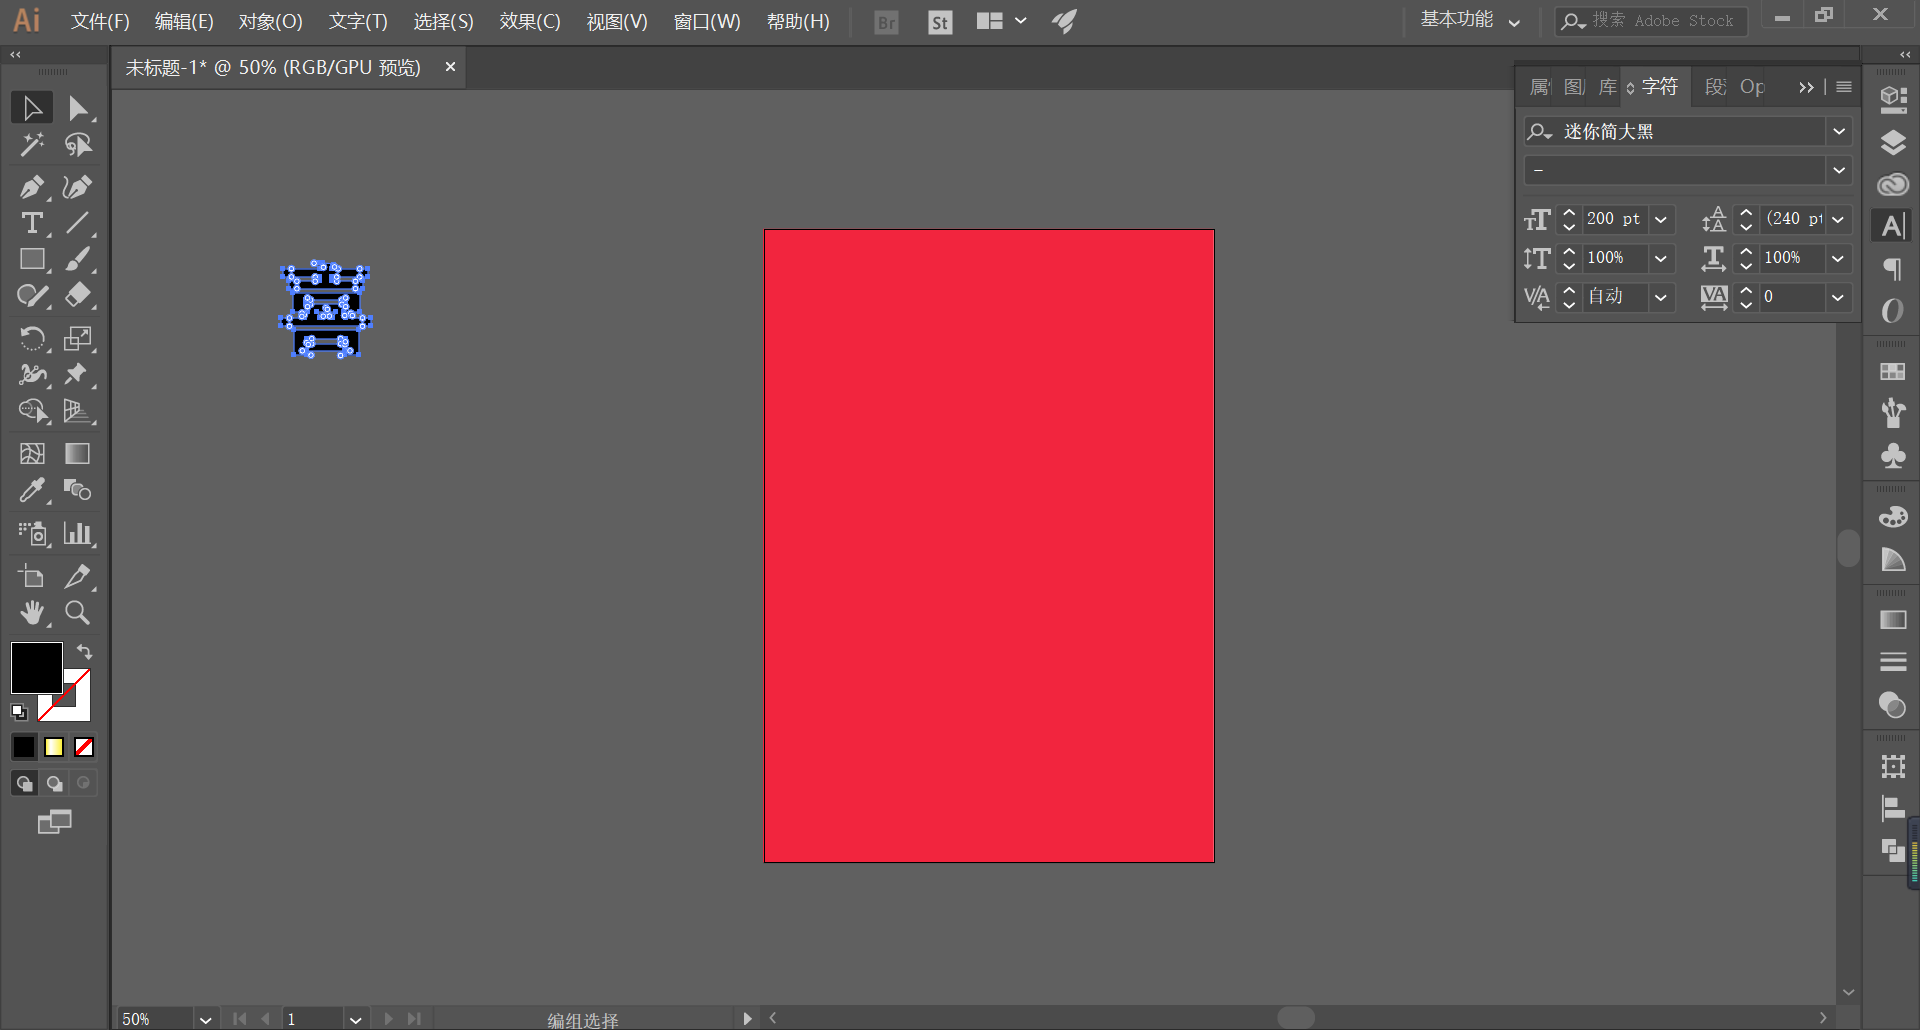
Outline it Ctrl+Shift+O:
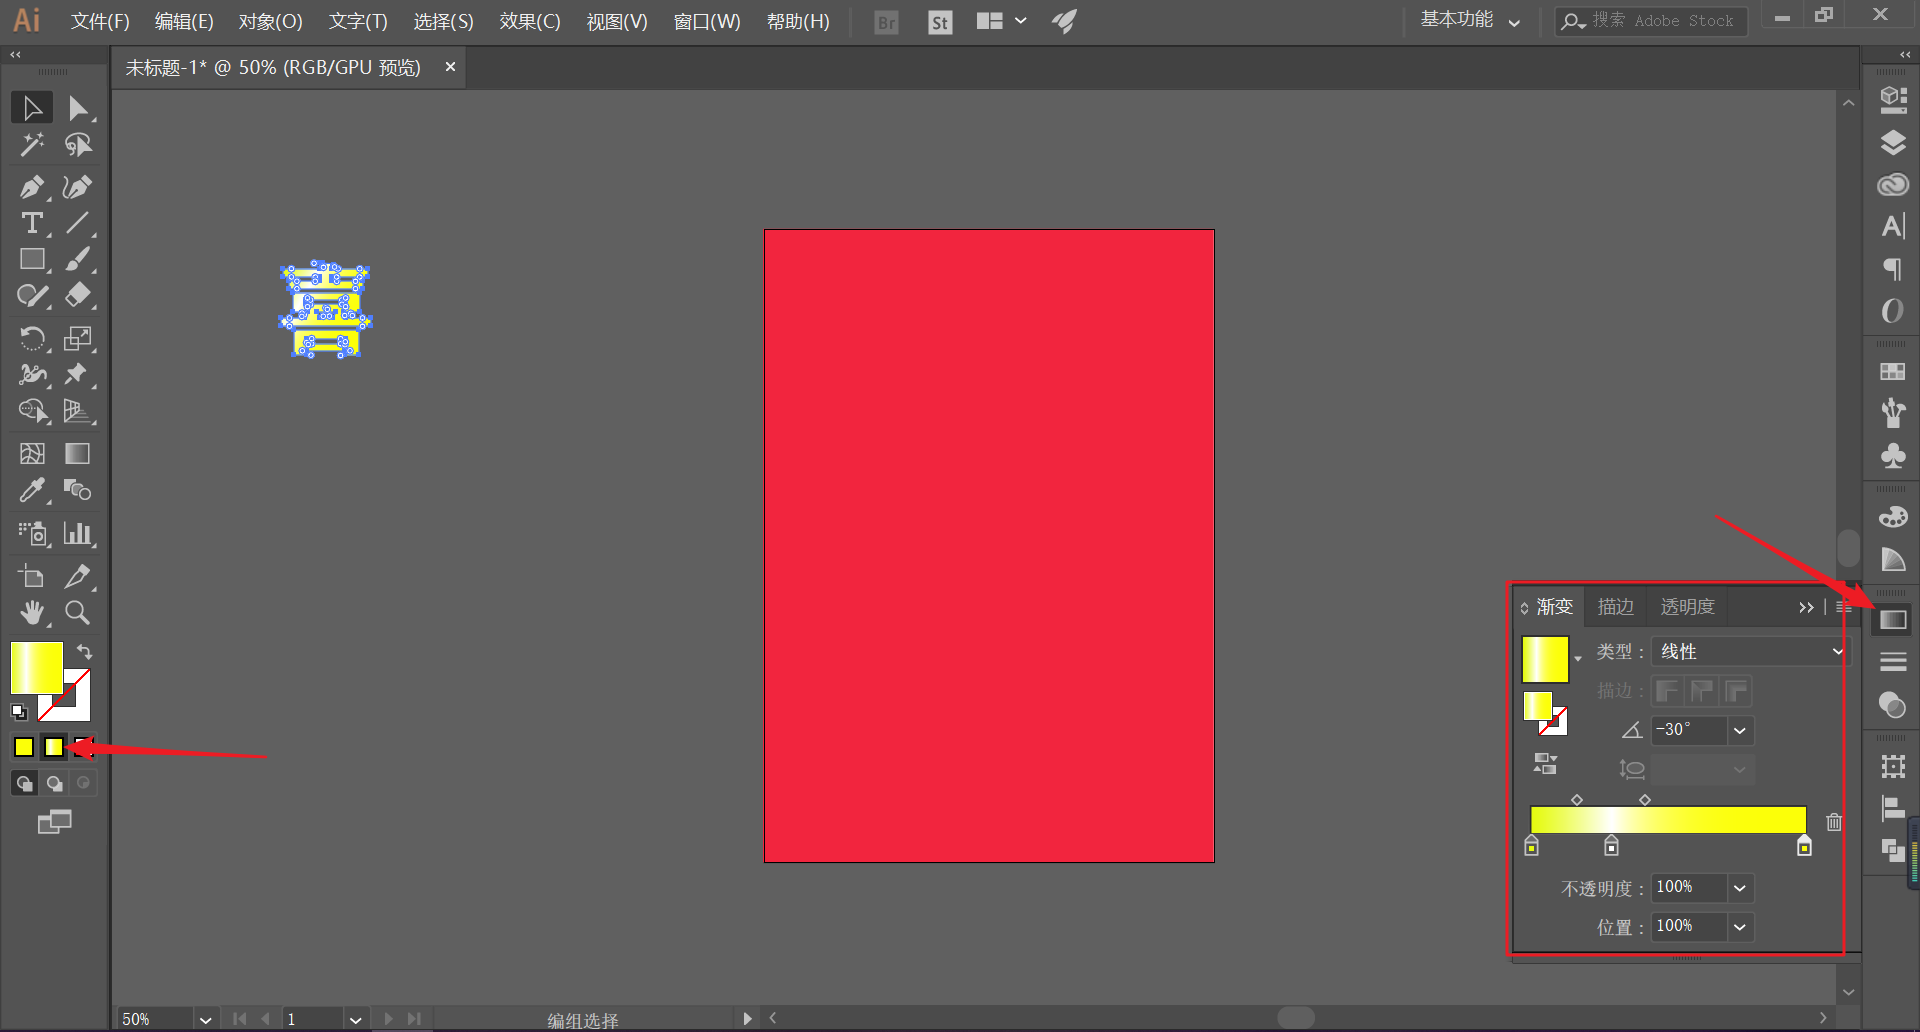
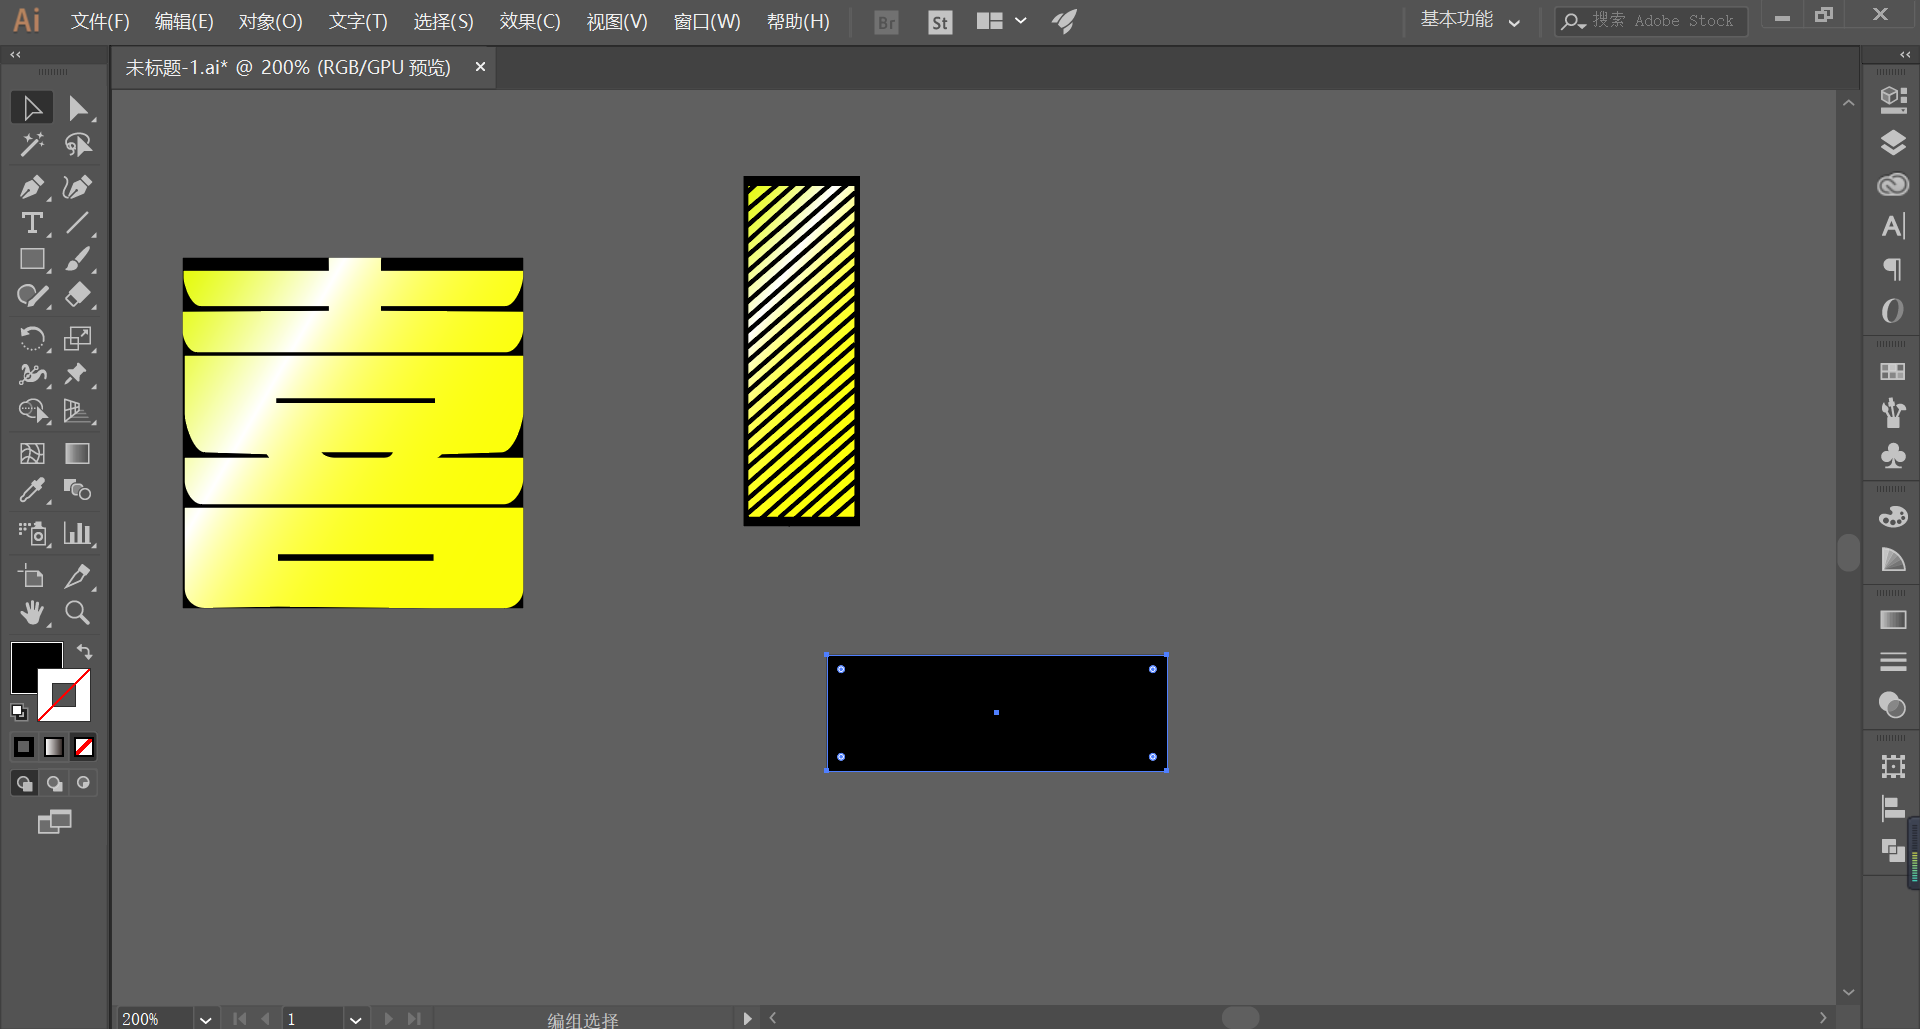
Select the font, select gradient fill, adjust the gradient angle, and add a gradient effect to the font:
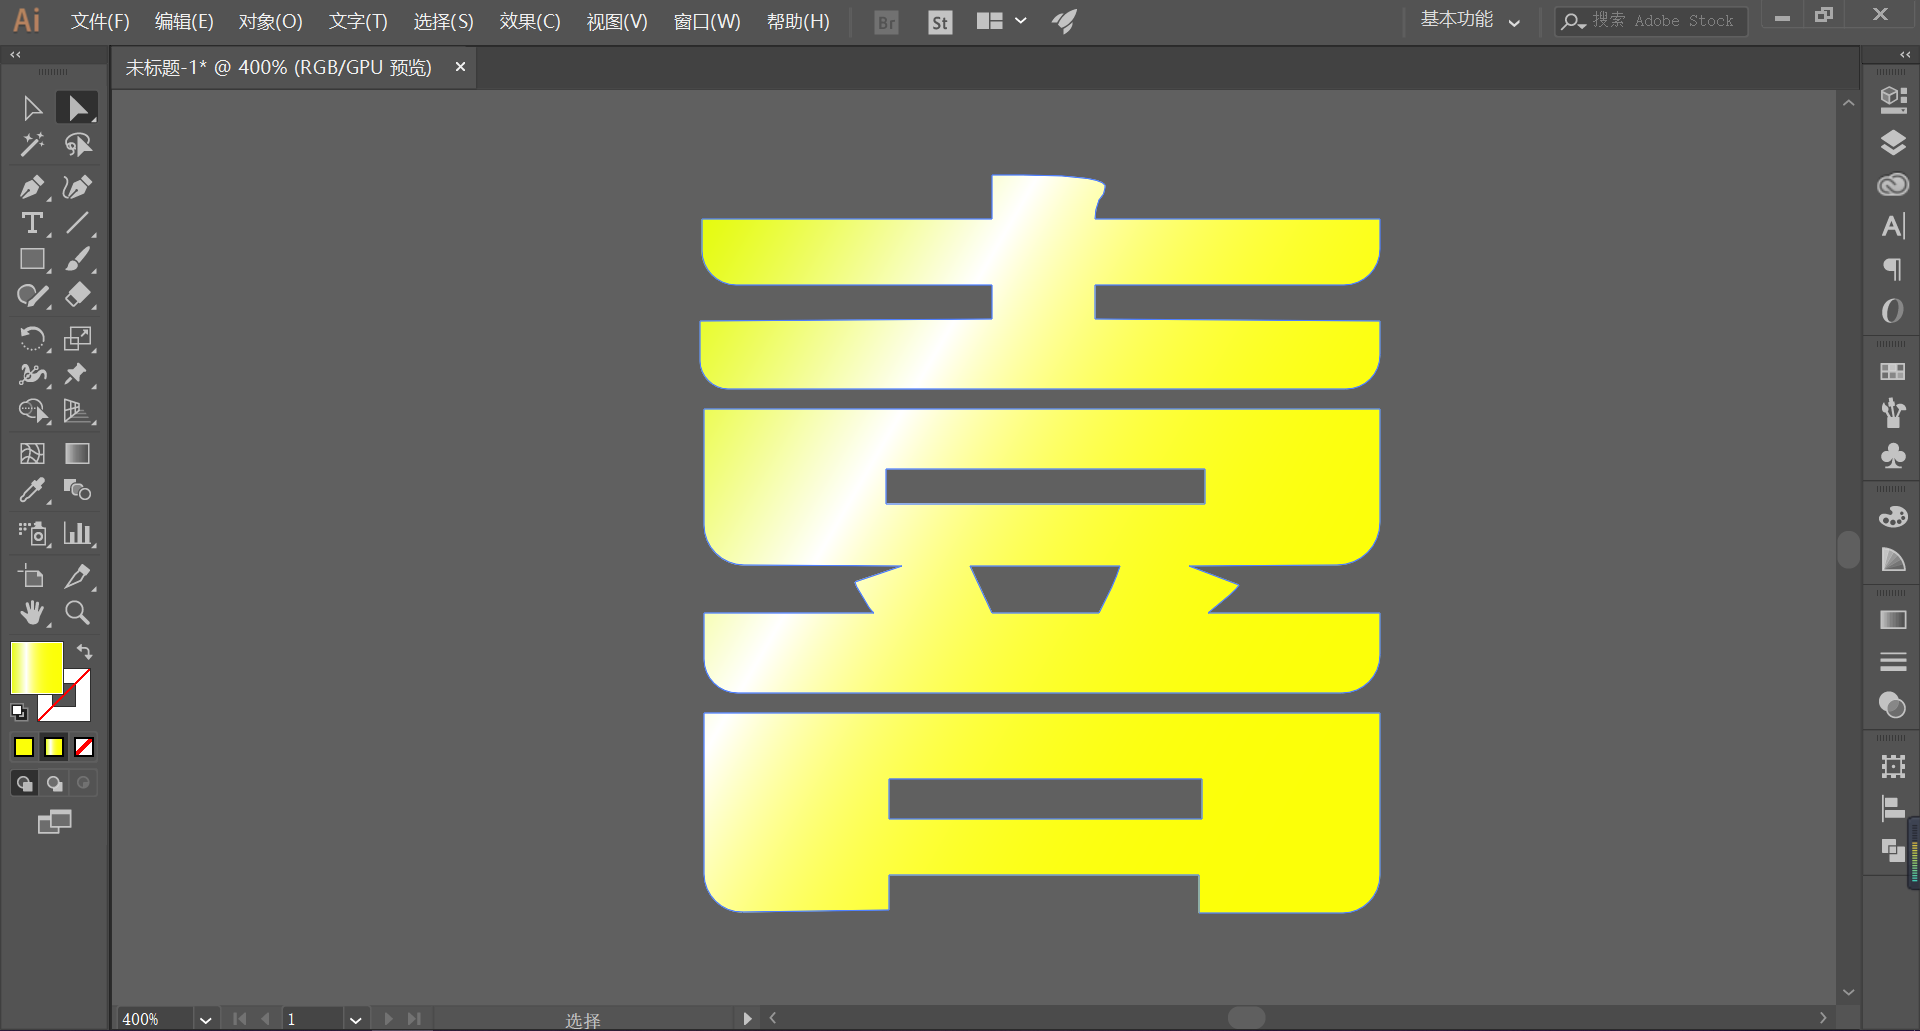
Select the small white tool, and move the anchor point of the font to make the font appear as square as shown in the figure below:

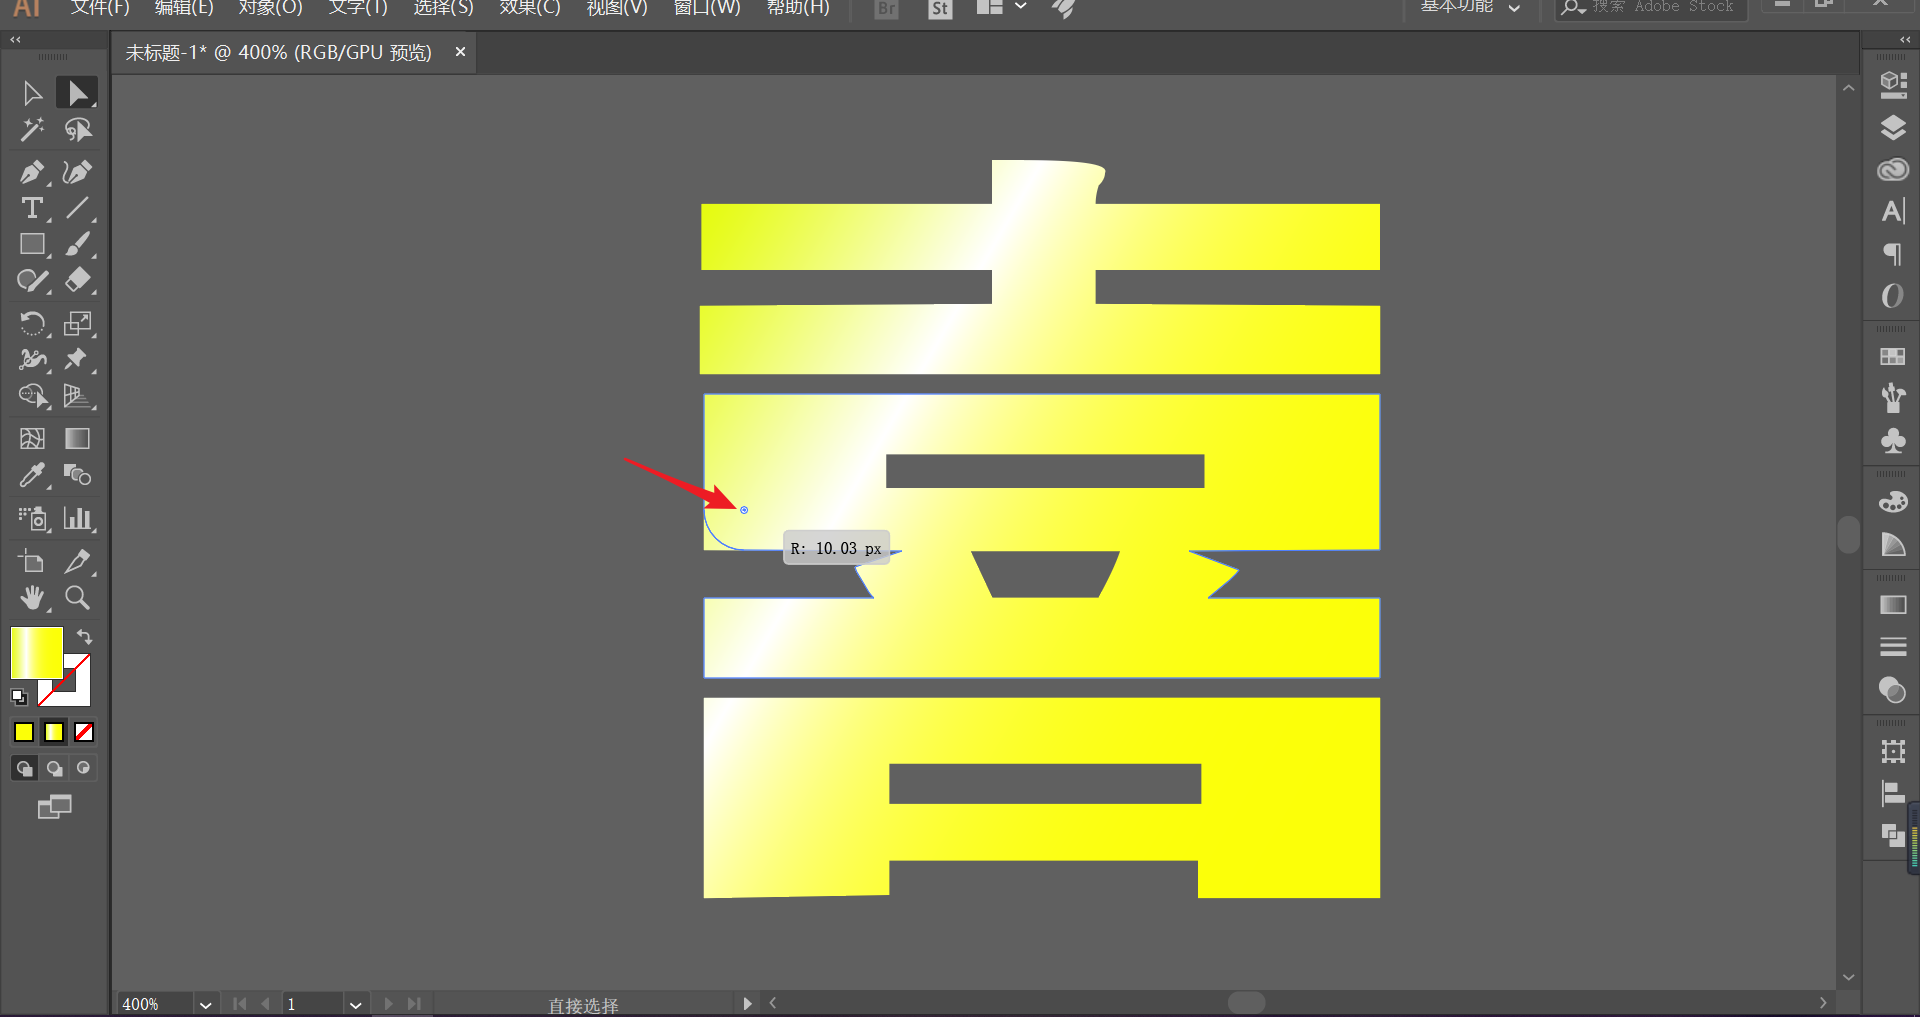
Click the point pointed by the arrow, adjust the font radian, and get the effect as shown in the figure:
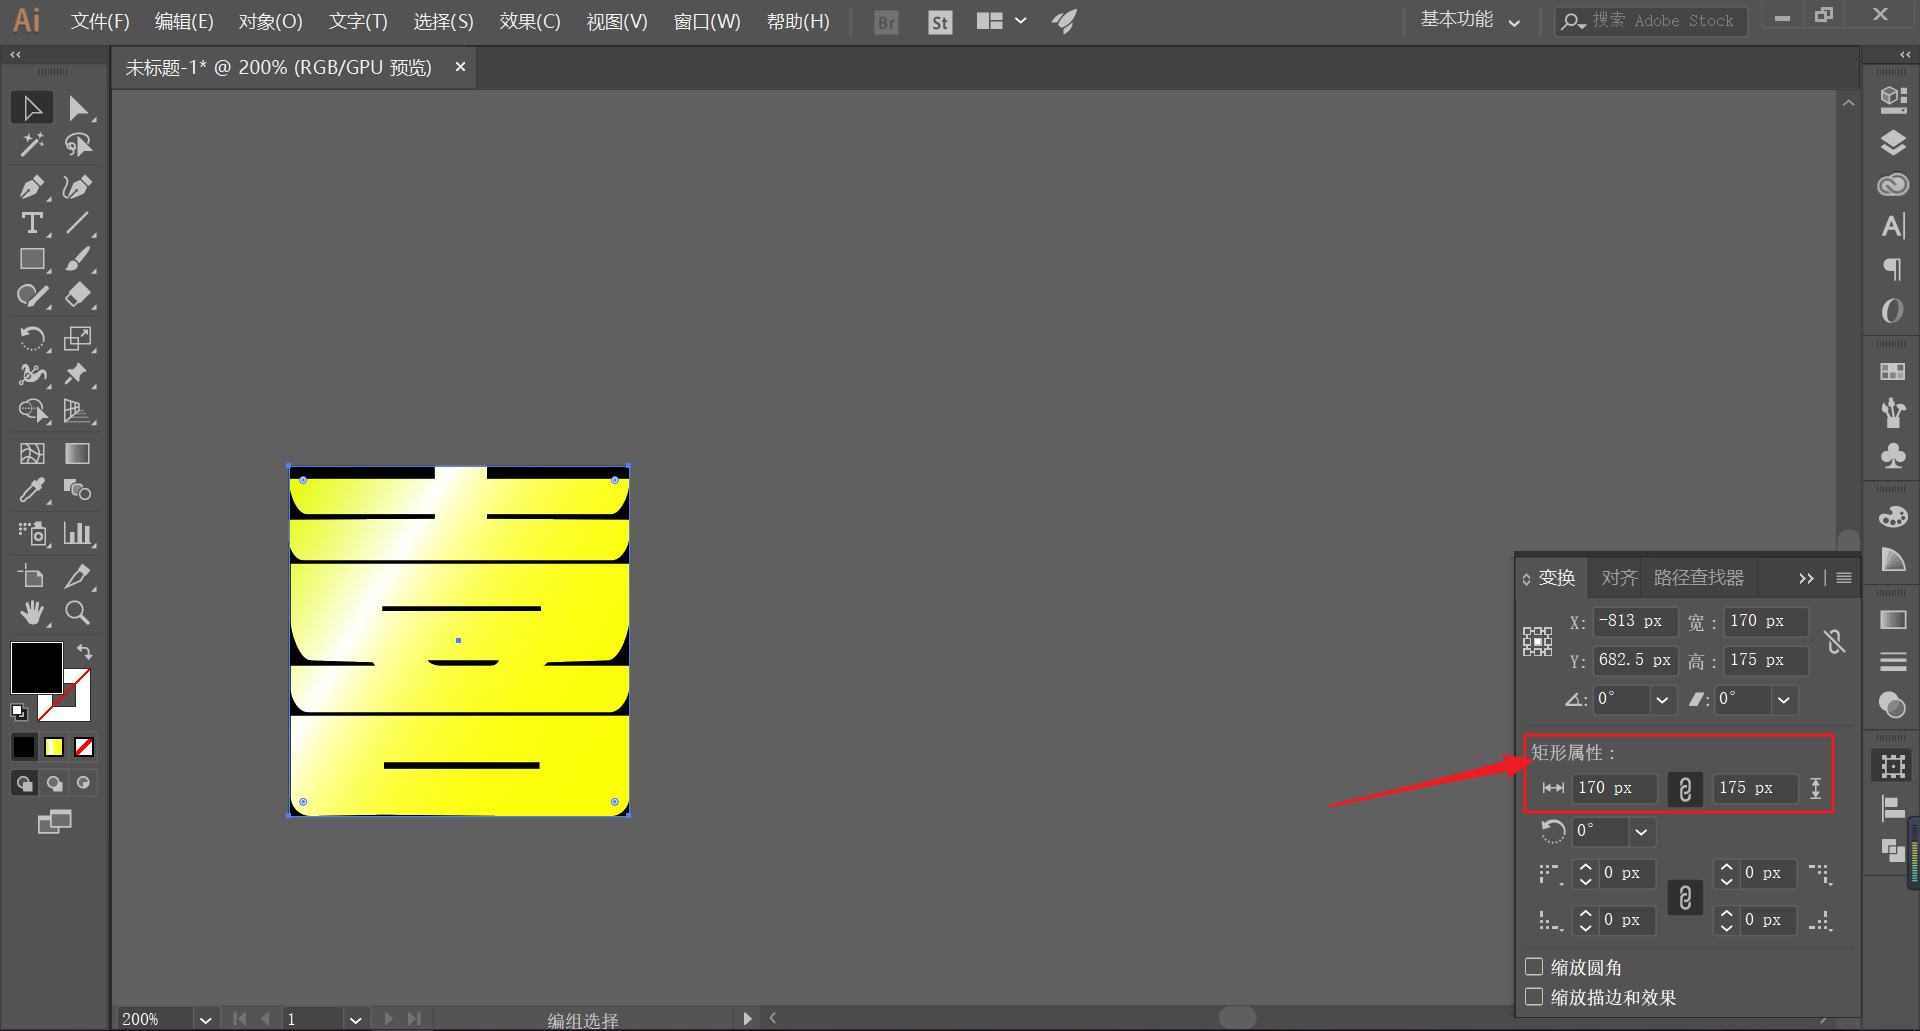
Select the rectangle tool and draw a rectangle with roughly the same length and width as the font:
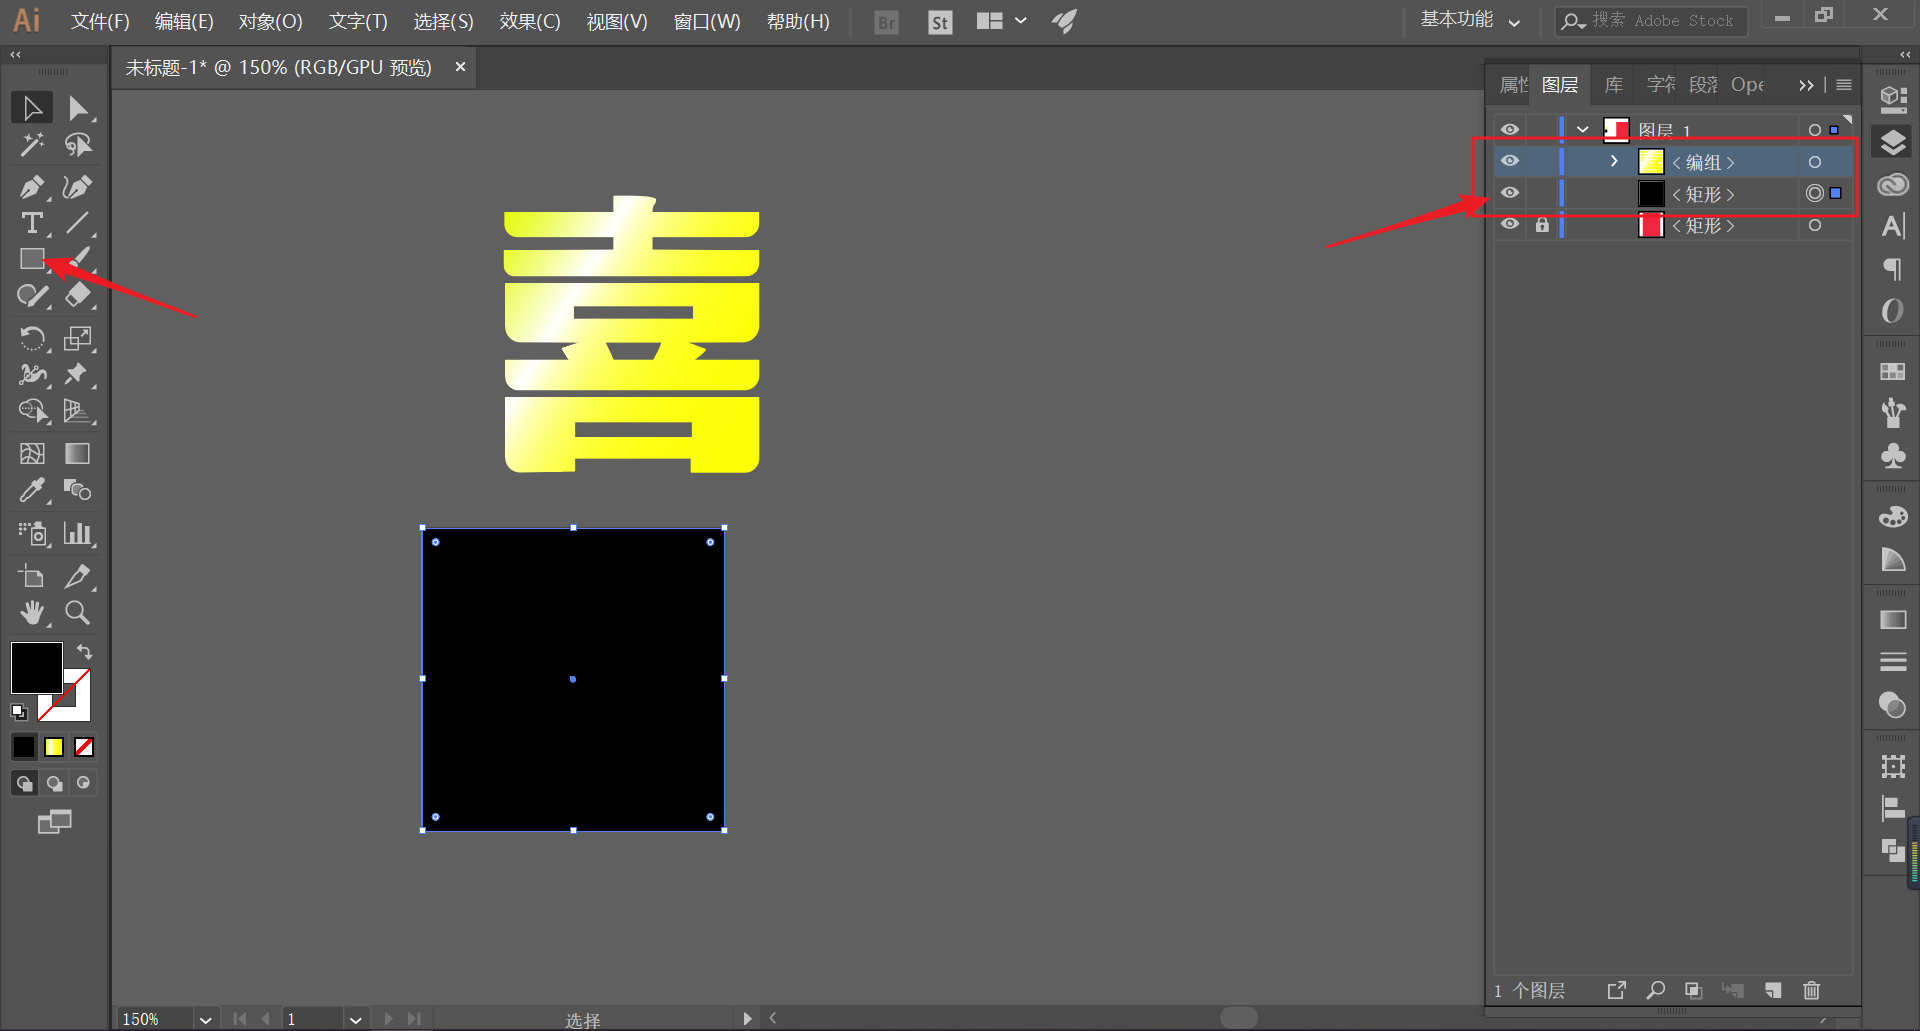
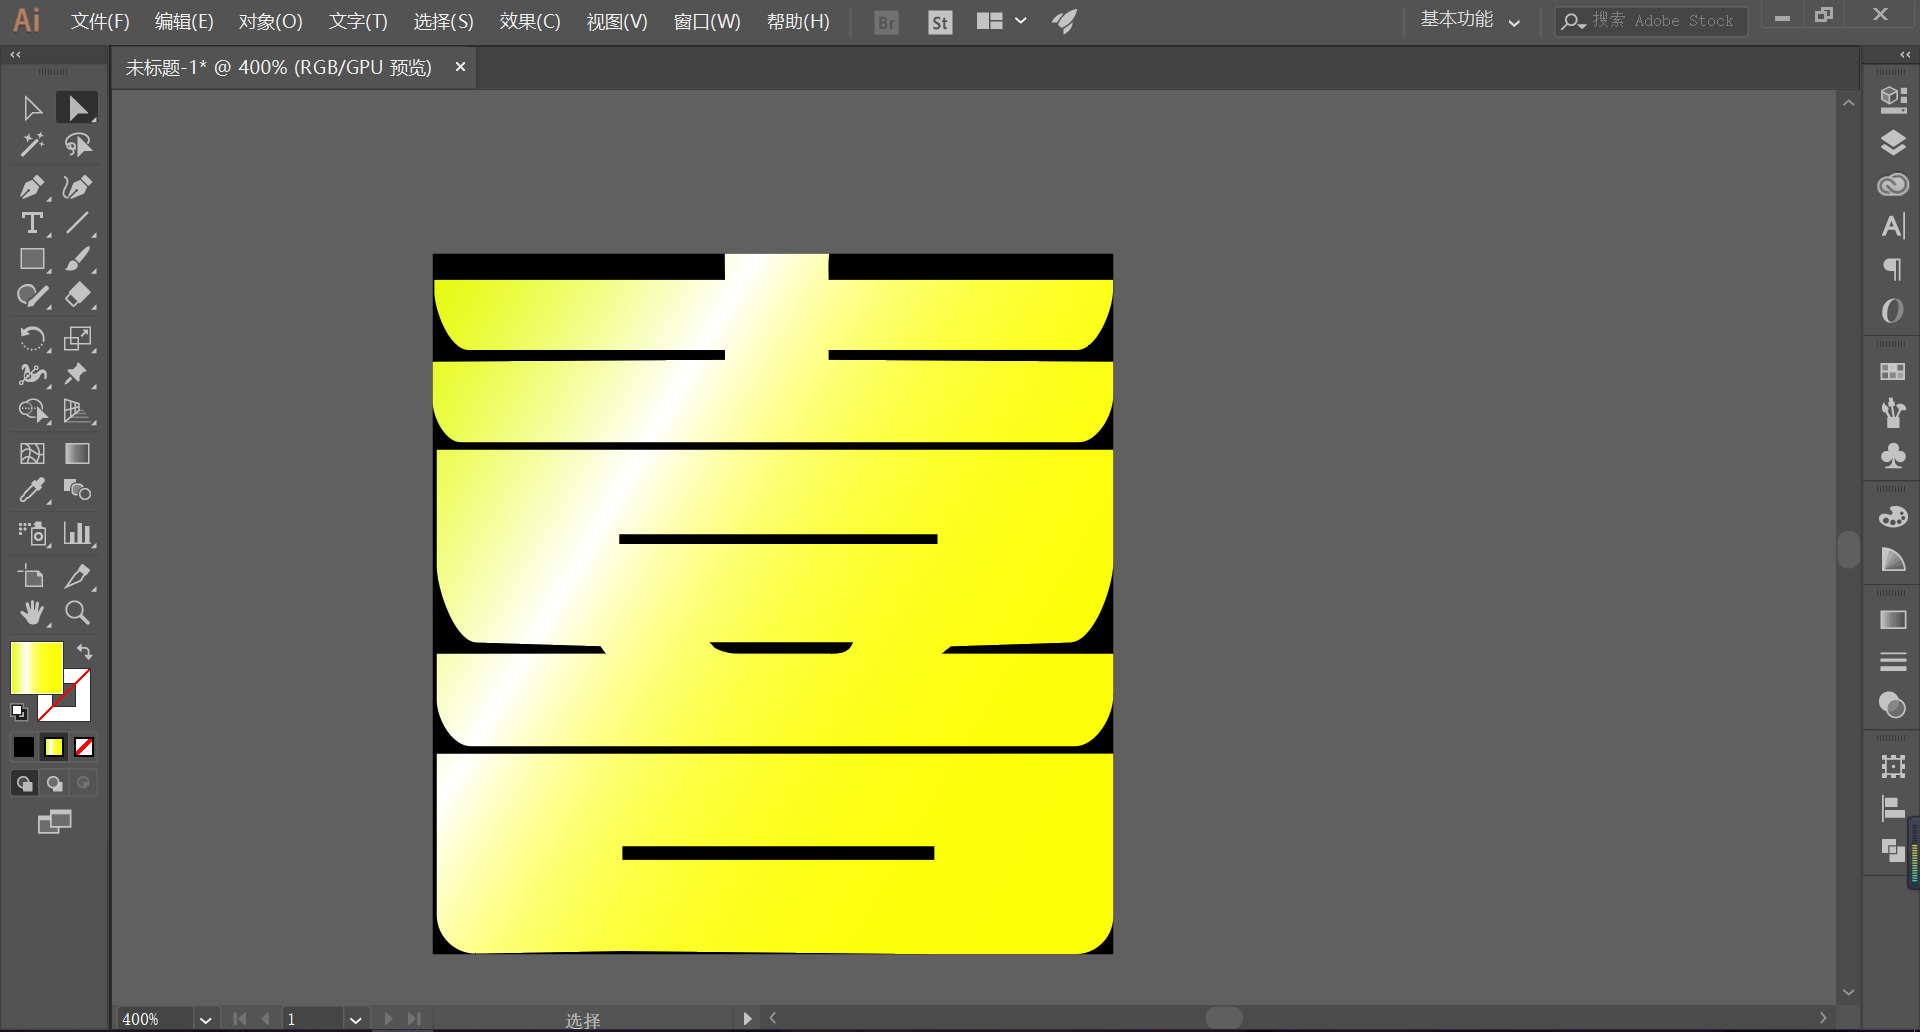
Place the font in the rectangle, adjust the size of the rectangle so that it just contains the font (the gap between the strokes of the font also needs to be adjusted appropriately, showing the compact effect in the figure below):
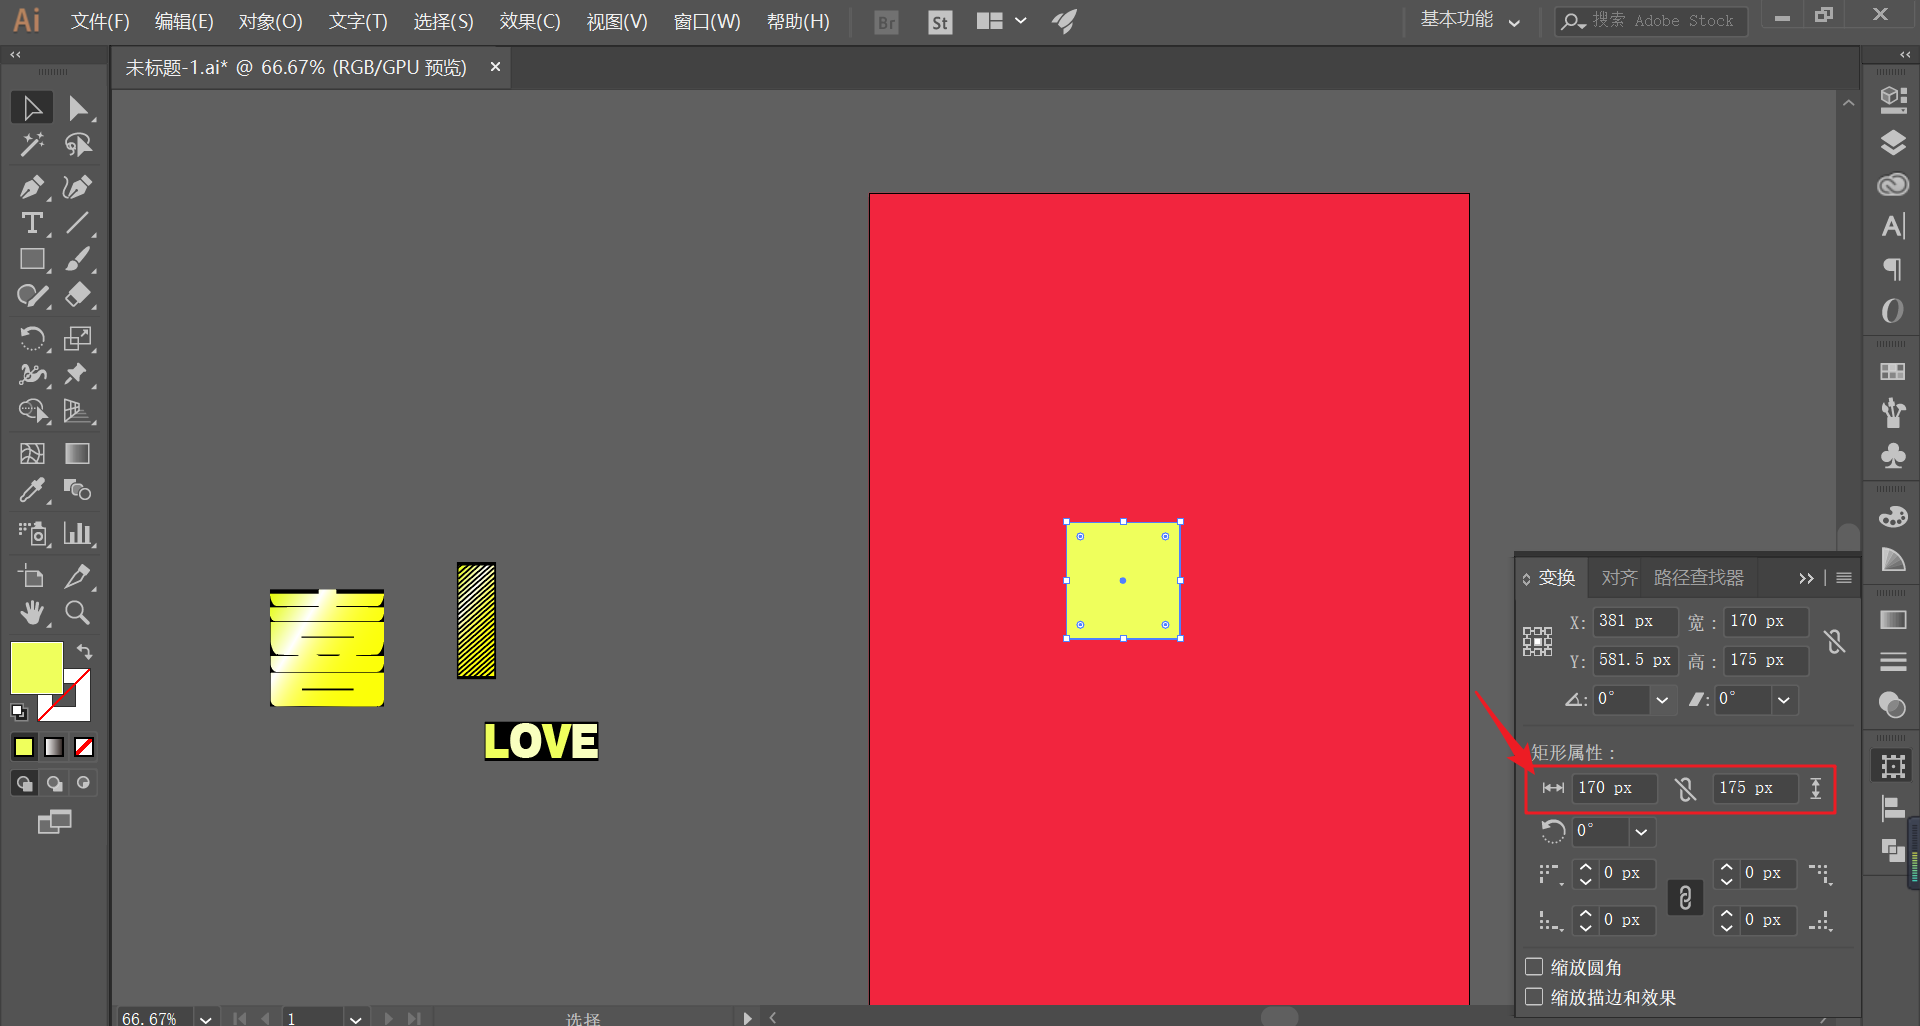
Select the rectangle, check the length and width of the rectangle, remember,and group them:
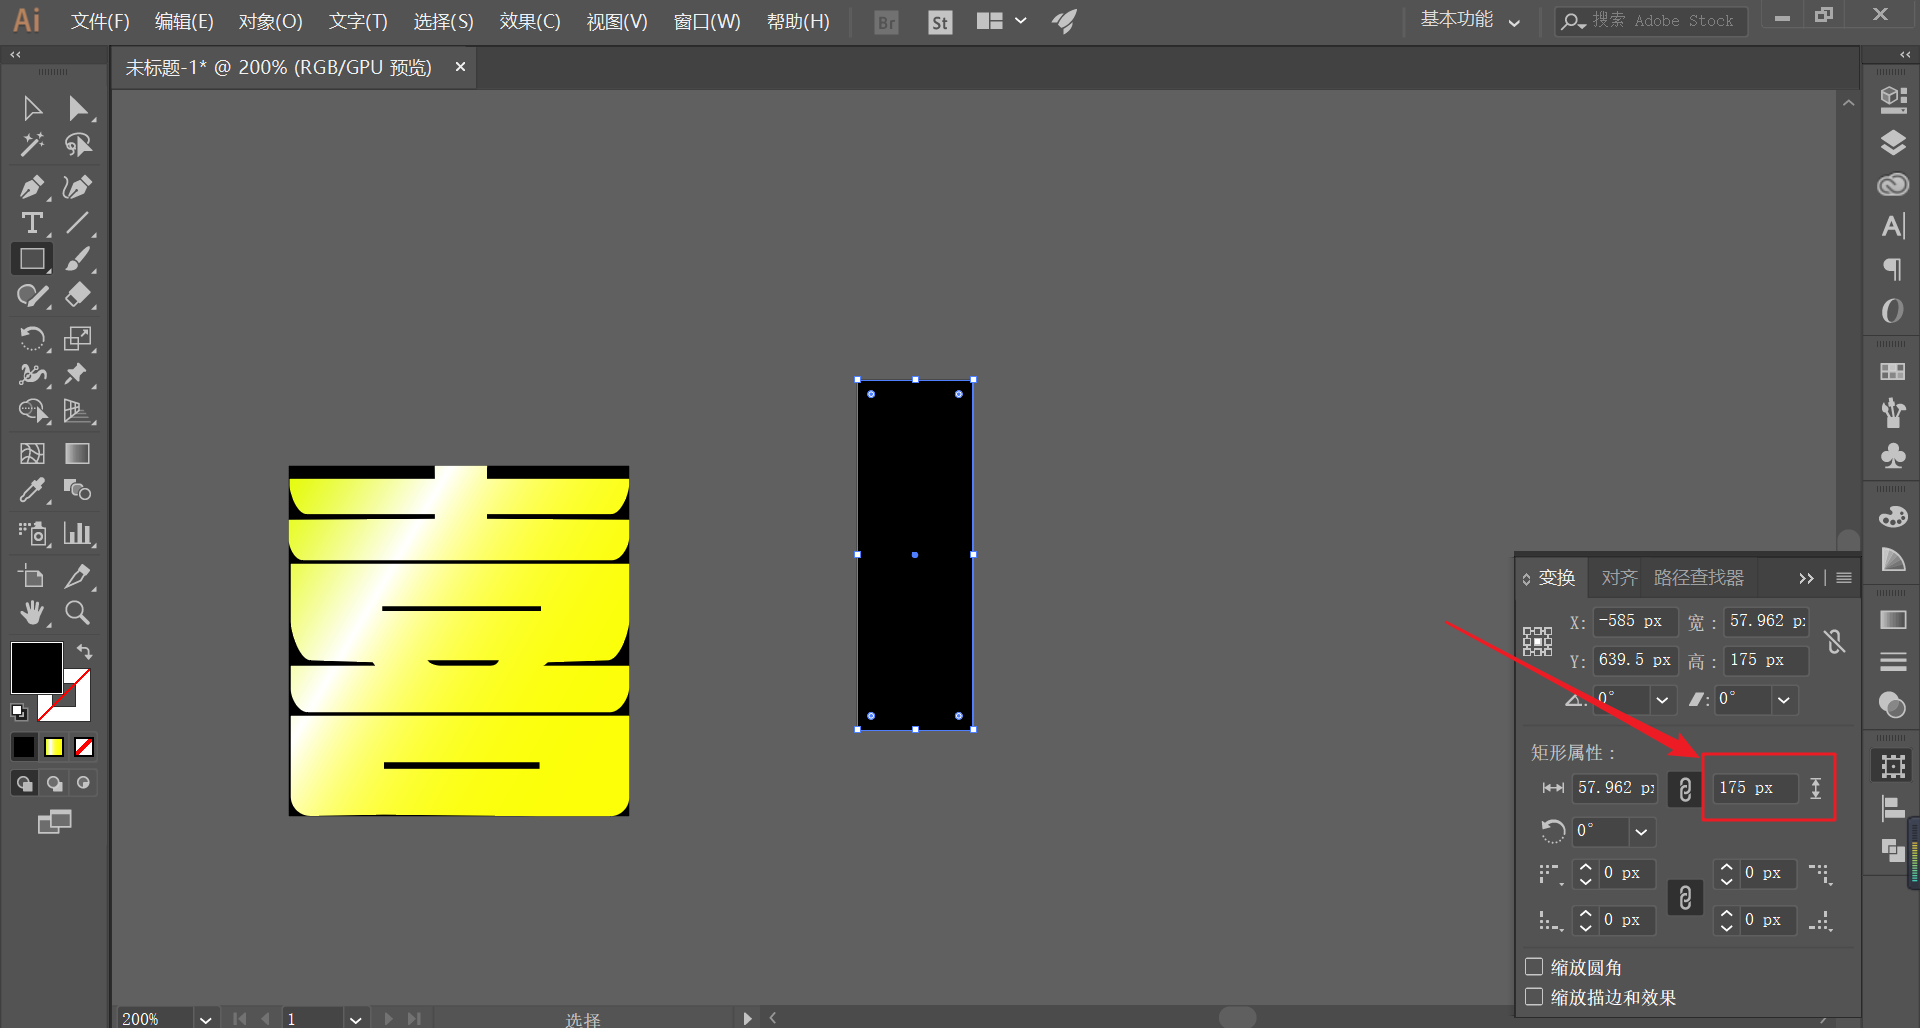
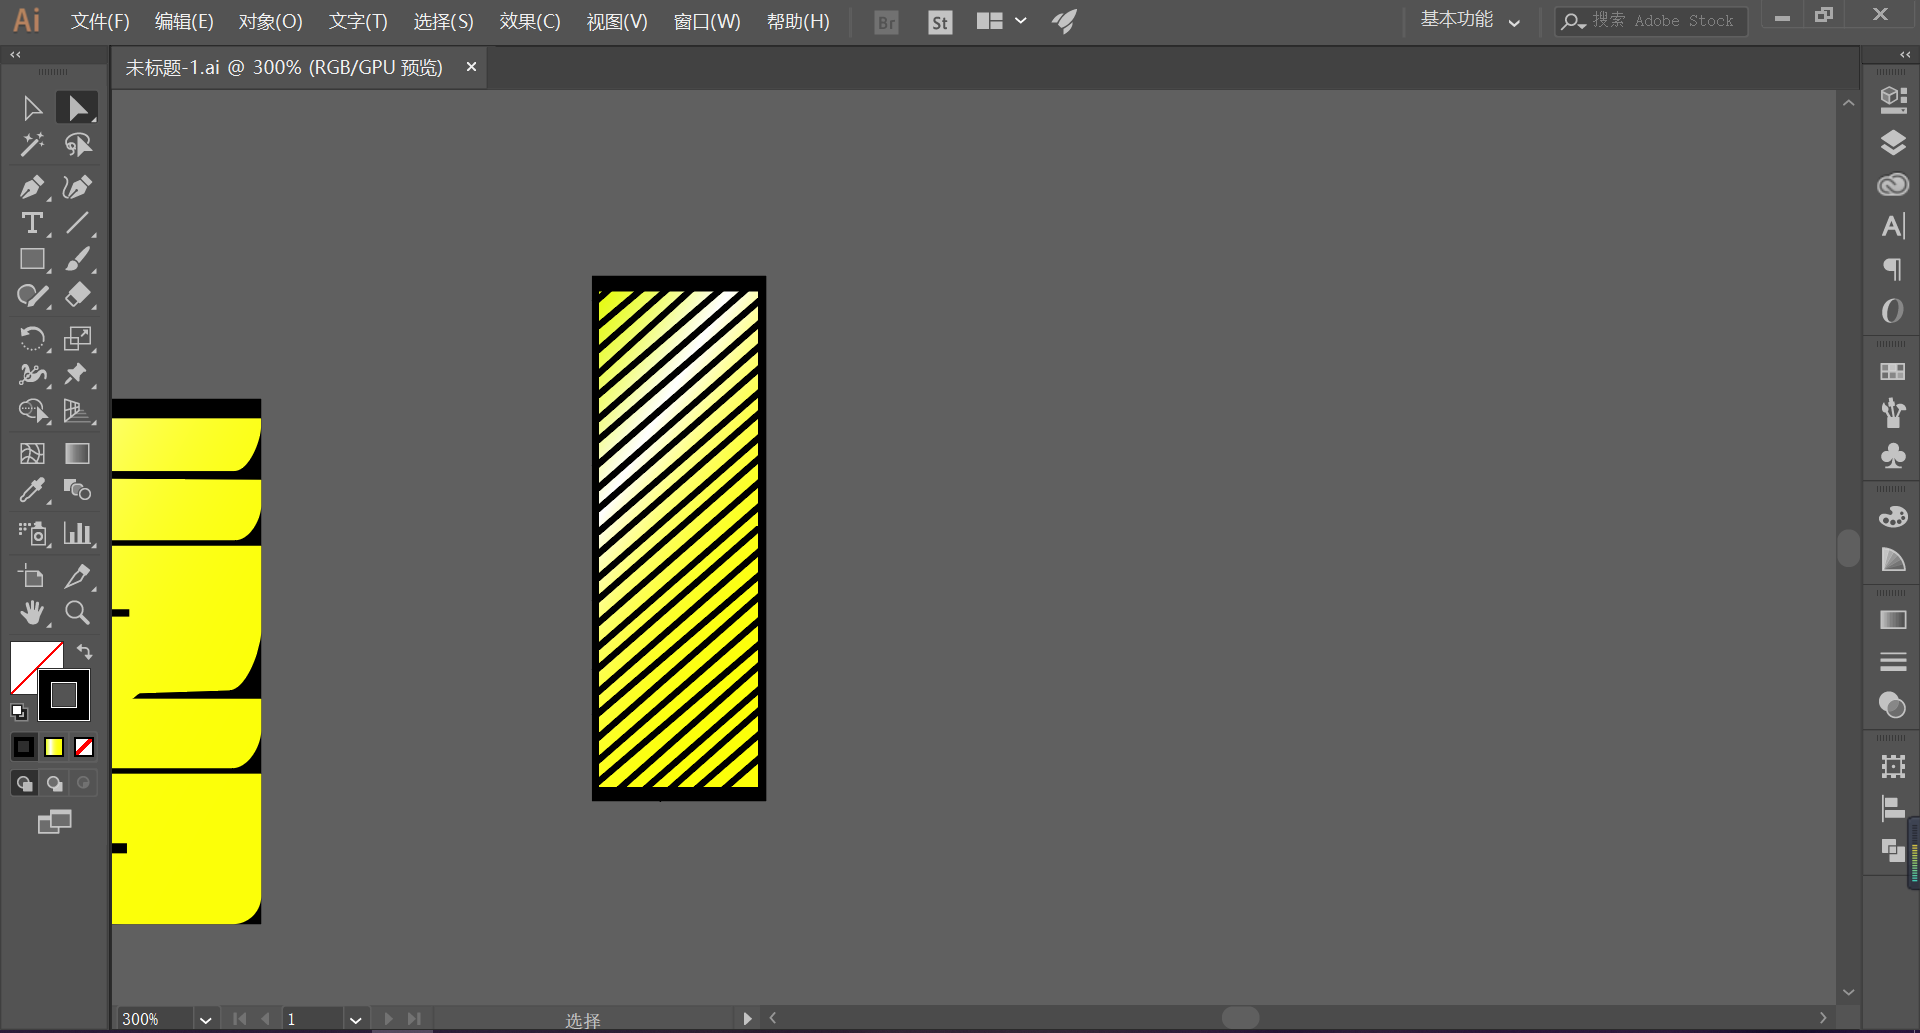
Draw a long black rectangle with the same height as the rectangle. Its width is up to you. Don’t exaggerate it and it’s ok:
Then draw a long rectangle with a certain ratio, and add a gradient fill:
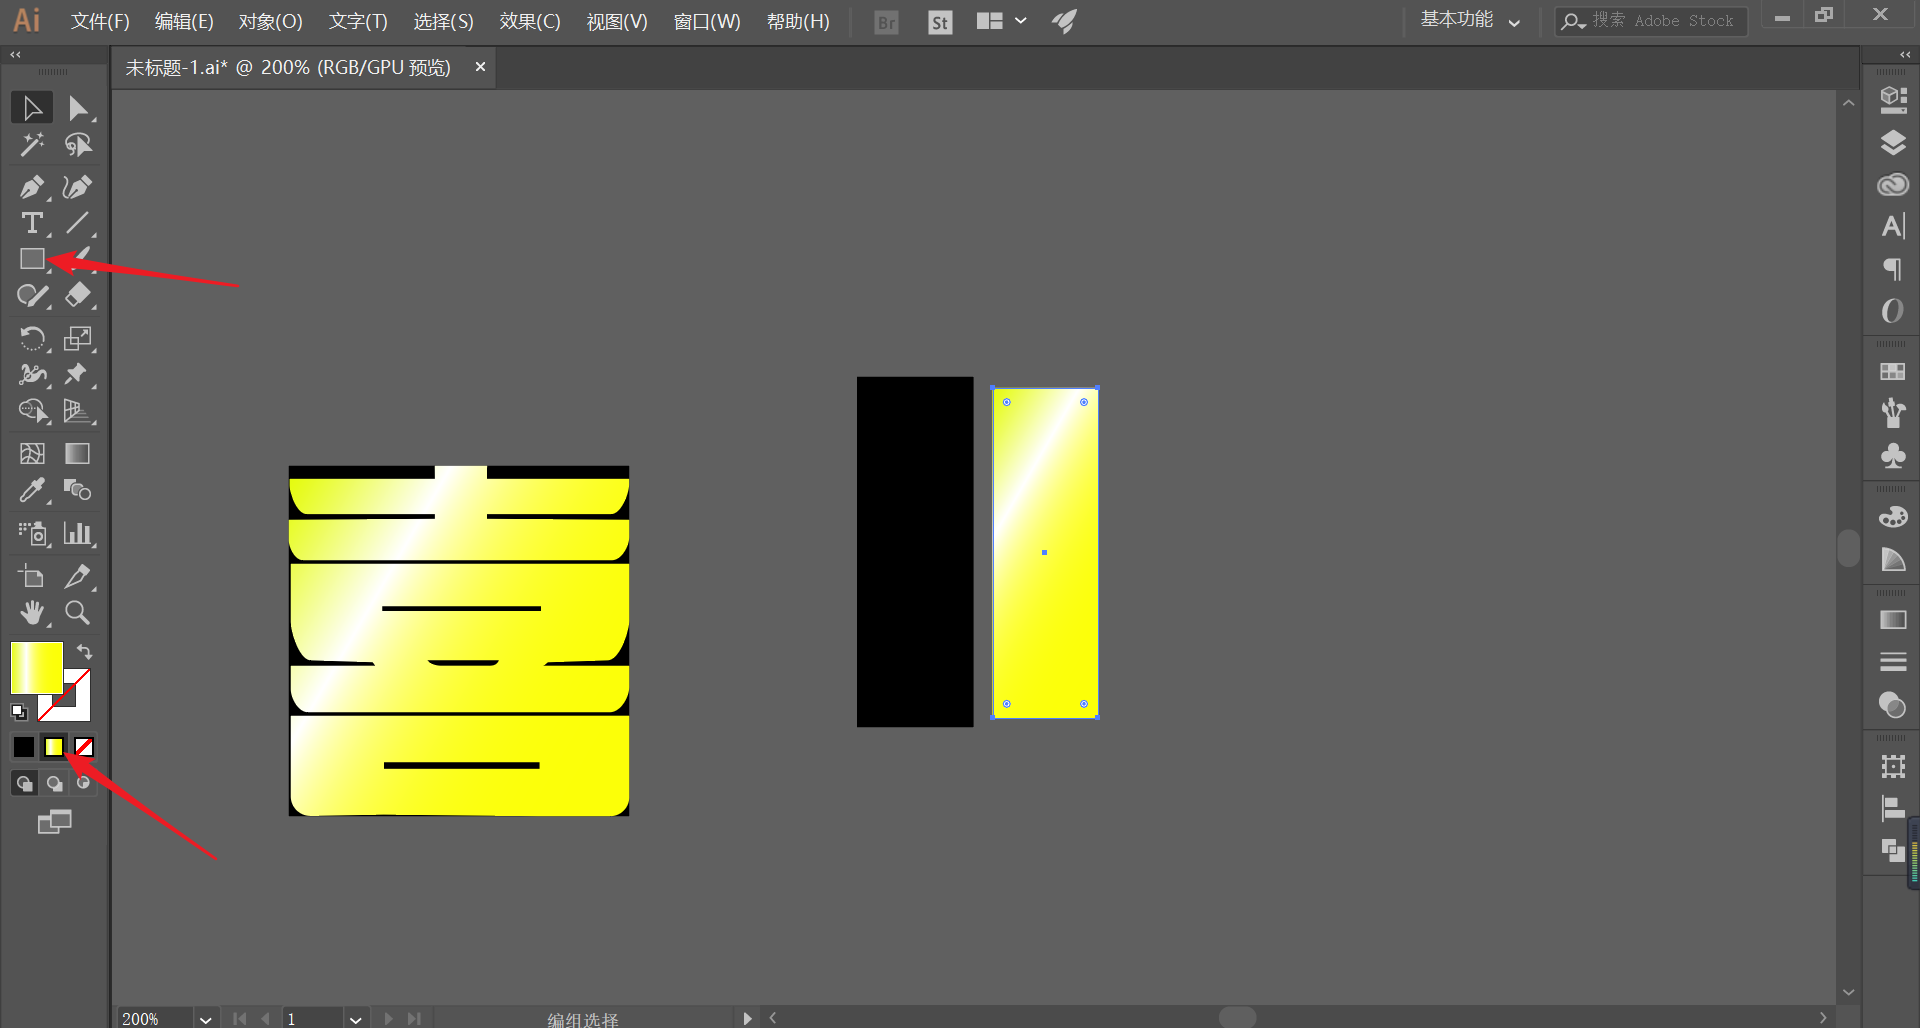
Place the filled sliver rectangle inside the black sliver rectangle and center it.
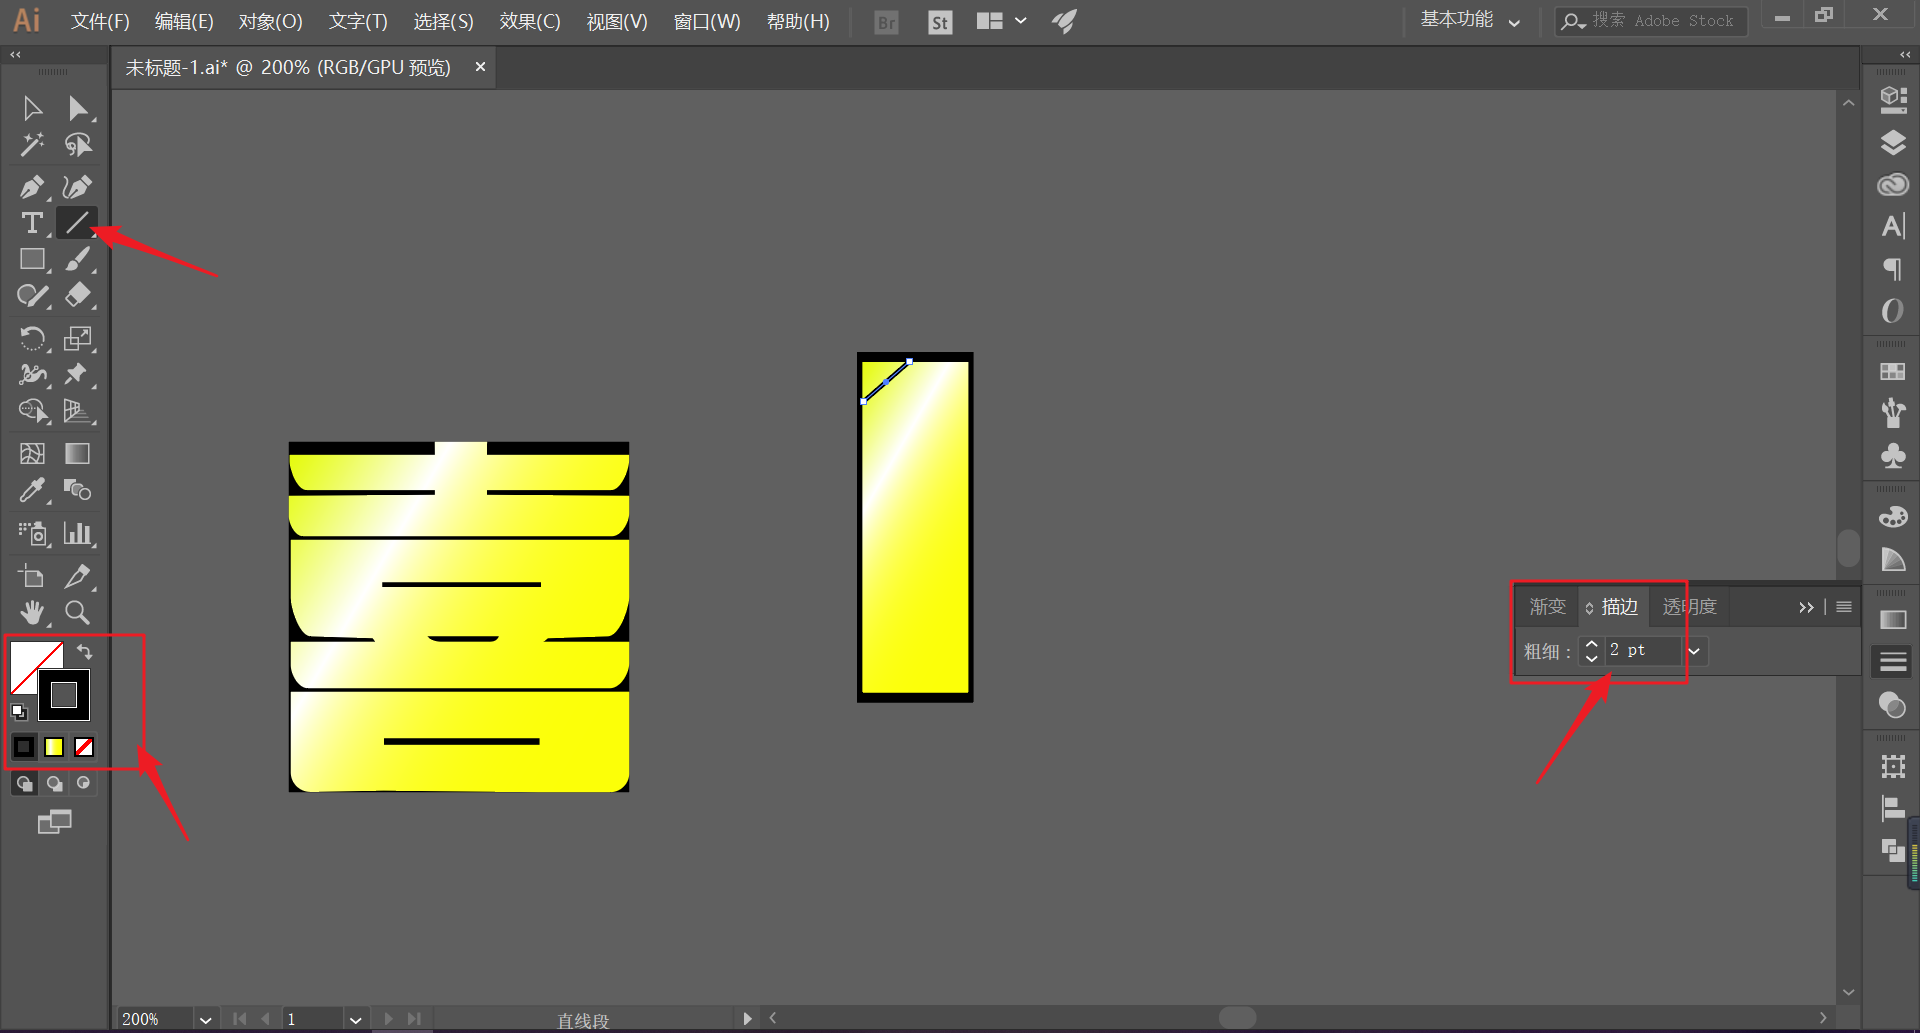
Select the straight line tool, black stroke, appropriate stroke size, and draw a slanted line as shown in the figure for the long rectangle.
Finally, remember to group it:
Draw a horizontal rectangle with the same length as the rectangle and the same width as the long rectangle, and fill it with black:
Draw a horizontal rectangle with the same length as the rectangle and the same width as the long rectangle, and fill it with black:
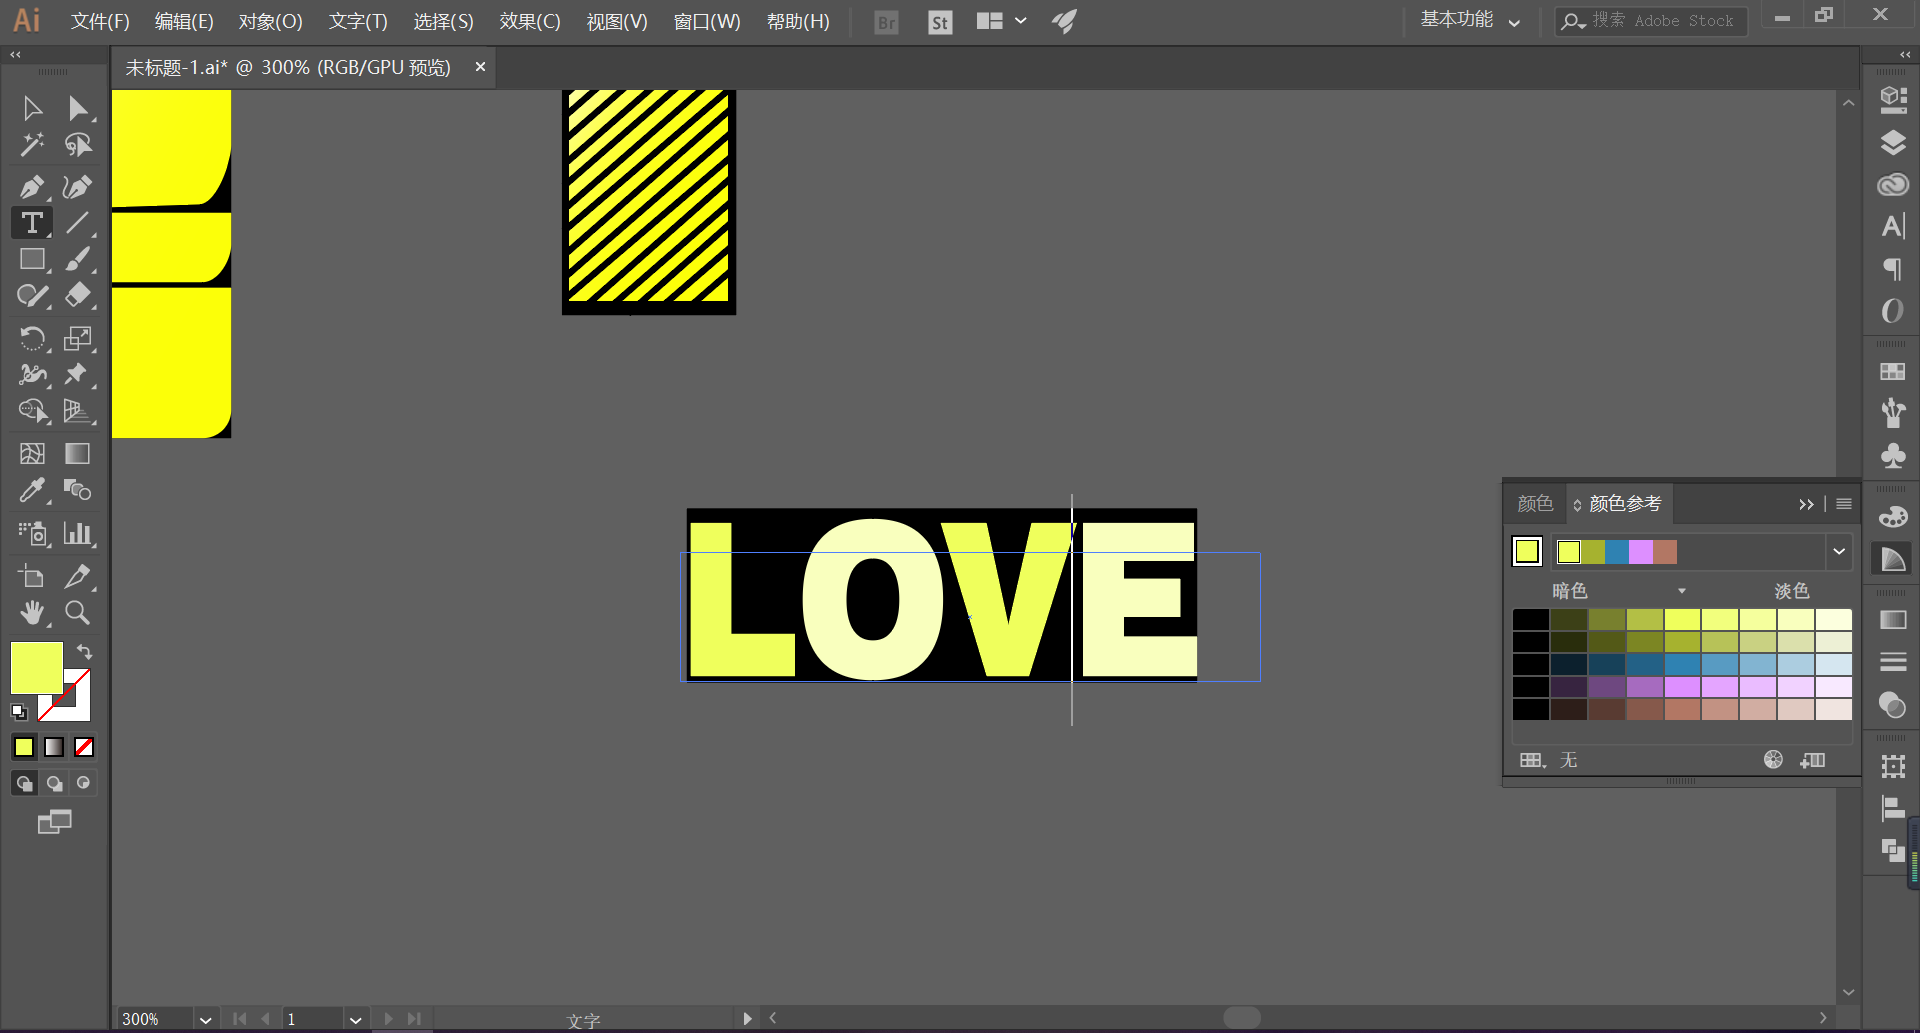
Enter the font and fill color according to the method of "Xi":
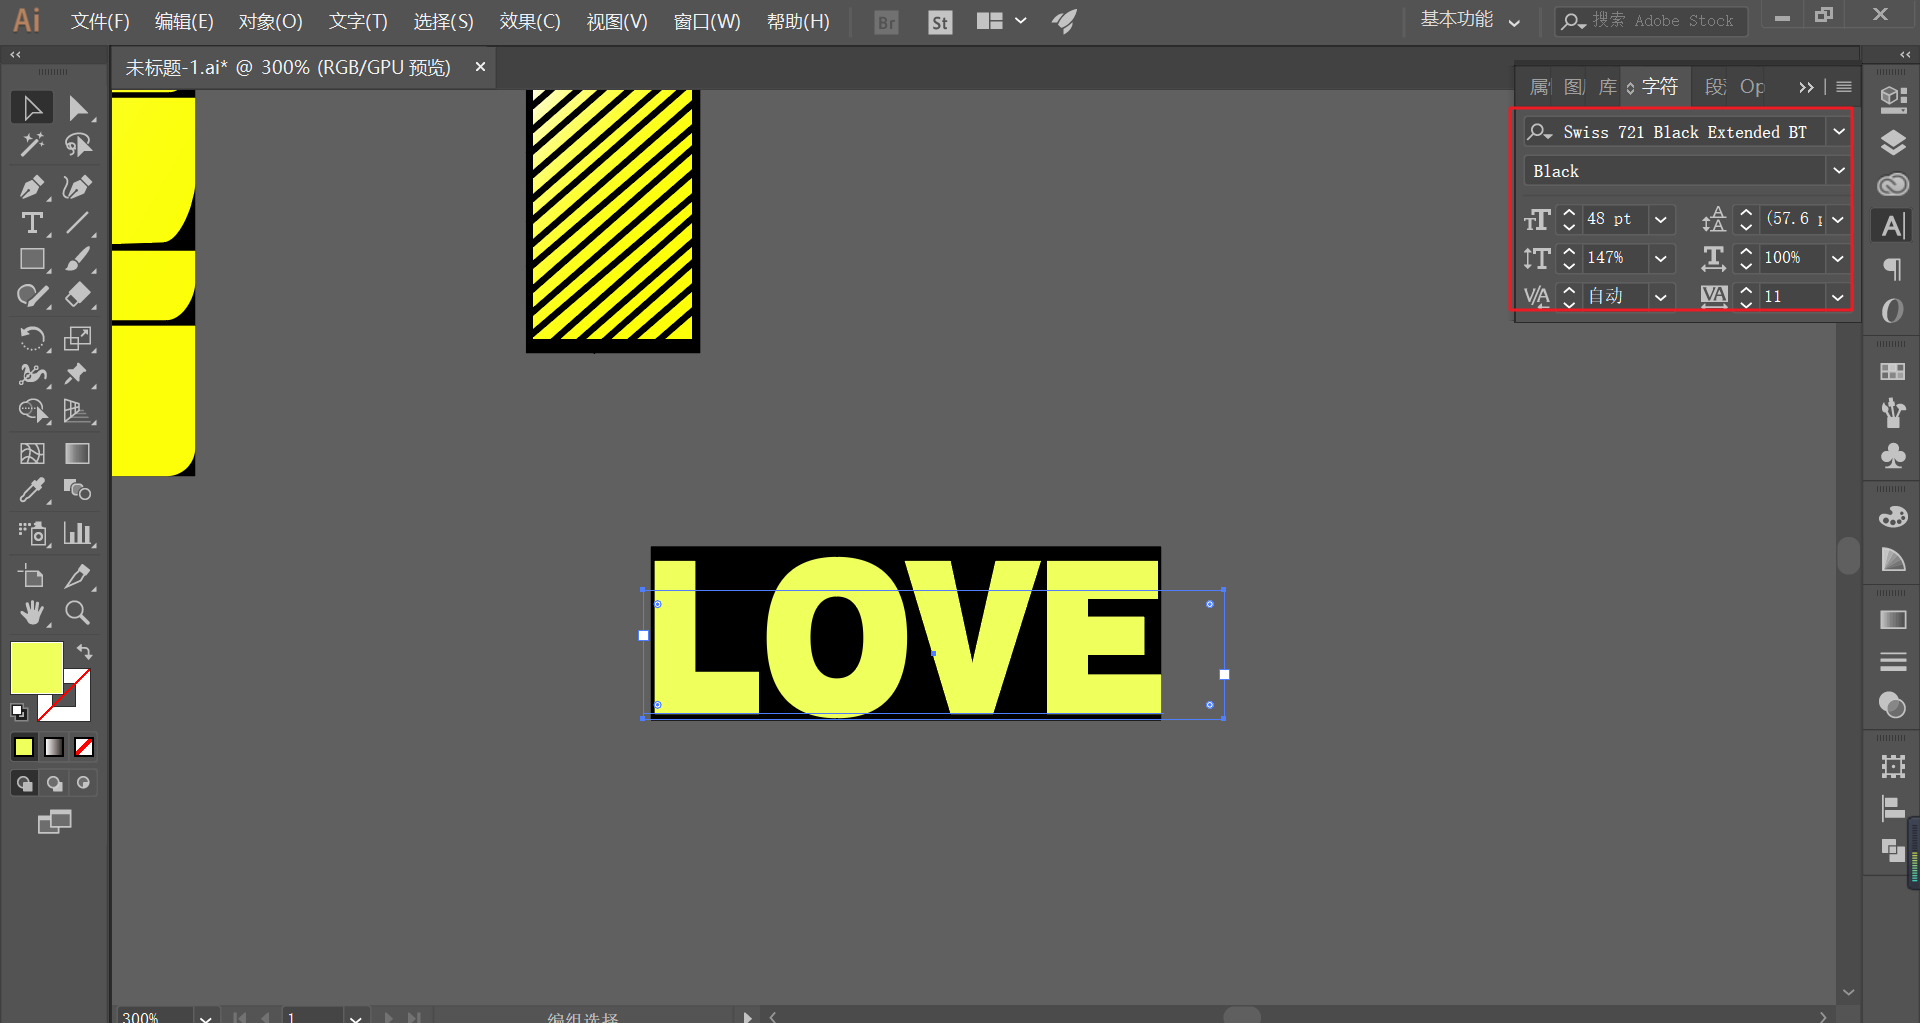
Appropriately change the color of the font, and group them after making:
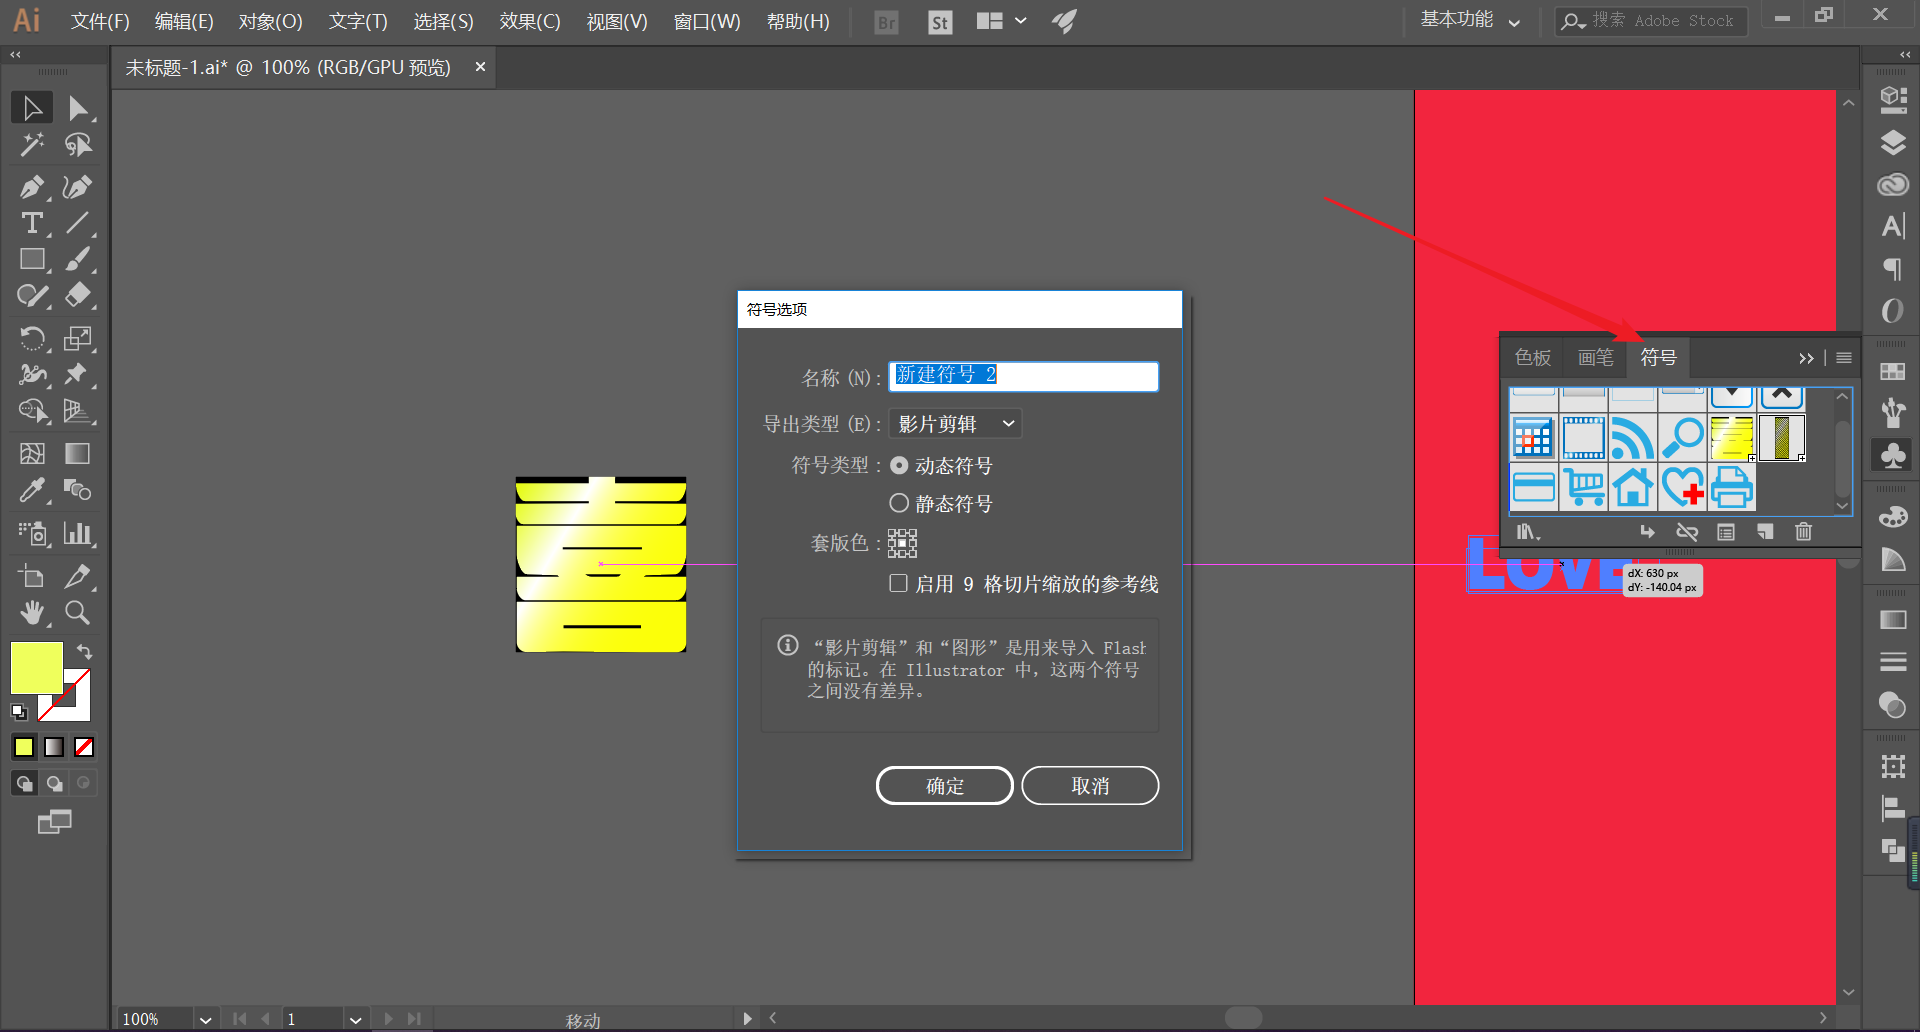
After grouping the three completed graphics, drag them into the symbol respectively, and the default parameters of the dialog box are fine:
Next, draw a rectangle with the same length and width as the previously memorized rectangle:
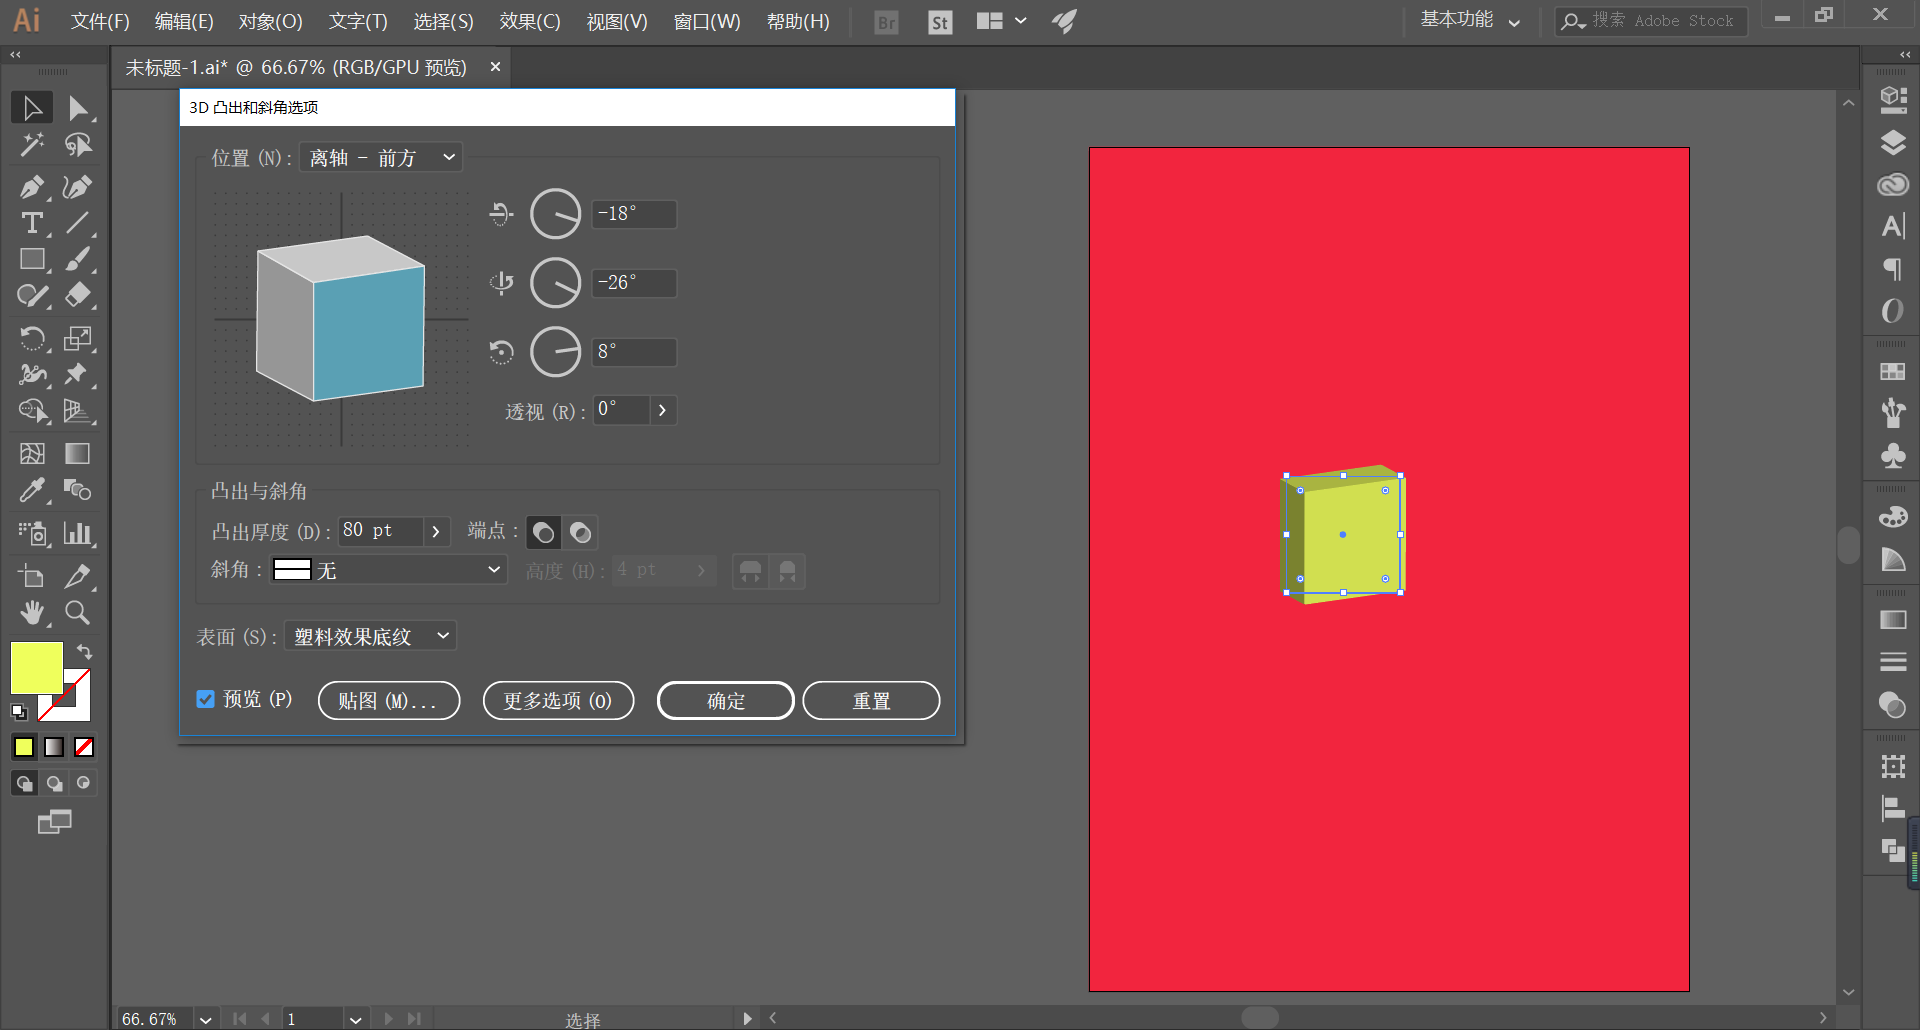
Select the rectangle, go to Effect - 3D - Extrude and Bevel, and open the preview. Extrude a certain thickness for a rectangle:
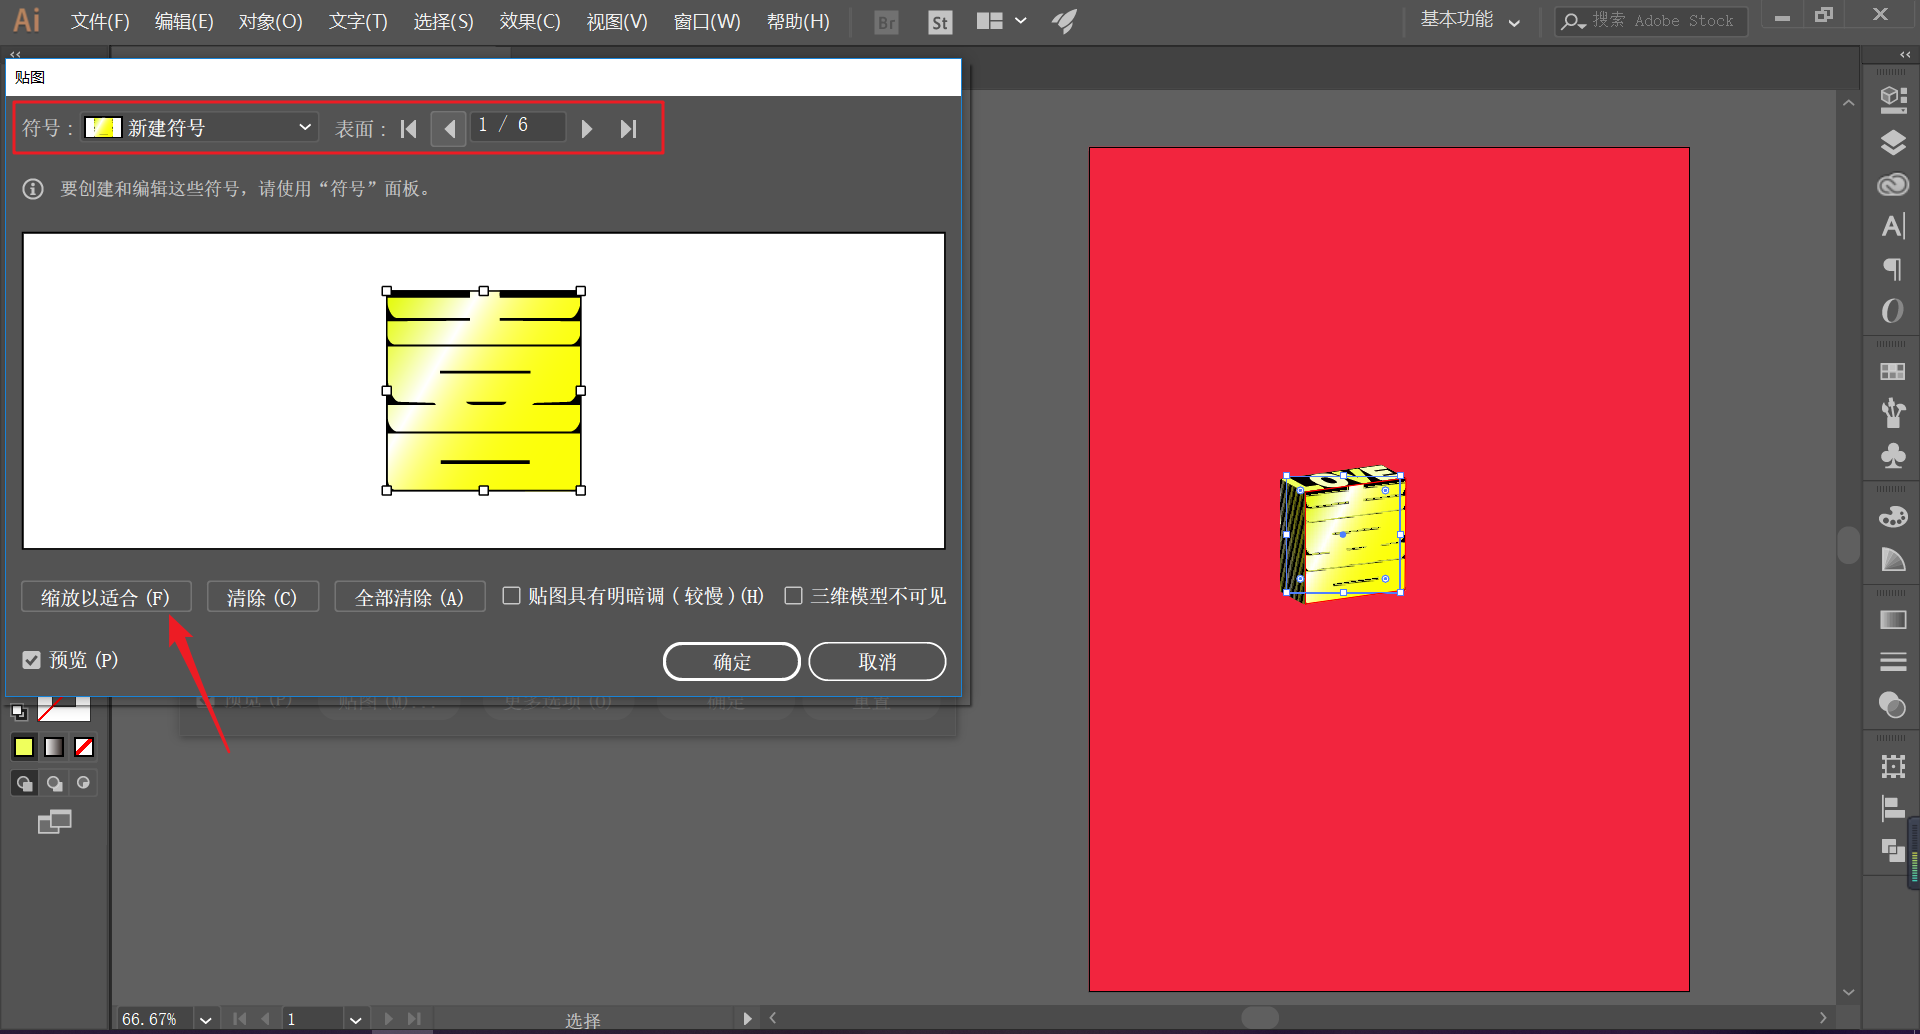
Select the texture and add the three previously made symbols to the three faces of the protruding rectangle:
Using the same method, make a "Huan" effect font and place it in a suitable position:

Next, we started to make shadow effects for the font
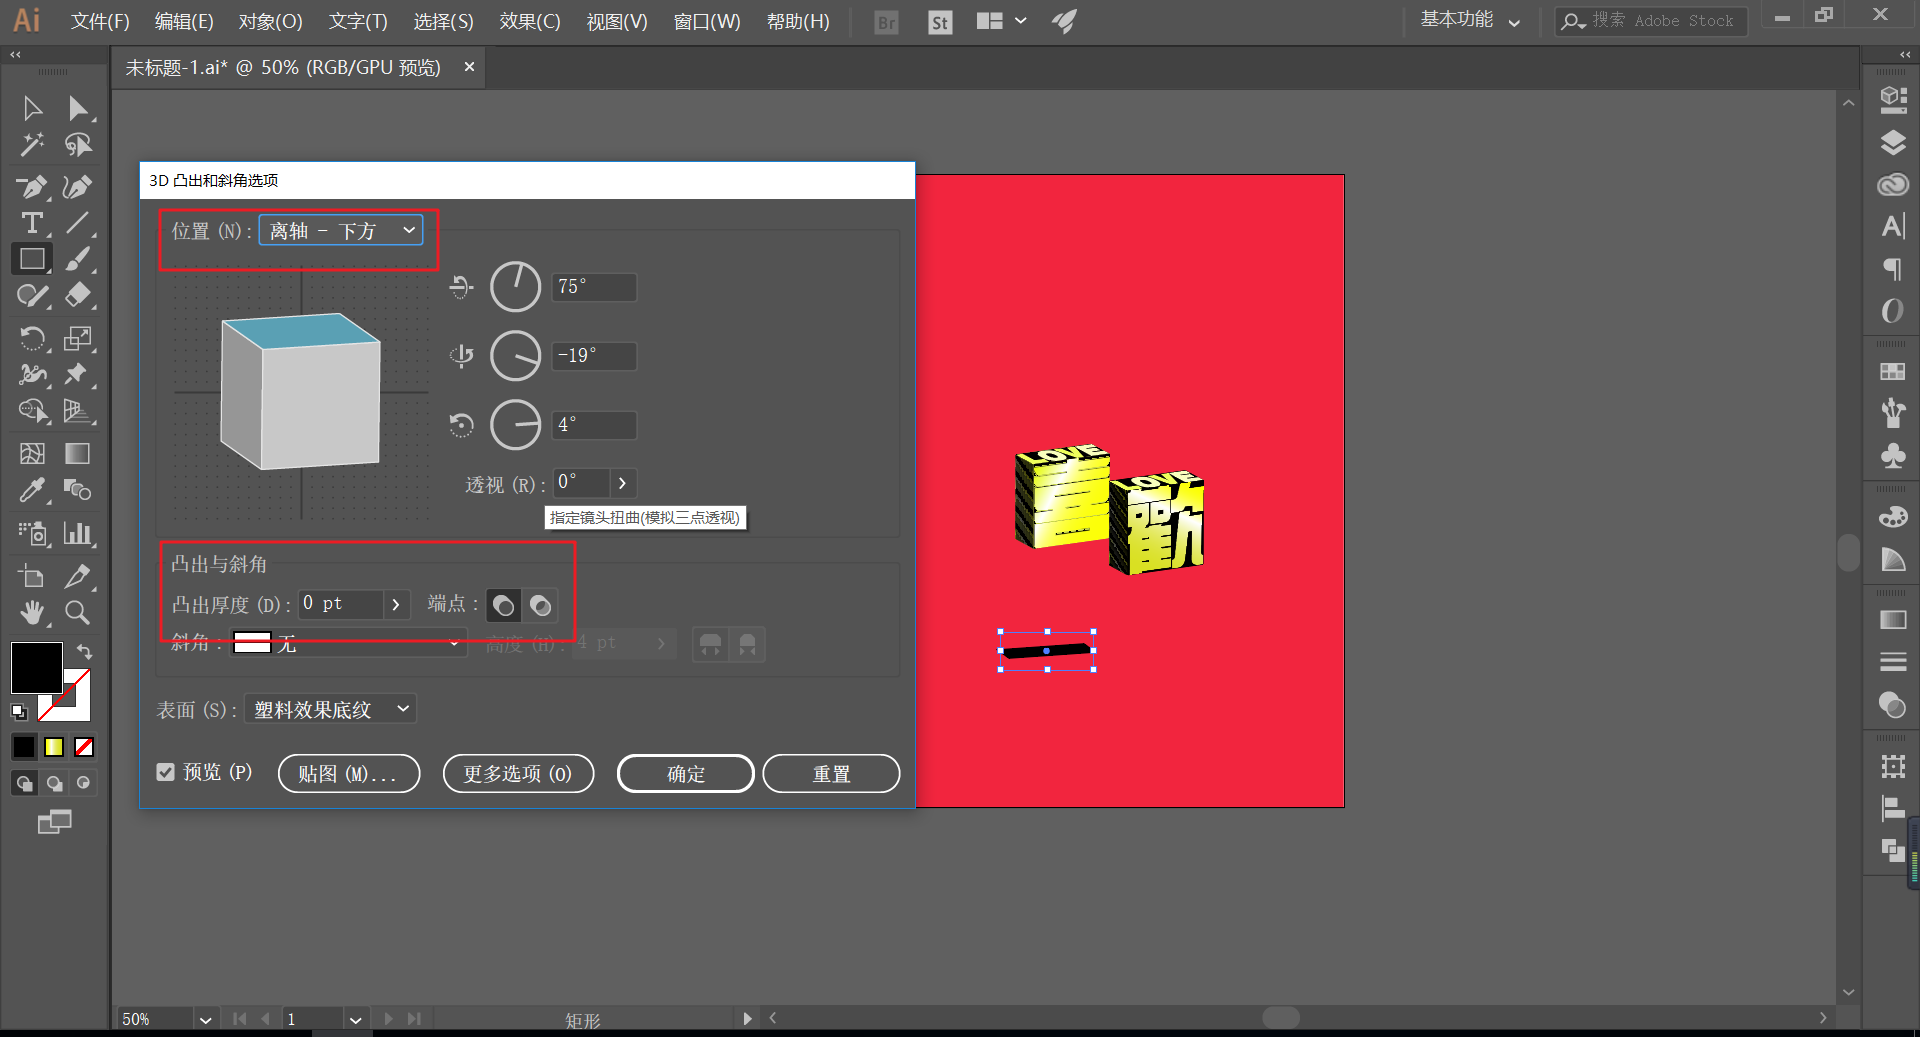
Draw a rectangle that is about the same size as the bottom area of the designed font, and fill it with black.
And execute the effect—3D—bulge and bevel, we don’t need the bulge value, change the bulge to 0, and set the position to Off axis—below:
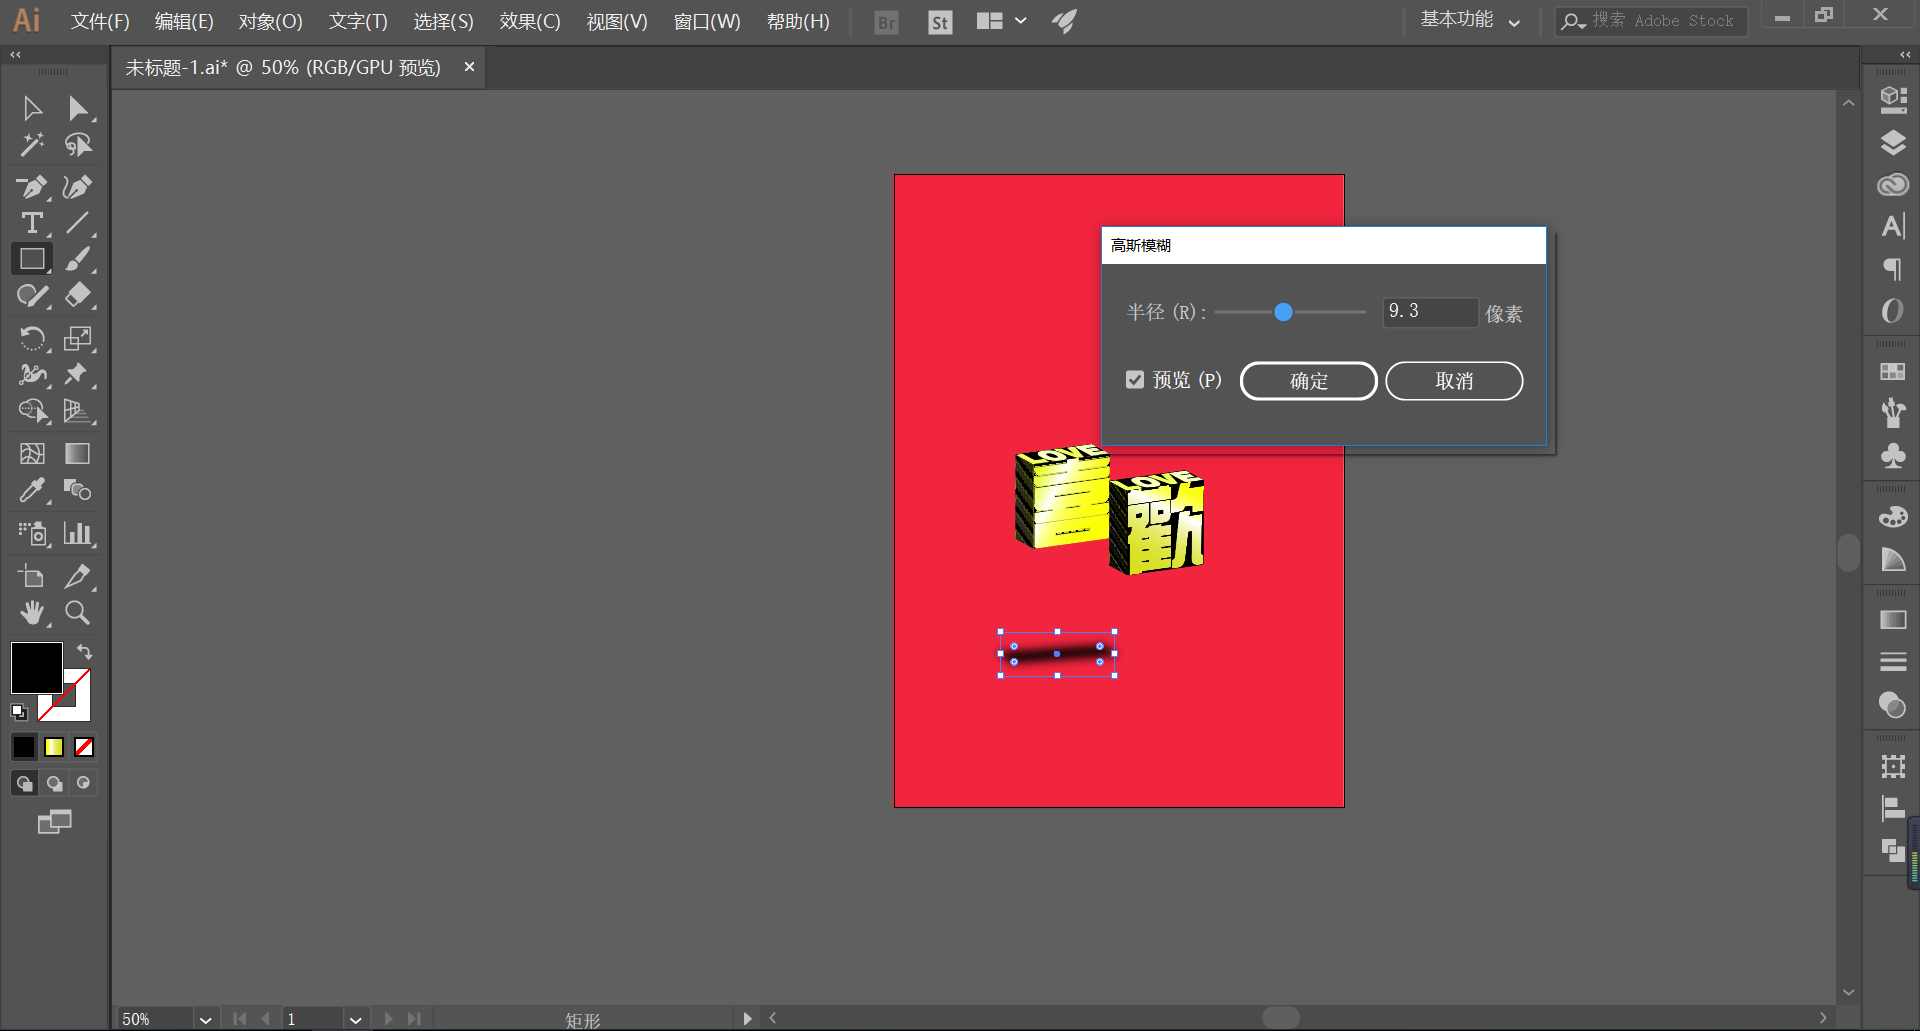
Then execute Effect - Blur - Gaussian Blur, set the blur value appropriately, and get the shadow effect:
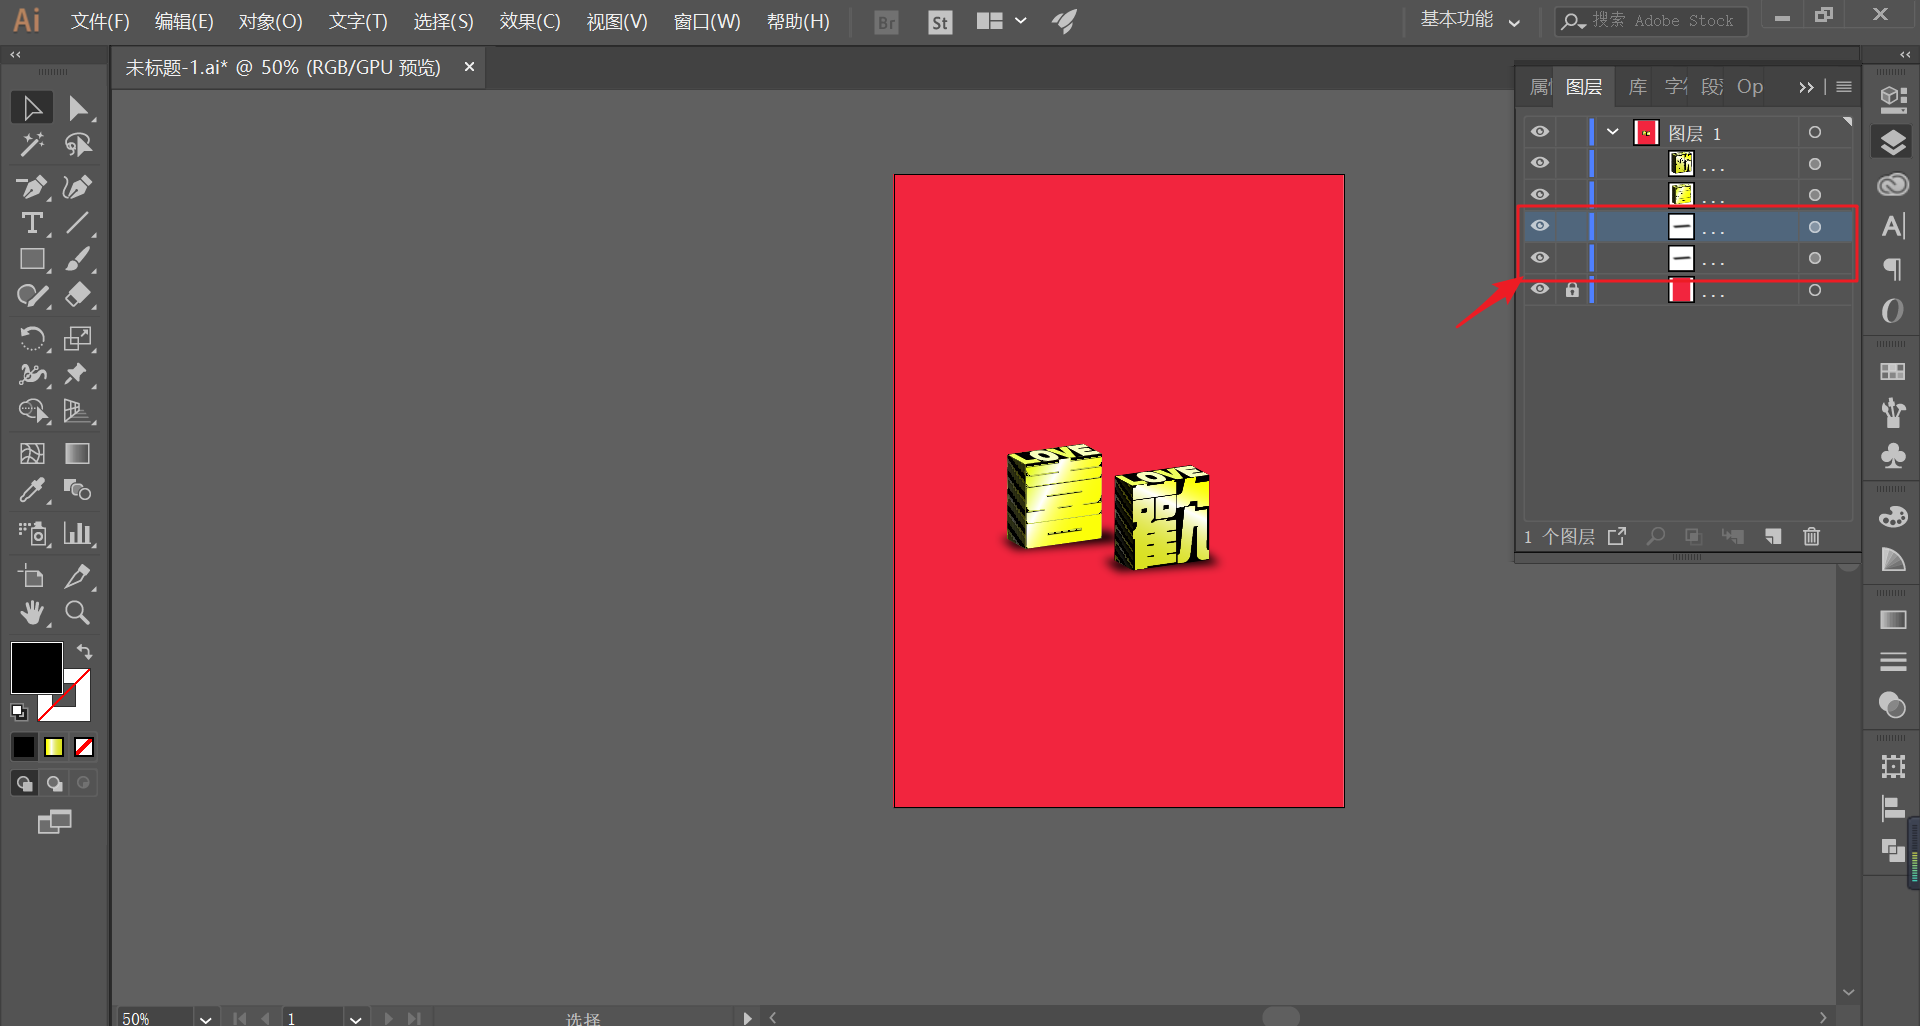
Make a copy of the completed shadow and move it under the font respectively to achieve the final desired shadow effect:
Finally, code a word, type the layout, and get the effect:
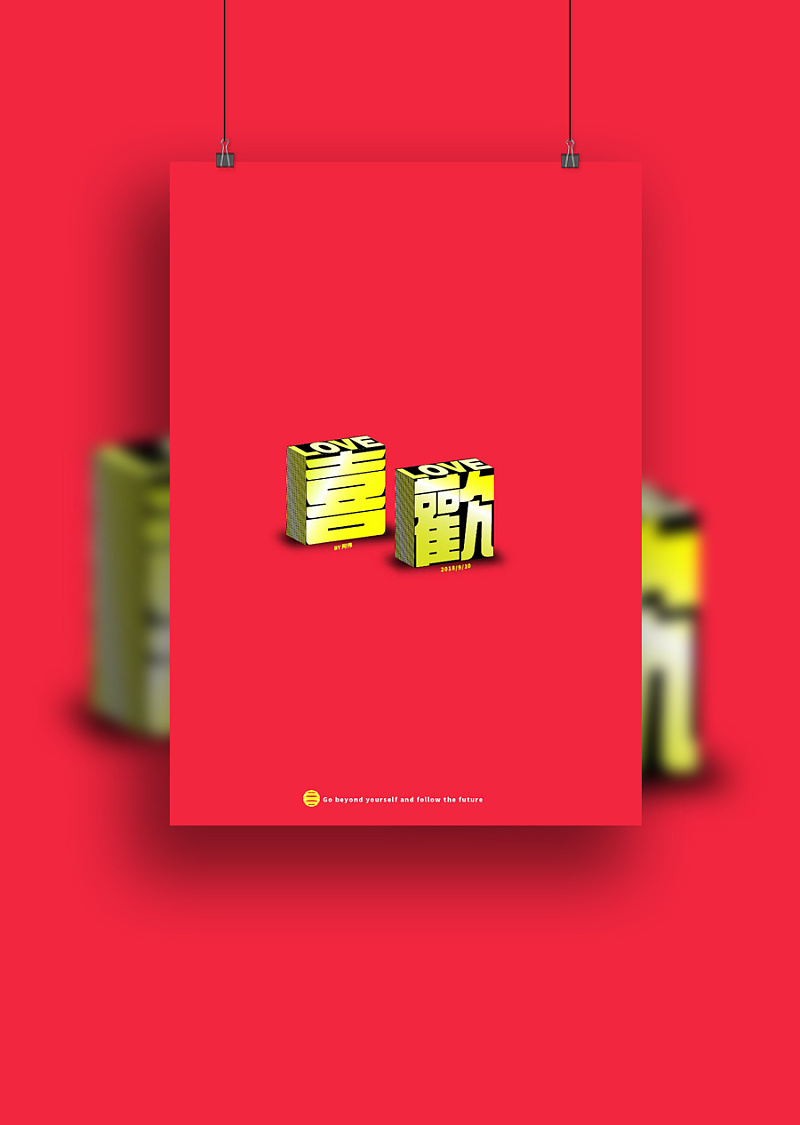
Oh, I feel at ease at last
hope you like it
Welcome to leave a message below... Uh... I don't seem to have a message function!
Then you give a thumbs up
Well, that's all for today's sharing, if you want plug-ins and source files, please reply Touch me to get them!
For more tutorials, please pay attention to the WeChat public account
Official account: Whole point creation
Wechat: zdczawei
This article was published by "Whole Point Creation"
Please contact Awei before reprinting
private transfer must be investigated
Articles are uploaded by users and are for non-commercial browsing only. Posted by: Lomu, please indicate the source: https://www.daogebangong.com/en/articles/detail/AI%20Tutorial%20Creation%20How%20is%20the%20regular%20square%20font%20designed.html
 支付宝扫一扫
评论列表(196条)
测试