1. Create text
Step 1
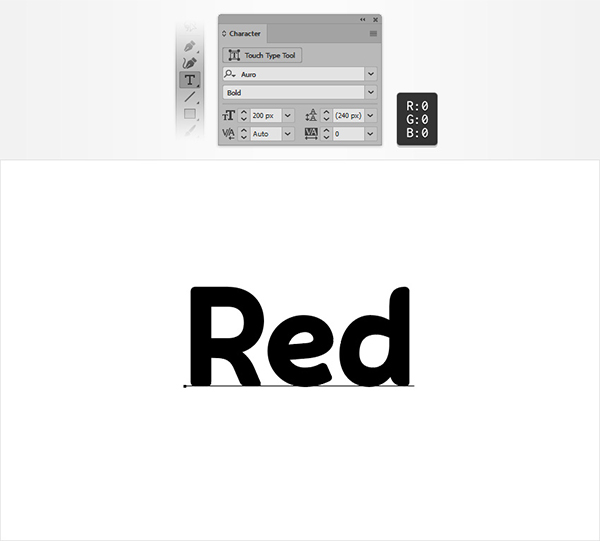
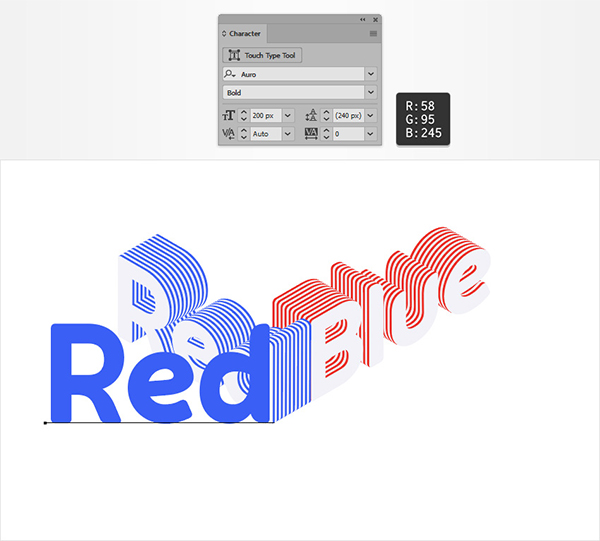
Create a new drawing board, choose an English font, enter the text red, set the font size to 200 pixels, and set the color to black.
Step 2
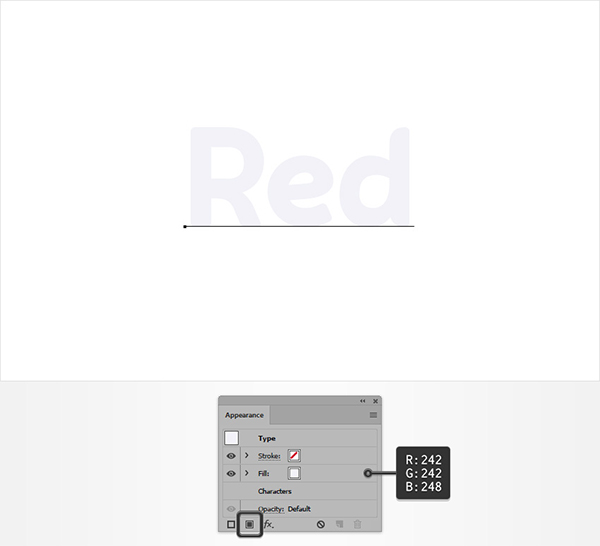
Select the text, open the Swatches panel (Window > Swatches), and click on the [None] swatch to remove the black text color. Move to the Appearance panel (Window > Appearance) and add a new fill using the Add New Fill button. Select the new fill and set the color to R=242 G=242 B=248.
Step 3
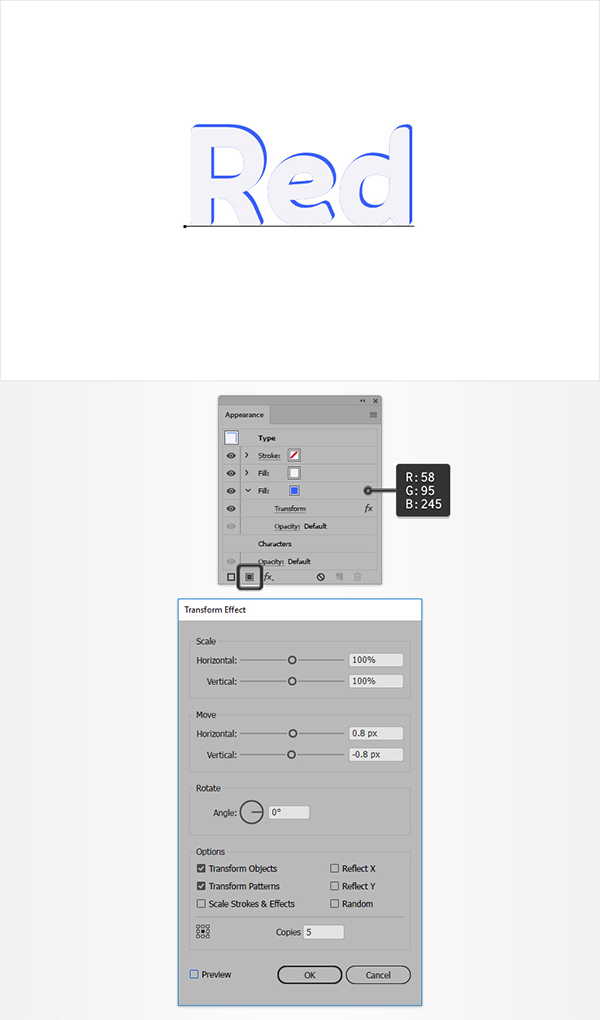
Make sure the text stays selected, go ahead and open the Appearance panel, and add a second fill using the same Add New Fill button, setting the color to R=58 G=95 B=245. Then go to Effect > Distort & Transform > Transform. Drag the Move-Horizontal block to 0.8 px, the Move-Vertical slider to -0.8 px, enter 5 in the Copies box, and click OK.
Step 4
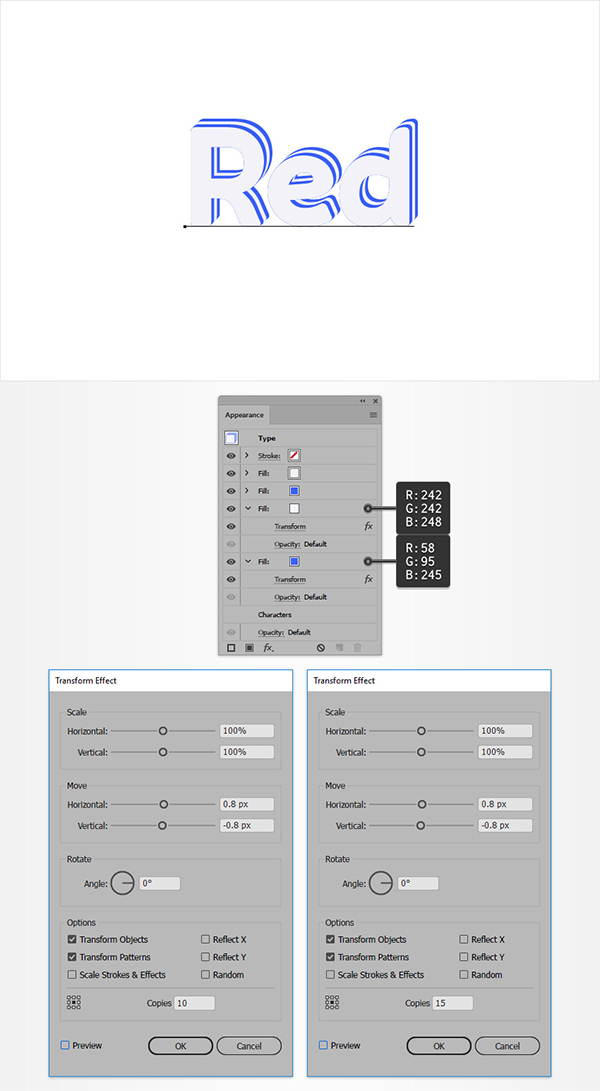
Make sure the text stays selected and keep focusing on the Appearance panel. Add a third padding and move it to the bottom of the panel. Set its color to R=242 G=242 B=248 and go to Effect > Distort & Transform > Transform. Drag the Move-Horizontal slider to 0.8 px, the Move-Vertical slider to -0.8 px, enter 10 in the Copies box, and click OK.
Go back to the Appearance panel, select the blue fill, and duplicate it using the Duplicate Selected button. Drag this new fill to the bottom of the Appearance panel and turn on the Transform effect applied to it. Enter 15 in the Number of Copies box and click OK.
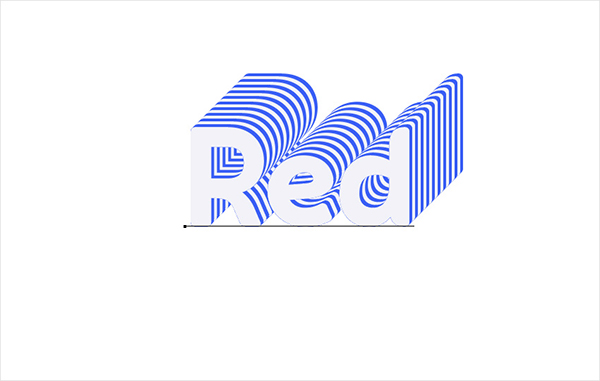
Step 5
Make sure the text stays selected and keep focusing on the Appearance panel. Keep duplicating the bottom fill, changing both colors, increasing the value in the Duplicate box by 5 with each new fill. Stop at the 20th fill. In the end, things should look like the image below.
2. How to create the second paragraph of text
Step 1
Copy the reb text, modify it to blue, and fill it with red.
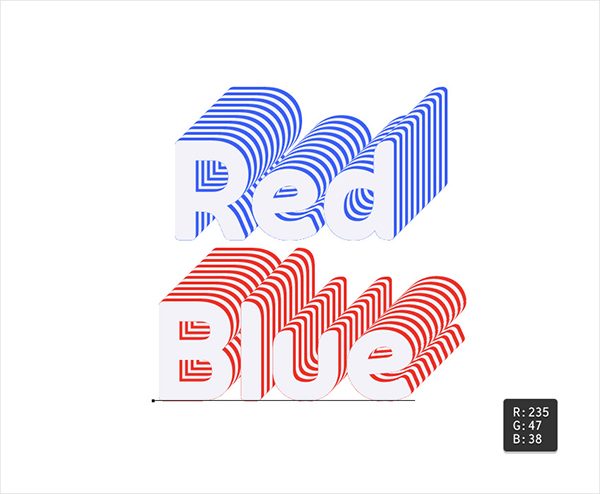
Step 2
Make sure the "blue" text is still selected and keep focusing on the Appearance panel. Turn on the Transform effect applied to the 19 fills one by one and drag the Move-Horizontal slider to -0.8 px.
3. How to apply 3D isometric effect
Step 1
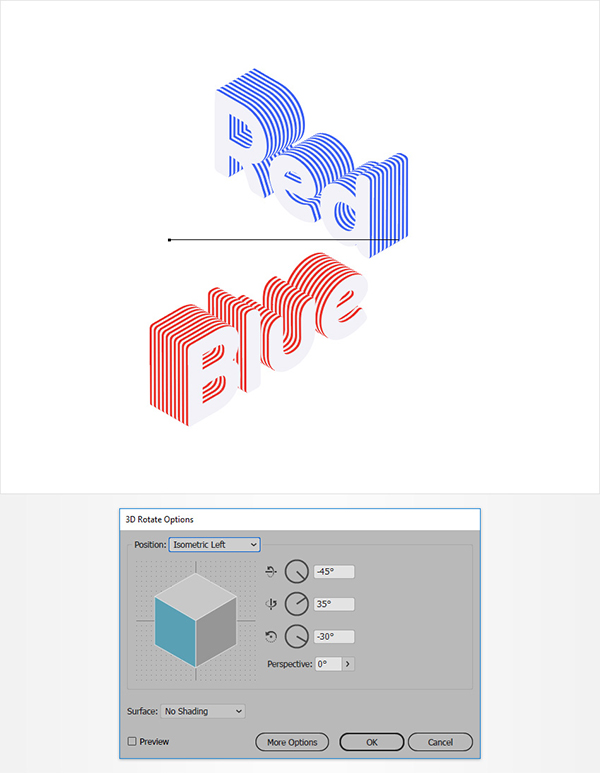
Select the "red" text and focus on the Appearance panel. Make sure the entire text is selected (just click the "Type" text at the top of the panel), then go to Effect > 3D > Rotate. Enter the properties shown below and click OK.
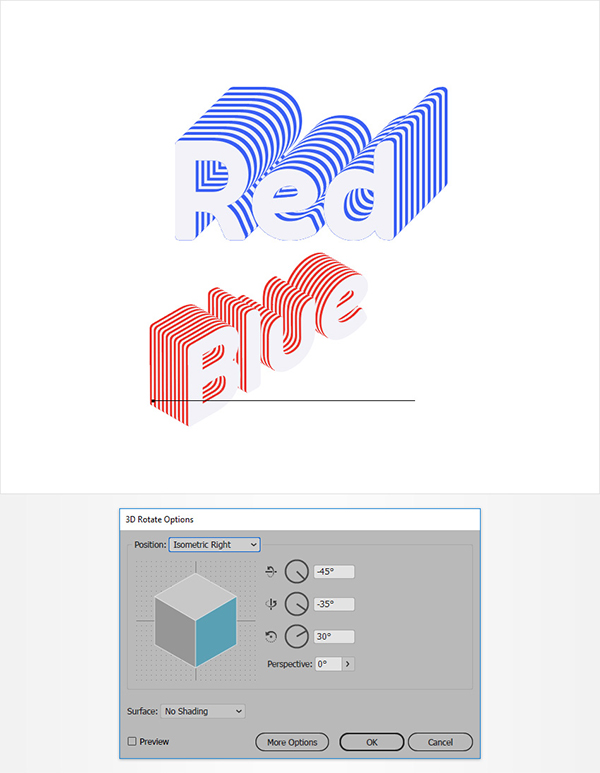
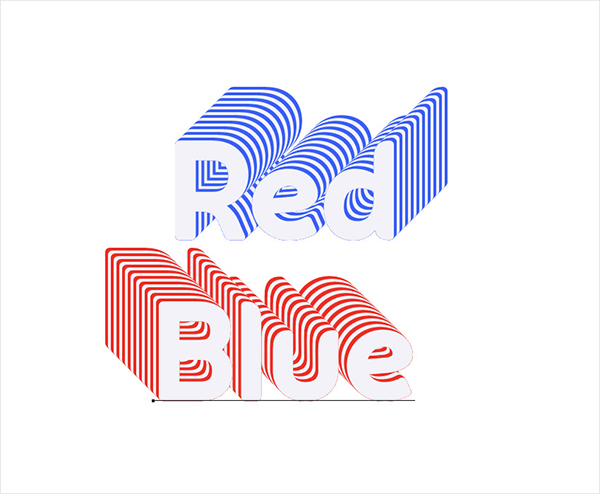
Step 2
Select the Blue text and focus on the Appearance panel. Make sure the entire text is selected, then go to Effect > 3D > Rotate. Enter the properties shown below and click OK.
Step 3
Bring the "red" text to front (Shift-Control-]) and place it as shown below.

4. How to create text shadow
Step 1
Select the Type Tool (T) and add a second "red" text. Use the same font properties and set its color to R=58 G=95 B=245.
Step 2
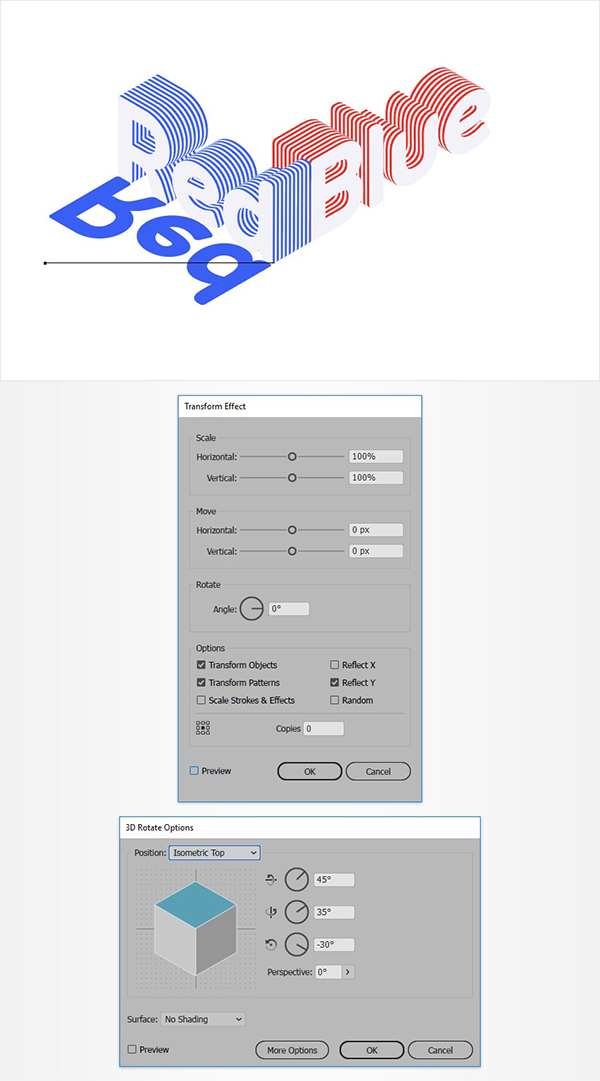
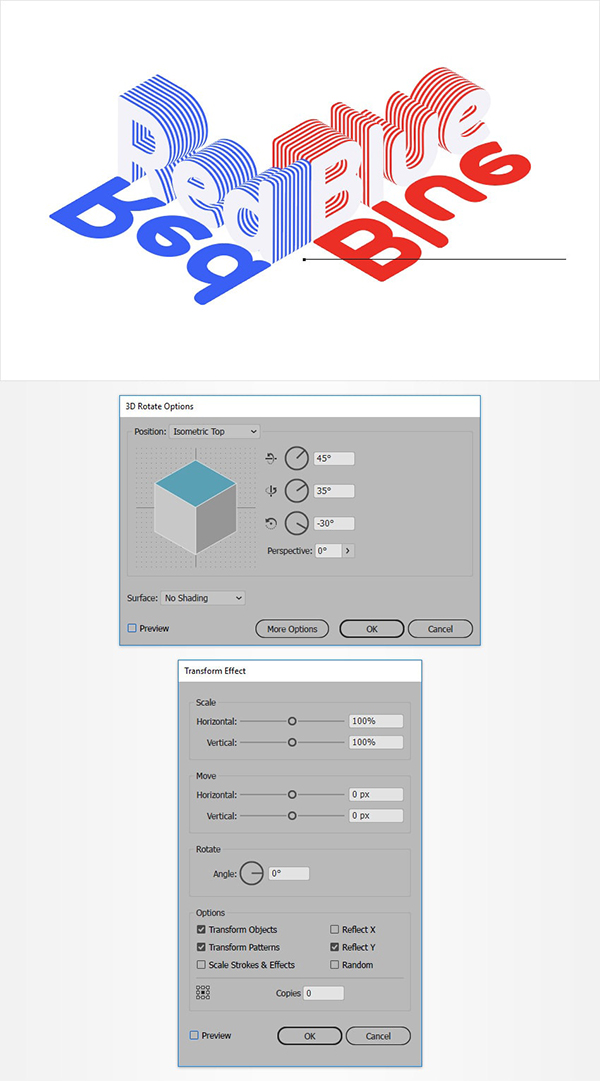
Make sure your blue text stays selected, then go to Effect > Distort & Transform > Transform, enter the properties shown below, click OK. Then go to Effect > 3D > Rotation, enter the settings shown below and click OK.
Step 3, red text in the same way
5. How to create the background
Step 1
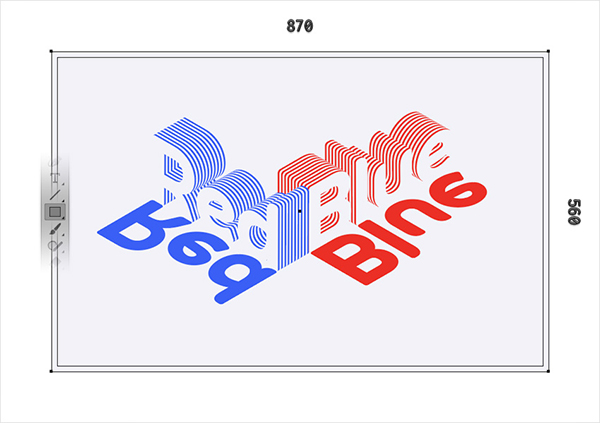
Pick the Rectangle Tool (M) and create an 870 x 560 px shape. Fill this new shape with R=242 G=242 B=248, place it at the bottom of the shape, and make sure it covers the entire Artboard.
Step 2
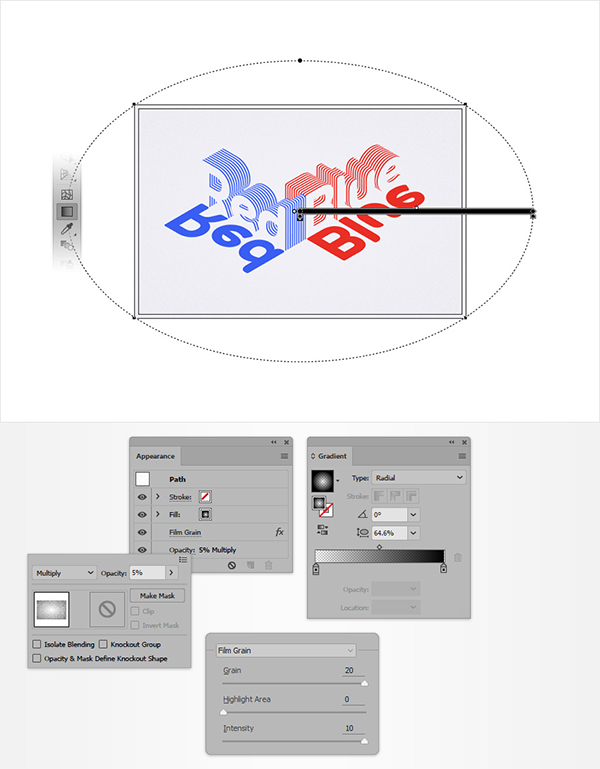
Select the rectangle, add a copy in front (Control-C > Control-F), and bring it to front (Shift-Control-]).
Make sure this new shape remains selected and focus on the Appearance panel. First, replace the flat color with the Radial Gradient shown below. Use the Gradient Tool (G) to stretch the gradient as shown below, lower its Opacity to 5% and change the Blending Mode to Multiply, then go to Effect > Artistic > Film Grain, Enter the properties shown below and click OK.
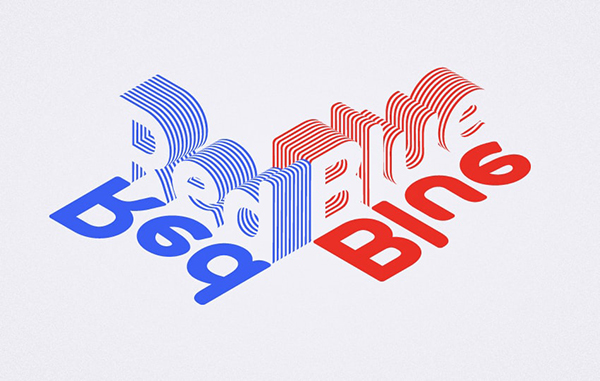
OK, that's it!
Articles are uploaded by users and are for non-commercial browsing only. Posted by: Lomu, please indicate the source: https://www.daogebangong.com/en/articles/detail/AI%20Tips%20%20Quickly%20make%20a%20layered%20text%20effect.html
 支付宝扫一扫
评论列表(196条)
测试