C4D text group modeling
Main knowledge points:
Merge AI files, extrusion, alpha channel
(For preset materials and more tutorials, see the link in the original text)
Basic splines for making good fonts in AI

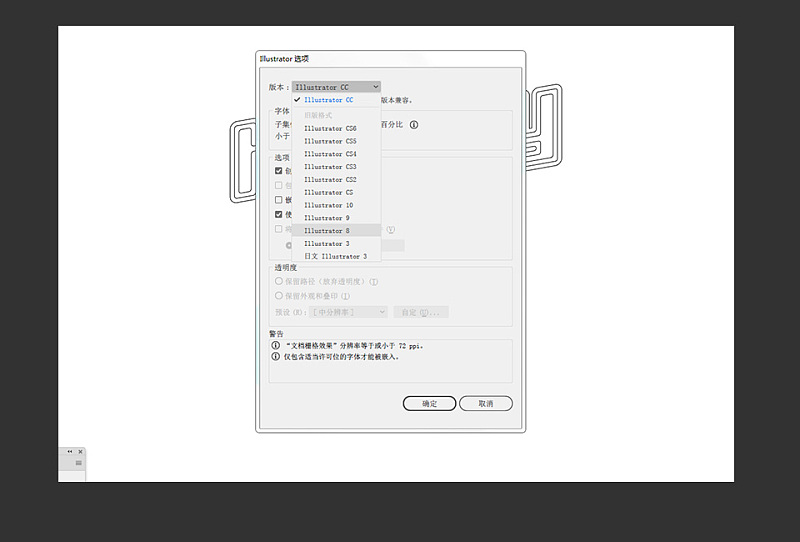
2. Save the file as an AI8 file after making it
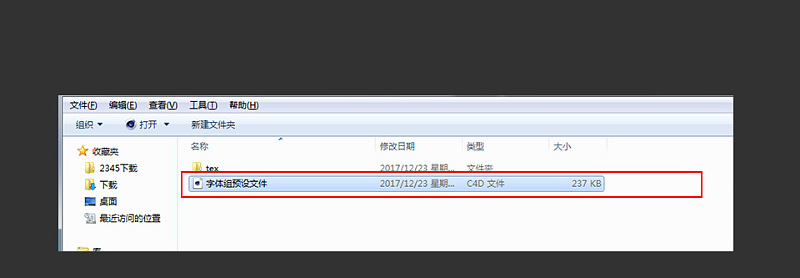
3. Open the C4D preset file (materials and lights have been set up)
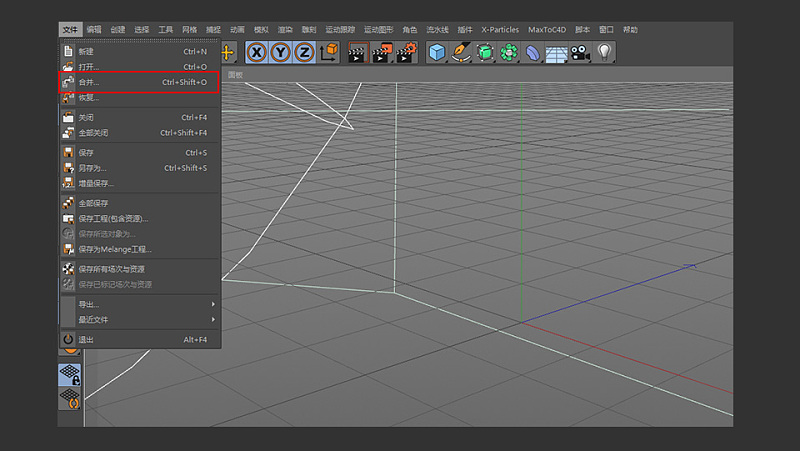
4. After opening the C4D preset file, select Merge in the file options
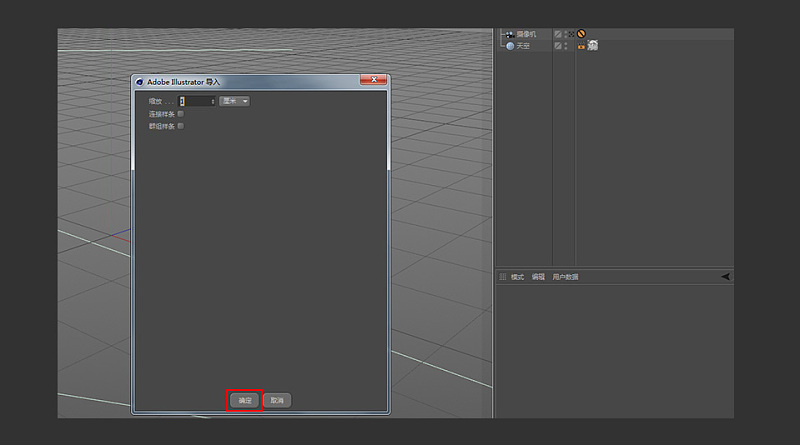
5. Select the AI file you just saved

6. Click OK
7. Multi-select the outermost splines of the font
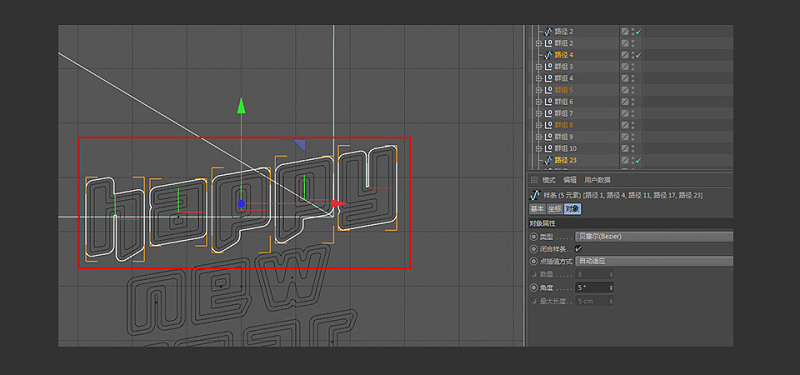
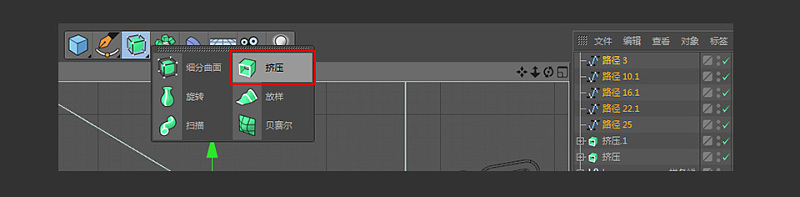
8. Drag the selected spline out for observation, and create a new extrusion command
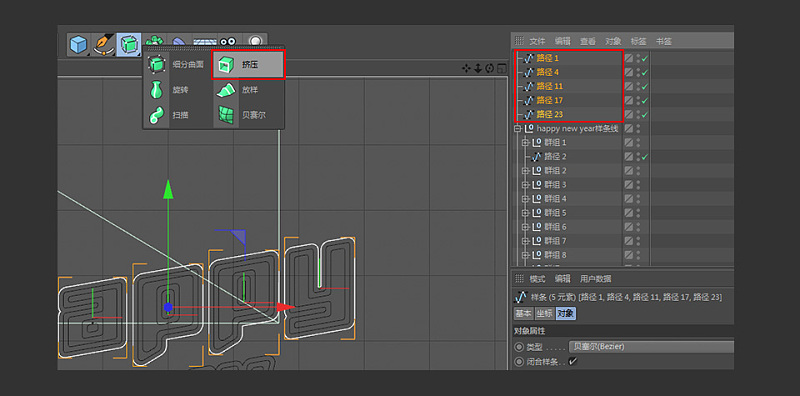
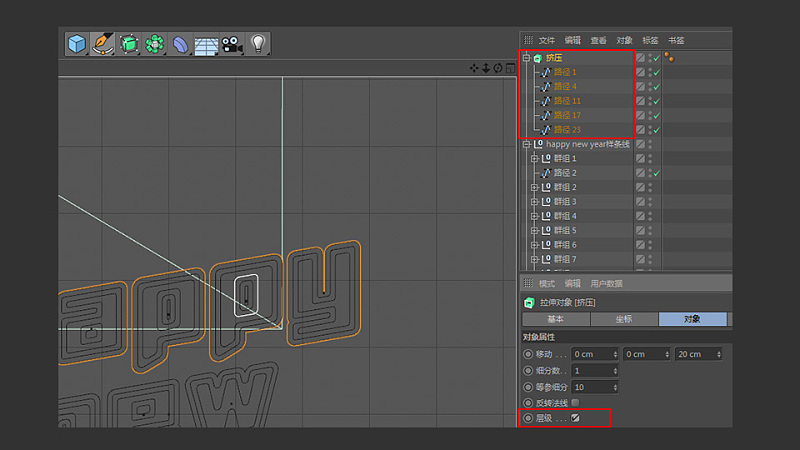
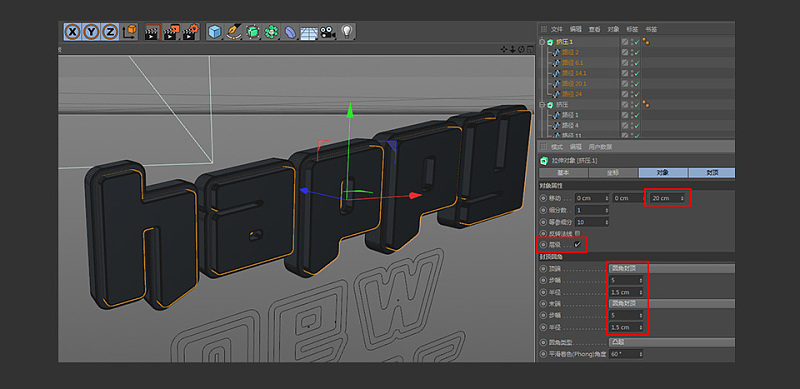
9. Give the selected spline to the extrusion, and check the level in the extrusion option
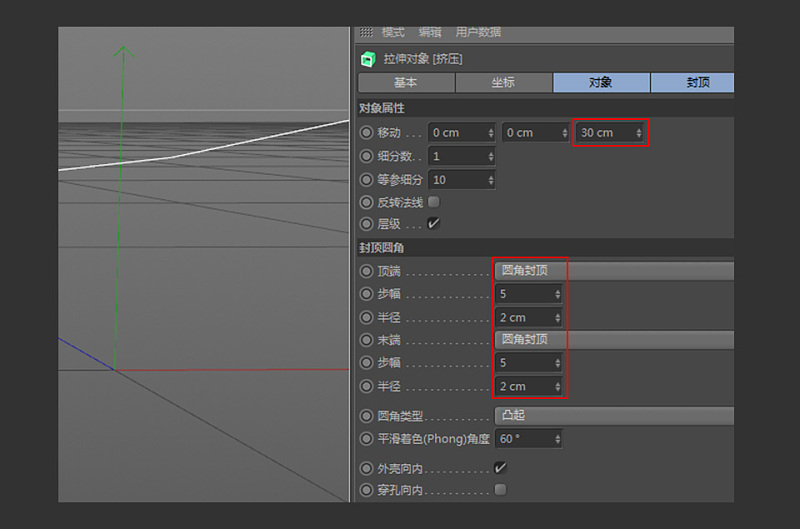
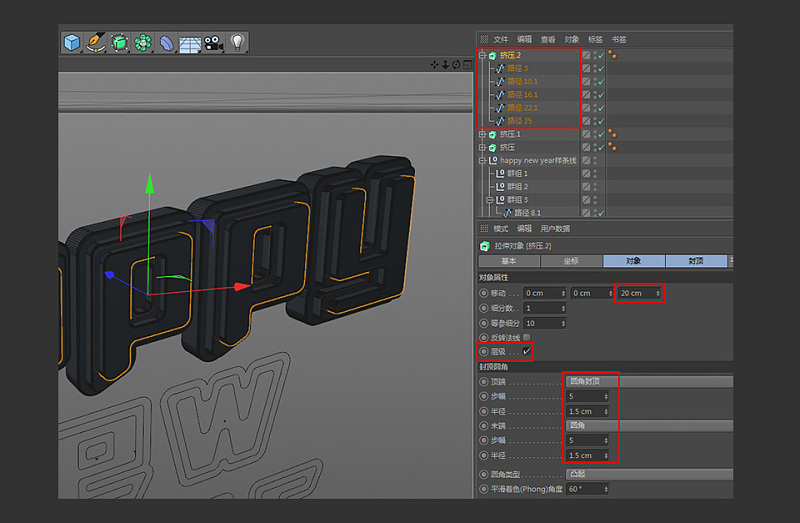
10. The specific parameters of extrusion are shown in the figure below
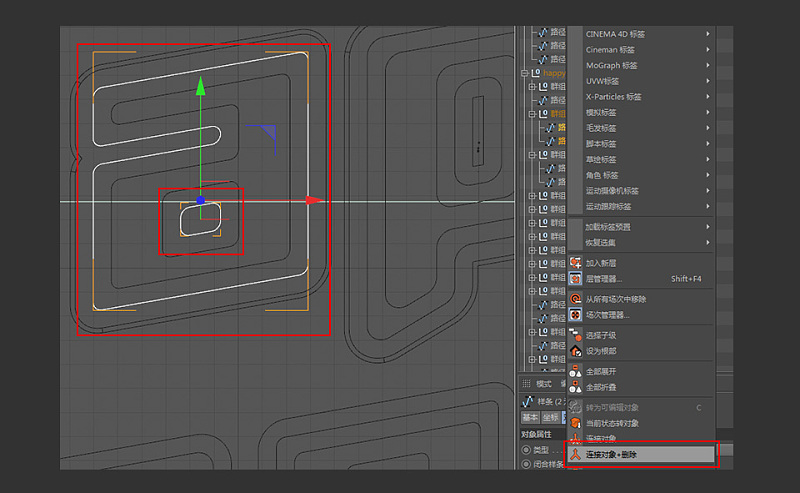
11. Select the two splines shown in the figure, right-click and call out the menu to select the connection object plus delete
12. Similarly, do the same operation as the previous step for letters like a, p, and e
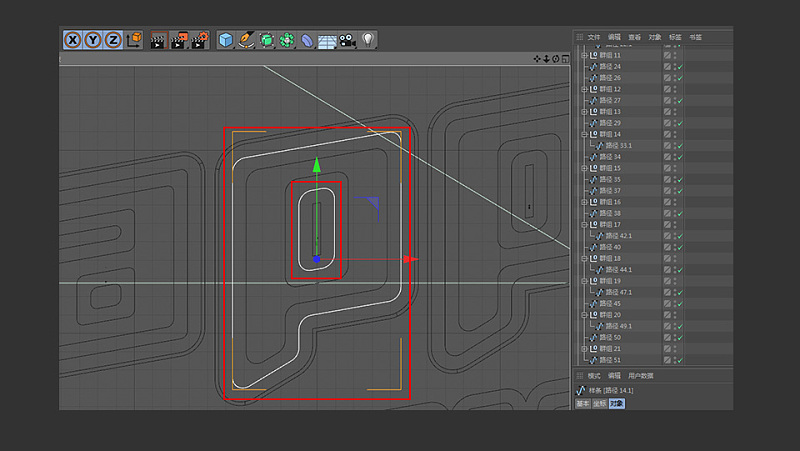
13. After adding and deleting the connected objects of the corresponding letters, select the corresponding font spline (as shown in the figure), and create a new extrusion command

14. Give the selected spline to the extrusion, the specific parameters of extrusion are shown in the figure below, pay attention to check the level
15. Similarly, add and delete the connection object for the corresponding font, and select the innermost font
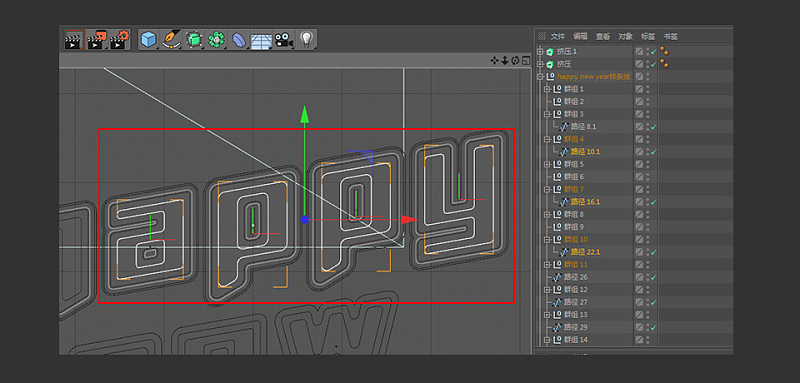
16. Create a new extrusion command
17. Give the selected spline to the extrusion, and the specific parameters of the extrusion are shown in the figure below
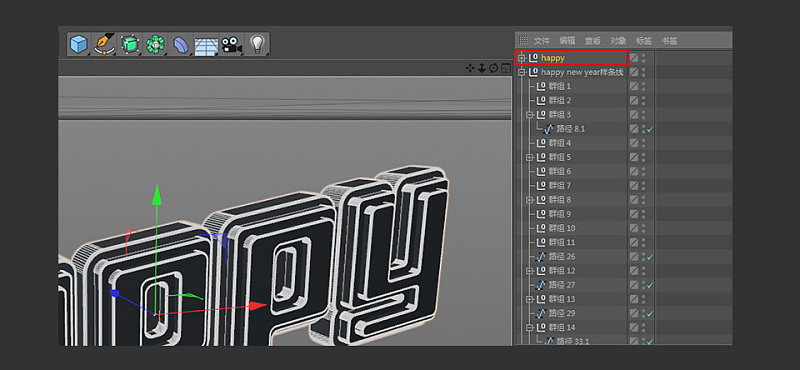
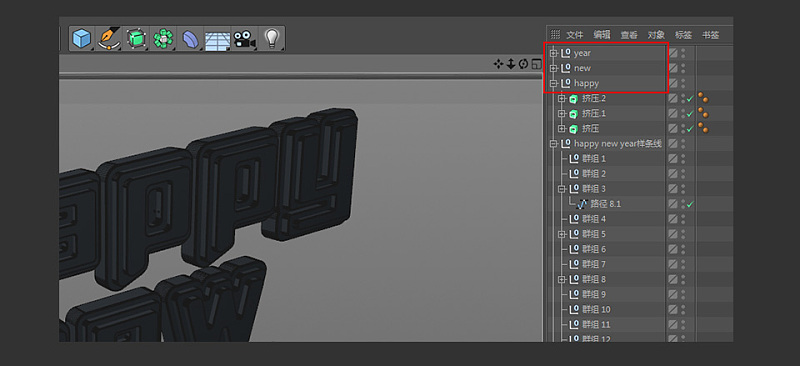
18. Group the newly created models for easy editing
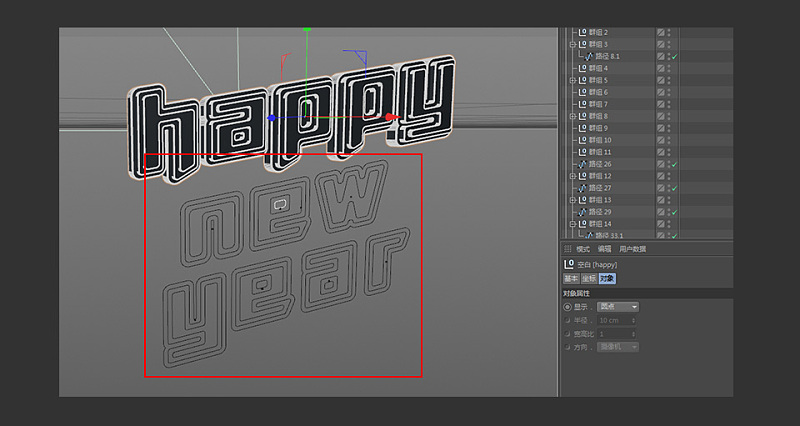
19. Do the same for the NEW and YEAR fonts below
20. The resulting effect is shown in the figure below
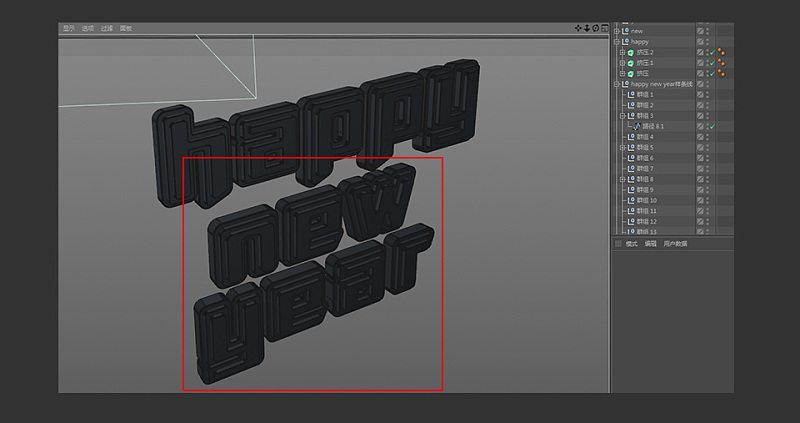
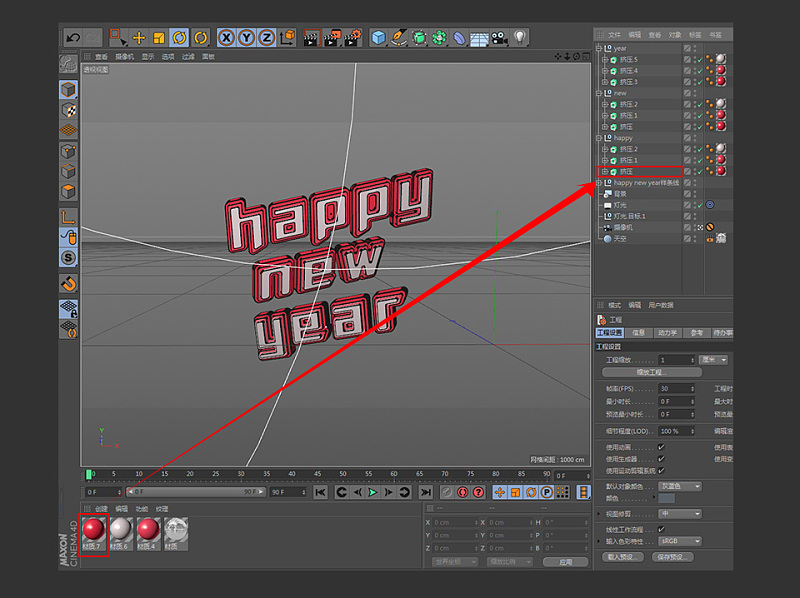
21. Group and name the models
22. Select the edited font group and move it to the corresponding position within the camera range
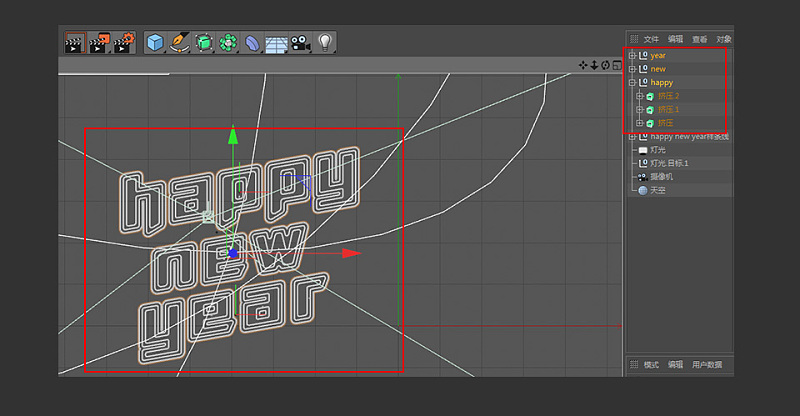
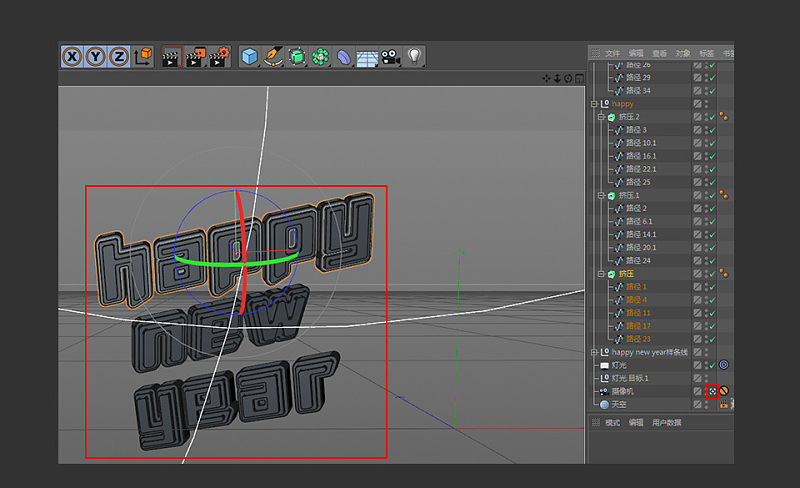
23. Open the camera angle of view in the perspective view and use the rotation tool to rotate each group to a suitable angle. The effect is shown in the figure below
24. After the above steps are completed, drag the corresponding material to the corresponding model
25. Click Render Settings, find the save option, check Alpha channel, direct Alpha channel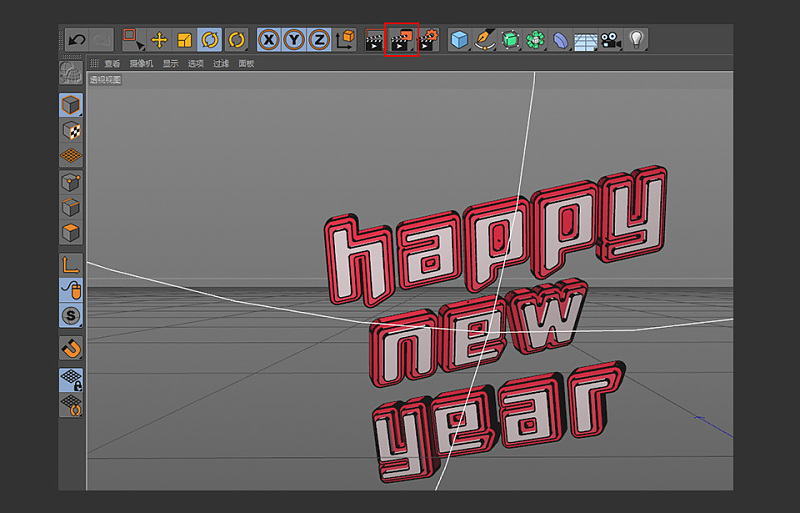
26. After the rendering settings are complete, click Render
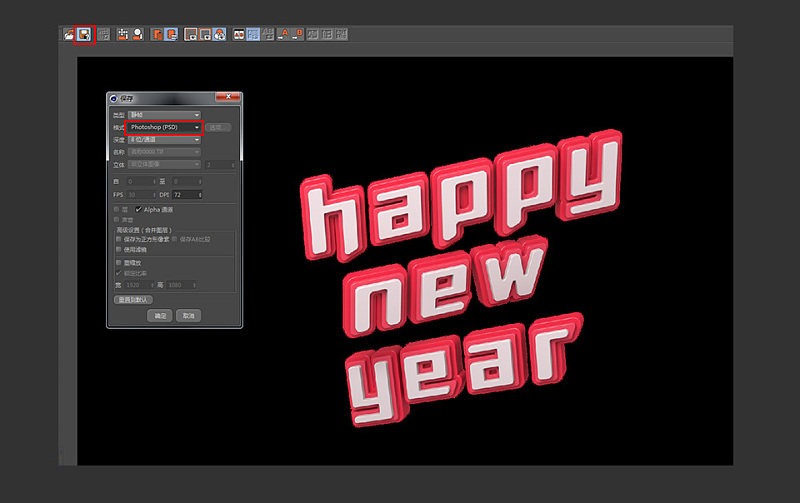
27. After the rendering is complete, click Save, and the file save type is selected as PSD format
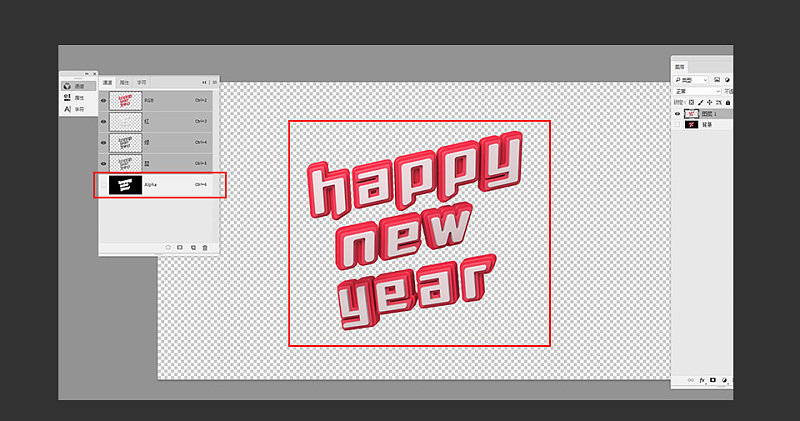
28. Open the saved PSD file, find the channel of the model in the channel, load the selected area and invert the selection, and delete the black background, so as to obtain a separate object model

29. Fill in the desired background color and finish
Articles are uploaded by users and are for non-commercial browsing only. Posted by: Lomu, please indicate the source: https://www.daogebangong.com/en/articles/detail/3D%20font%20modeling%20tutorial%20C4D%20tutorial.html
 支付宝扫一扫
评论列表(196条)
测试