Hello everyone, the topic of the tutorial released today is: Making 2.5D illustration 3D character design, let's take a look at the final rendering:
 2.5D illustration design three-dimensional font design renderings
1.Operation steps
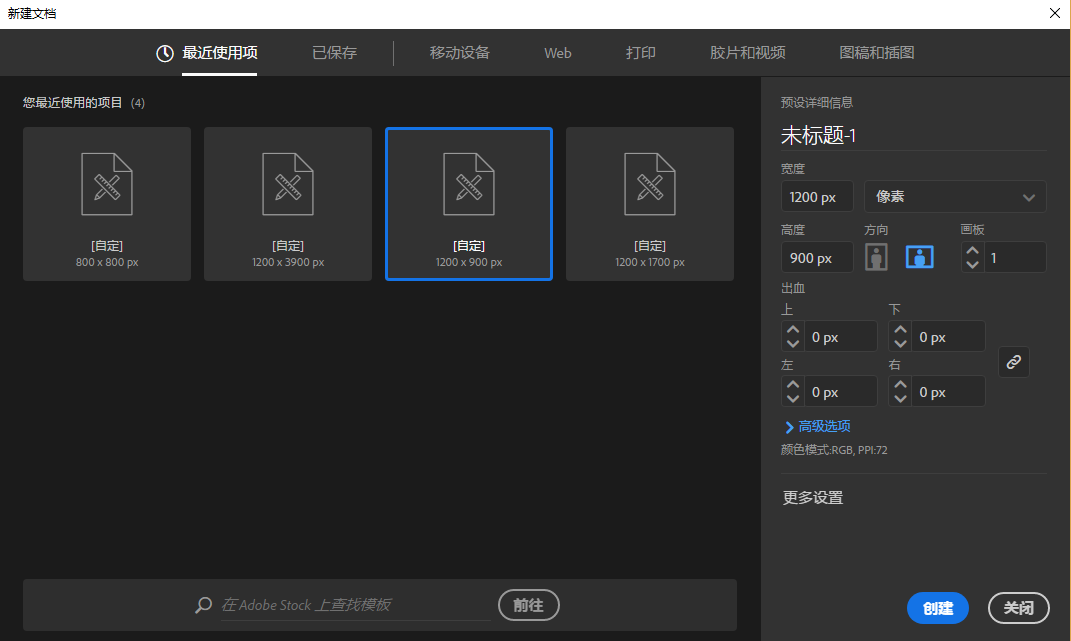
Step 1: Open illustrator, create a new artboard: 1200x900px
Then open the layer panel, create a new layer, and name it make layer (for object modeling layer), reference line layer > (used to make 2.5D illustration reference line layer); draw a rectangle as big as the artboard in the layer, press ctrl+2 to lock the rectangle, such as the animation:
Step 2: Create a new reference line, select the reference line layer, use the straight line tool to draw a straight line, click the selection tool, hold down the alt key, and drag down Copy another line, then press Ctrl+D (multiple copies), copy more, then select all the lines, right mouse button: Transform-Rotate (angle: 30 degrees)-OK
Then, select these lines again, Right mouse button: Transform-Symmetry (vertical, angle: 90)-Copy; select all line segments to group (ctrl+G), after grouping, press ctrl+5, Convert all line segments to reference lines, such as animation:
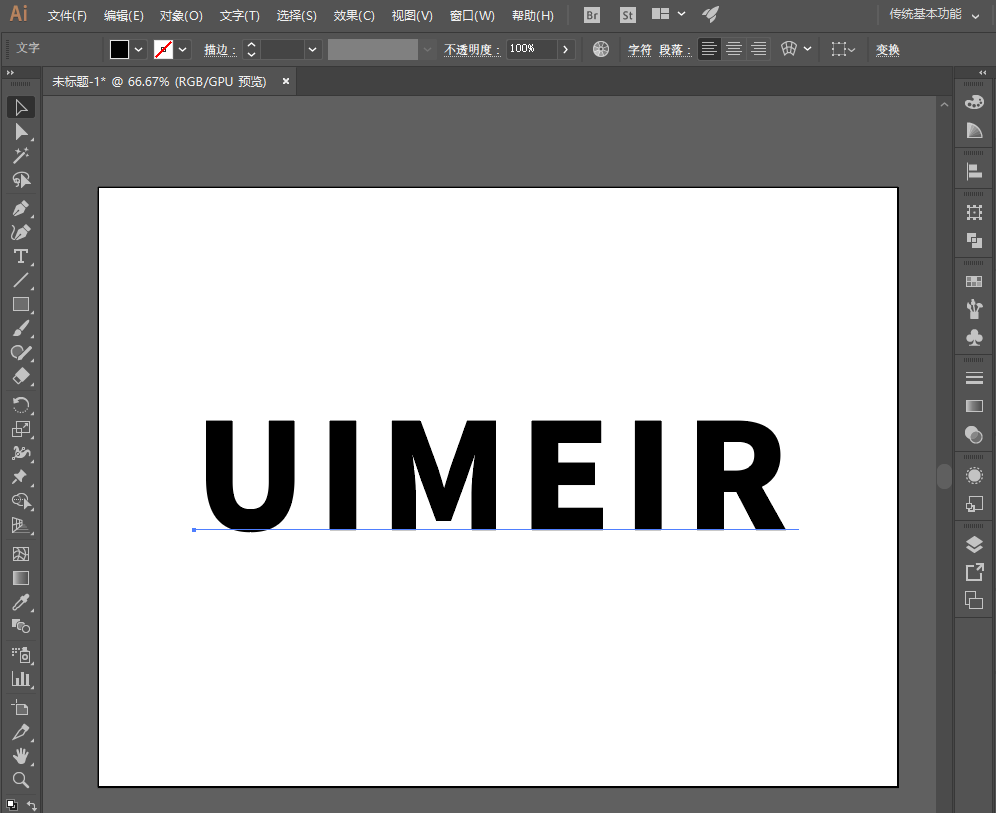
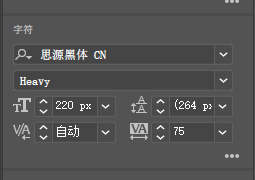
Step 3: Do text 3D modeling, select the text tool, input "UIMEIR", and set the text attributes, animation: (here, you can use your name or brand name for the text)
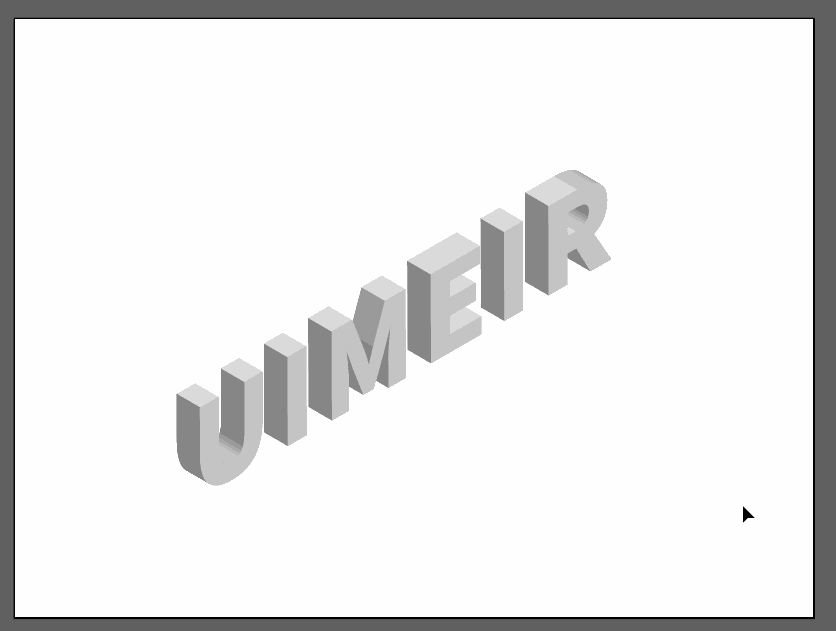
In the menu bar, select: Effect-3D-Protrusion and Bevel, the values are: -45, -35, 30, Other defaults can be adjusted in the later stage, such as the animation:
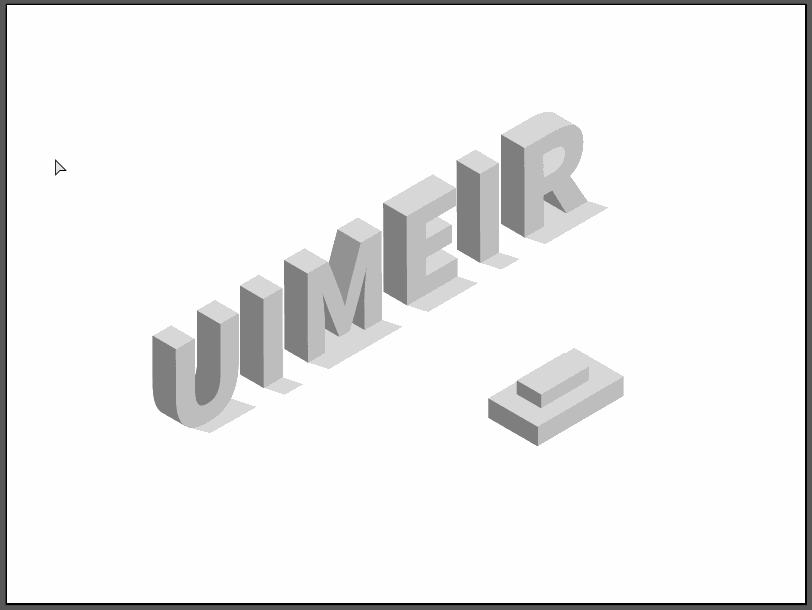
Next, select in the menu bar:Object-Extended Appearance, the effect is as shown in the figure:
Step 4: Build a cube shape, draw a square with the rectangle tool, select: Effect-3D-Protrusion and Bevel in the menu bar, the values are: 45, 35, -30 , other defaults, can be adjusted in the later stage, after confirming, select in the menu bar: Object-Extended Appearance, such as animation:
Step 5: Adjust the shape of the cube, as shown in the animation:
Step 6: Make 2 cuboid shapes. During the adjustment period, you must open the reference line and observe the reference in real time to prevent misalignment during the adjustment period, so that you can adjust it back in time, as shown in the animation:
Tips: The above adjustment method is to adjust the anchor point through the selection tool and the direct selection tool, which is what we often call black and white arrows. Multi-select anchor points: you need to hold down the shift key + Just select the anchor point directly with the selection tool.
Step 7: Adjust the text shape and cuboid shape, and they have been placed to a size and position that is comfortable and coordinated for our vision and proportion, such as the animation:
Step 8: Preparation before coloring, select the surface of the surface position in the letter text shape, and then click: Window - Path Finder - Union, the purpose is for our convenience in coloring, such as GIF:
For other aspects, you can also operate in this way, as shown in the figure:
Step 9: Add text projection, copy the cuboid into a (ctrl+C, ctrl+F: pasted in front), delete the left For the side and right sides, keep only the upper side, use this side for projection, as shown in the animation:
The same is true for other letter projections, and the projection effect is as follows:
Step 10: Color, use the direct selection tool (white arrow) to select the corresponding surface, we can first color the cuboid shape, the color value of the left side : #ffa75c, the color value of the right side: # fe574c, the color value of the top: #ffdc89, the color of the letter, use the straw tool to absorb the color of the corresponding side of the cuboid on each side, the purpose is to quickly color, such as the animation:
Dark side coloring, the dark side color value of letters U, M, R: #ffaa57, the dark side color value of letters E, R: #ffb77a, as shown in the animation:
Step 11:Add background color and shadow;Click on the rectangular background layer, press ctrl+alt+2 to unlock the layer, double click In the shader, set the color to: # 8693f2; select all projection layers, double-click the shader, set the color to: #0b0b54, transparency: 14%;Then copy the illustration characters I drew in advance, place them Put it on the cuboid and adjust the size to a suitable size, as shown in the animation:
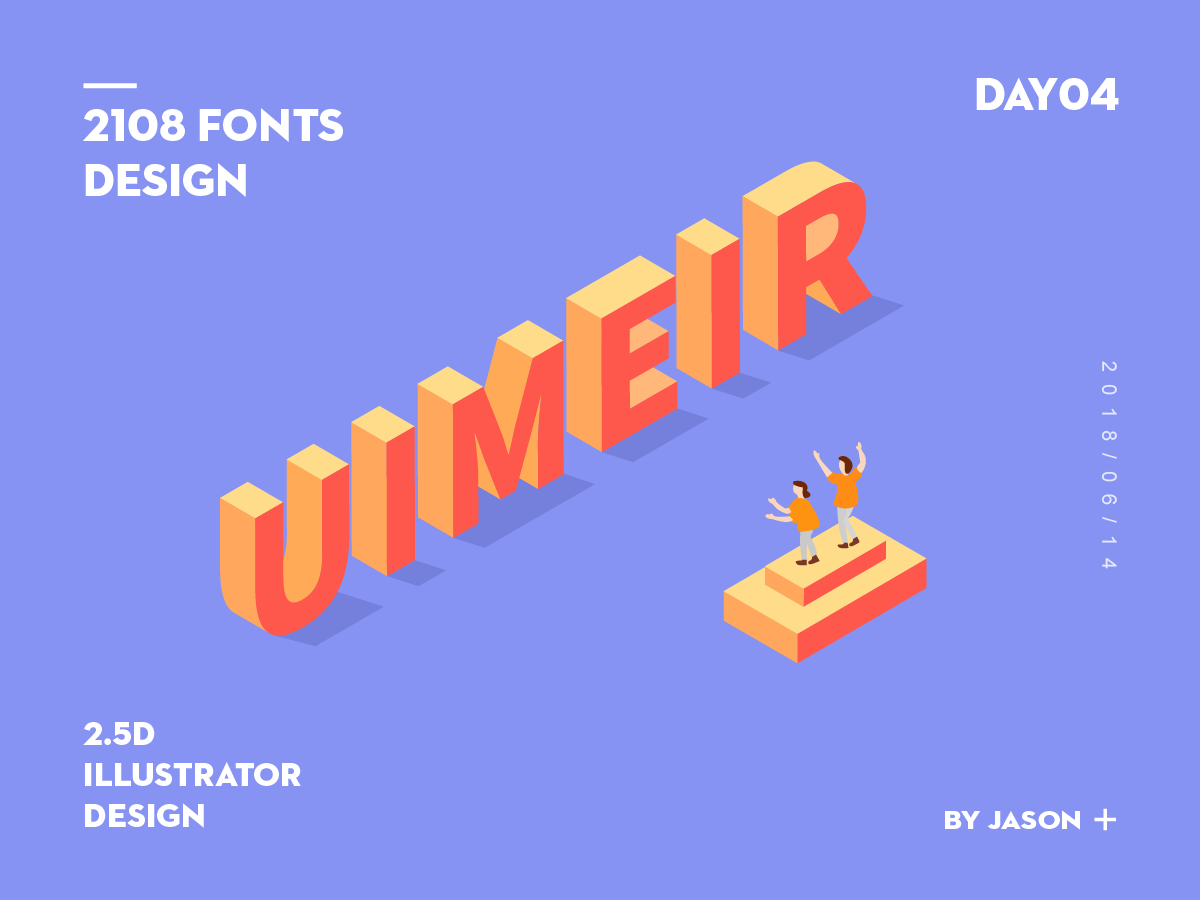
Finally: You can write the name, time, check-in, days, author and other information of the work, perform a typesetting and simple modification of the interface, and then you're done. 2.5D illustration colorful Rubik's Cube renderings, as follows:
Articles are uploaded by users and are for non-commercial browsing only. Posted by: Lomu, please indicate the source: https://www.daogebangong.com/en/articles/detail/25D%20illustration%20design%20tutorial%20%2025D%20font%20design.html
 支付宝扫一扫
评论列表(196条)
测试