大家好最近在使用Seaborn绘图时,把我整不会了。想着Seaborn 是基于 Matplotlib,习惯于使用Matplotlib那一套设置字体大小的方法,但在使用Seaborn时,多少有一些不同。今天让我们一起看看吧~
设置 seaborn 绘图中的字体
Seaborn 基于 Matplotlib,Matplotlib 基于 Python,Python 运行于电脑系统中。
因此,要在 Seaborn 中使用某款字体,该字体要满足以下条件:
- 字体已安装在系统中;
- Python 能检索到此字体;
- Matplotlib 字体缓存中能检索到此字体;
- 绘图时在 Seaborn 中设置使用该字体。
1.1 在电脑上安装字体
以「文泉驿微米黑」字体为例,下载到的字体安装包为「文泉驿微米黑.ttf」,双击会自动打开系统自带的字体管理器,点击安装既可。
以上操作在 Windowns 10 和 Ubuntu 上都可实现,Mac OS 没用过,应该也差不多流程。
1.2 让 Python 能检索到字体
如果安装字体时没有运行 Python,应该就不用做什么。
如果安装字体时正在运行 Python,则需要重启 Python 环境。用 Jupyter Notebook,直接重启内核既可。
1.3 更新 Matplotlib 字体缓存
不是系统安装了字体就能在 Seaborn 和 Matplotlib 中使用,需要先更新 Matplotlib 的字体缓存。代码如下。这里只需用到matplotlib.font_manager包,由于后面要做图,这里同时加载pandas、seaborn、matplotlib。
import pandas as pd
import seaborn as sns
from matplotlib import pyplot as plt
import matplotlib.font_manager as font_manager
%matplotlib inline

font_manager._rebuild()
1.4 在 Seaborn 中使用字体
要使用字体,首先要知道字体名称。用以下命令可以查看 Matplotlib 的字体缓存中的字体名称。
for font in font_manager.fontManager.ttflist:
    print(font)


<Font 'STIXSizeOneSym' (STIXSizOneSymReg.ttf) normal normal 400 normal>
<Font 'cmss10' (cmss10.ttf) normal normal 400 normal>
<Font 'STIXNonUnicode' (STIXNonUni.ttf) normal normal 400 normal>
<Font 'STIXSizeFourSym' (STIXSizFourSymBol.ttf) normal normal 700 normal>
<Font 'STIXSizeOneSym' (STIXSizOneSymBol.ttf) normal normal 700 normal>
<Font 'STIXSizeFourSym' (STIXSizFourSymReg.ttf) normal normal 400 normal>
<Font 'DejaVu Sans Mono' (DejaVuSansMono.ttf) normal normal 400 normal>
<Font 'STIXGeneral' (STIXGeneralItalic.ttf) italic normal 400 normal>
...
以「文泉驿微米黑」为例,找到字体名称叫「WenQuanYi Micro Hei」。之后在字体参数中可指定为此值。
Seaborn 是基于 Matplotlib,所以设置 Seaborn 字体参数,就是设置 Matplotlib。以下命令查看 Matplotlib 的默认字体。
print(plt.rcParams["font.family"])
print(plt.rcParams['font.sans-serif'])
['sans-serif']
['DejaVu Sans', 'Bitstream Vera Sans', 'Computer Modern Sans Serif', 'Lucida Grande', 'Verdana', 'Geneva', 'Lucid', 'Arial', 'Helvetica', 'Avant Garde', 'sans-serif']
rcParams 是 Matplotlib 运行时的参数配置字典,包含各项设置。以上打印出与字体设置相关的两个键的值。
其中 font.family 的值为默认使用的字体族,当前为 sans-serif。Matplotlib 推荐的字体族只有四种 :fantasy, monospace, sans-serif, serif。
font.sans-serif 的值为字体族 sans-serif 所包含的字体名称的列表,绘图时 Matplotlib 会在该列表中从前往后顺序优先使用靠前的字体。
所以要使用指定的字体,可以将字体名加入字体族 sans-serif 所包含的字体列表中,放在列表最前,然后赋值给font.sans-serif。
其实还有两种设置字体的办法,但不推荐:
- 将 font.family 的值改为指定字体名称。不推荐原因:这里更改的是默认字体族,而 Matplotlib 推荐的字体族只有四种。而且一个字体族包含若干字体,当优先使用字体无法显示内容, Matplotlib 会使用次优先字体。如果将字体族指定为单一字体,那 Matplotlib 也就只能使用这一种字体。
- 使用 seaborn.set() 函数中的 font 参数指定字体。不推荐原因:这个方法其实修改的也是 font.family 字体族,不推荐理由同上。
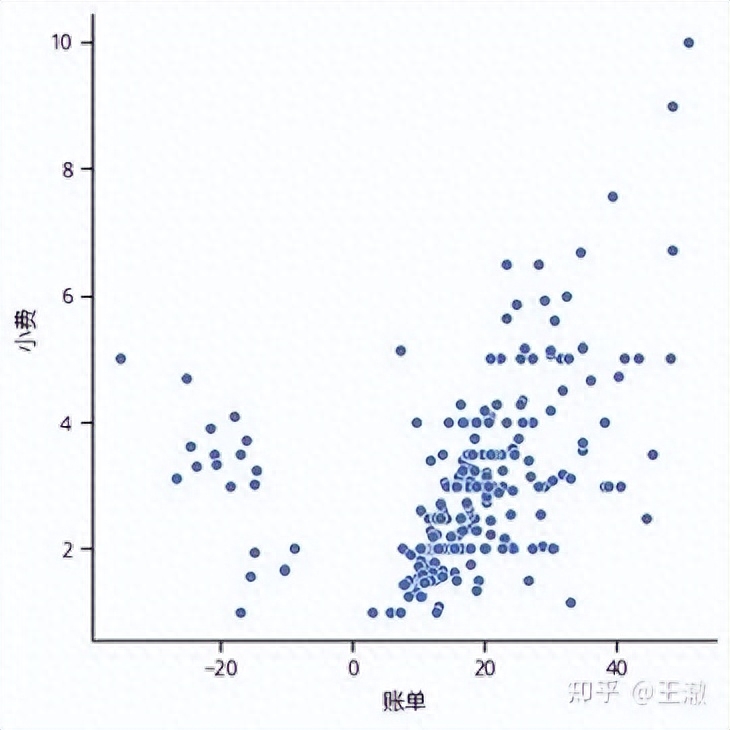
办法找到了,下面简单实操。具体设置就是,通过使用 seaborn.set() 函数中的 rc 参数,来修改 Matplotlib 的 rcParams 中的 sans-serif 字体列表。
tips = pd.read_csv('seaborn-data-master/tips-zh.csv')
rc = {'font.sans-serif': ['WenQuanYi Micro Hei', 'DejaVu Sans', 'Bitstream Vera Sans']}
sns.set(context='notebook', style='ticks', rc=rc)
g = sns.relplot(x='账单', y='小费', data=tips)

设置 Seaborn 中字体大小
Seaborn 绘图中设置字体大小的方法有两种:
- 使用 seaborn.set() 函数中的 font_scale 参数,此方法以选定的 seaborn 样式中的字体大小为基准,将字体放大指定的倍数。
- 在各种文字设置函数中,使用 fontsize 参数指定字体大小。
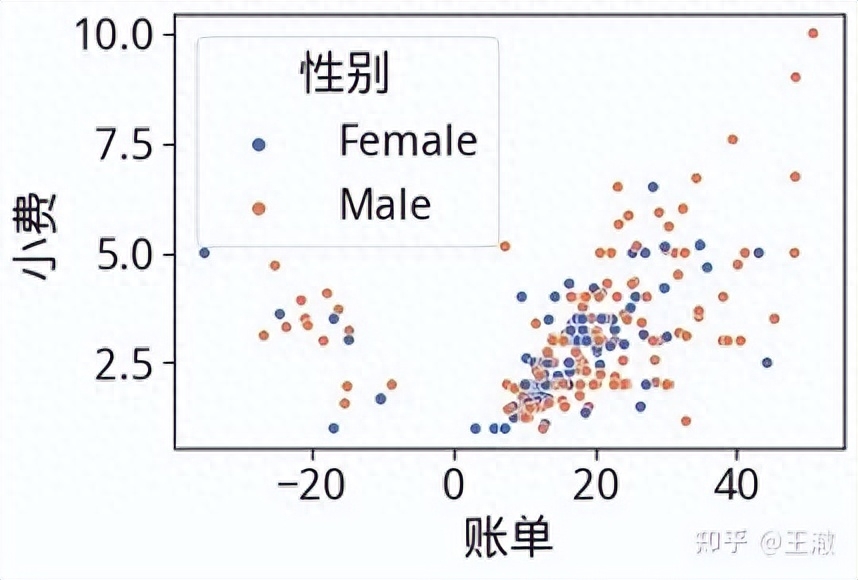
2.1 使用 font_scale参数设置字体大小
很简单,给 font_scale 赋值一个数,seaborn 会自动放大字体。
简单示例如下图及代码。图中将内置样式的字体放大2倍。
sns.set(context='notebook', style='ticks', font_scale=2, rc=rc)
ax = sns.scatterplot(x='账单', y='小费', hue='性别', data=tips)

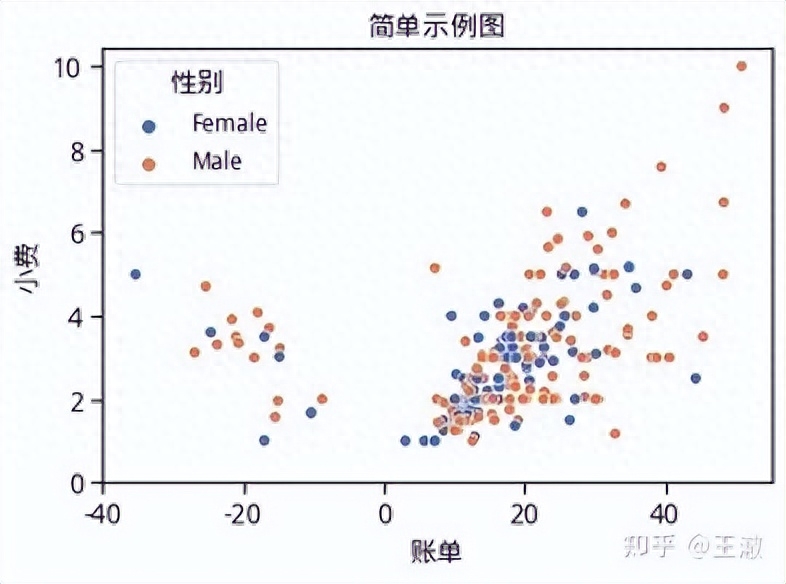
2.2 使用 fontsize参数设置字体大小
Seaborn 绘制图像分为 FacetGrid 级图 和 ax 级图。此方法只适用于 ax 级图。
在以下函数中使用 fontsize 参数指定不同位置的字体的大小,ax 变量为 ax 级图对象,以设置为 14 号字为例:
- ax.set_xticklabels(fontsize=14),设置X座标轴刻度标签字体
- ax.set_yticklabels(fontsize=14),设置Y座标轴刻度标签字体
- ax.set_ylabel(fontsize=14),设置Y坐标轴标签字体
- ax.set_xlabel(fontsize=14),设置X坐标轴标签字体
- ax.set_title(fontsize=14),设置标题字体
- ax.legend(title = "性别", fontsize = 14, title_fontsize = 14),设置图例标题、图例标题字体大小、图例字体大小
简单实操见下图及代码。
ax = sns.scatterplot(x='账单', y='小费', hue='性别', data=tips)
x = [-40, -20, 0, 20, 40]
ax.set_xticks(x)
xlabs = [-40, -20, 0, 20, 40]
ax.set_xticklabels(xlabs, fontsize=14) #设置X座标轴刻度标签字体
y = [0, 2, 4, 6, 8, 10]
ax.set_yticks(y)
ylabs = [0, 2, 4, 6, 8, 10]
ax.set_yticklabels(ylabs, fontsize=14) #设置Y座标轴刻度标签字体
ax.set_ylabel('小费', fontsize=14) #设置Y坐标轴标签字体
ax.set_xlabel('账单', fontsize=14) #设置X坐标轴标签字体
ax.set_title('简单示例图', fontsize=14) #设置标题字体
ax.legend(title = "性别", fontsize = 12, title_fontsize = 14) #设置图例标题、图例标题字体大小、图例字体大小

作者:王澈
文章为用户上传,仅供非商业浏览。发布者:Lomu,转转请注明出处: https://www.daogebangong.com/articles/detail/Seaborn-hui-tu-zhong-she-zhi-zi-ti-ji-da-xiao.html

 支付宝扫一扫
评论列表(196条)
测试